# Community and networking
> Find other attendees in the event app, get matched with people worth meeting, exchange contacts by QR code, send messages, and control who can find you.
Source: https://help.highbar.ai/docs/attendees/community-and-networking
Audience: attendees using the event app
**Community** is the event's attendee directory. Use it to find people, save the ones you want to remember, and see your contacts and meetings in one place. Together with your AI matches, contact exchange and messages, it helps you meet the right people at the event.
What you see depends on what the organizer has turned on, and the menu items may have other names. The default names are used below.
## Find people
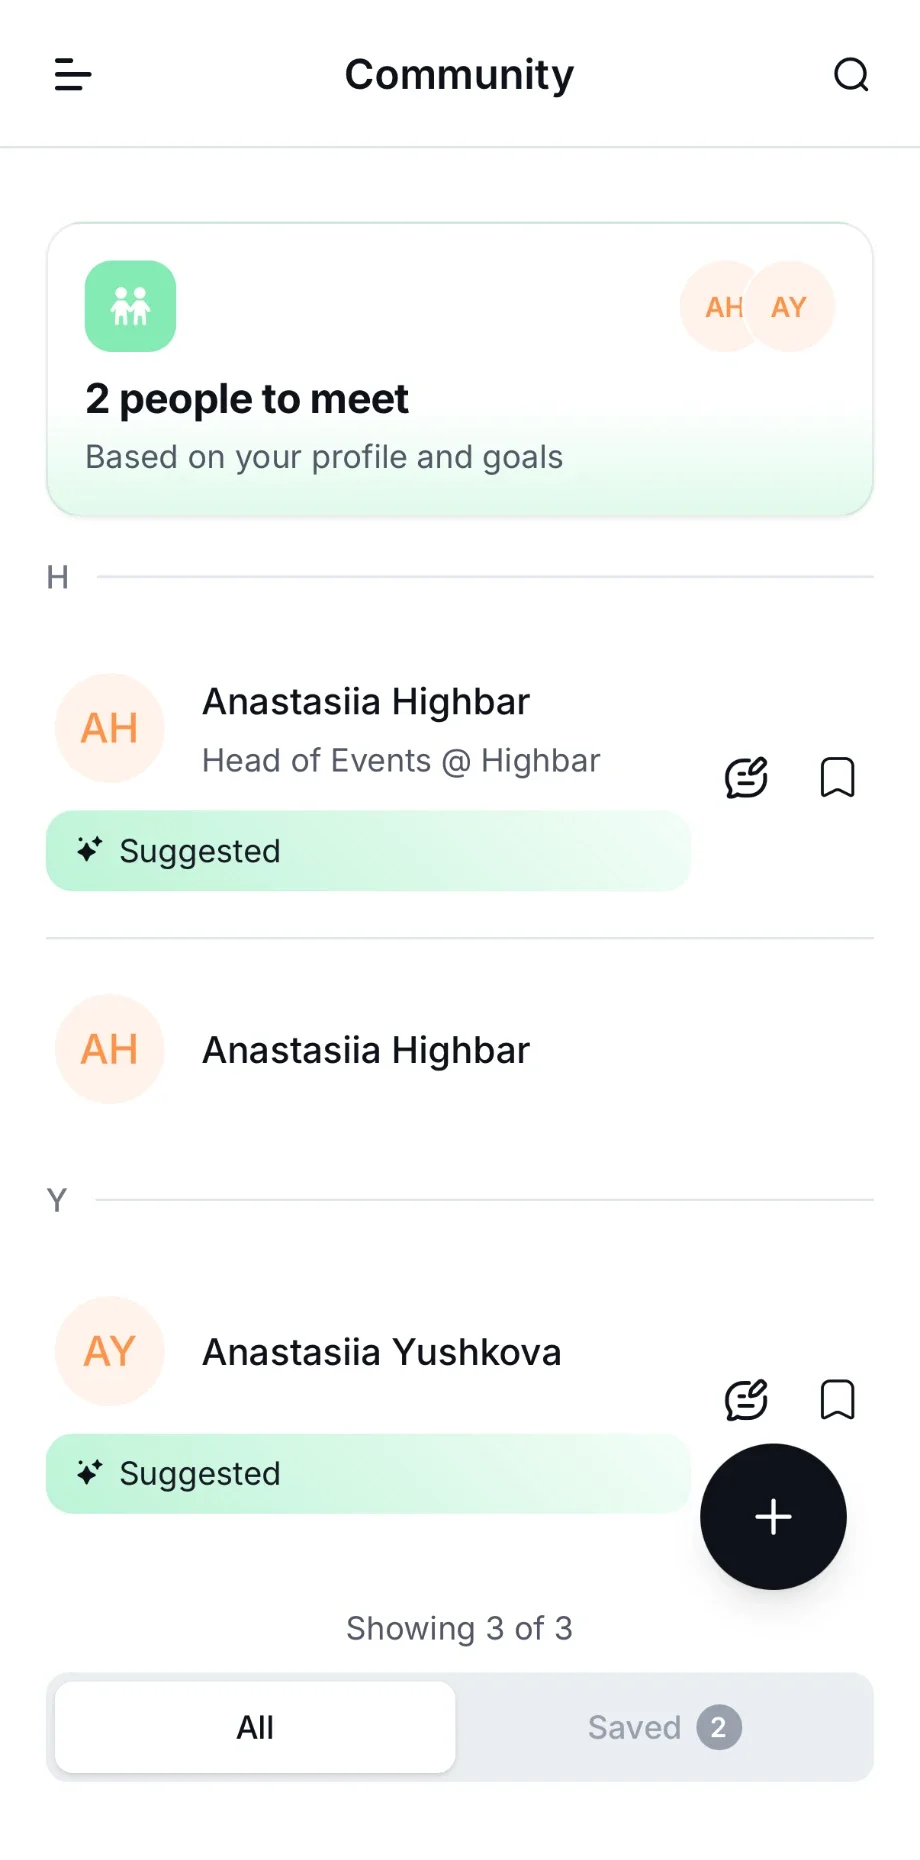
Open **Community** from the menu. **All** lists everyone in the directory, A to Z by last name.
- **Search.** Tap the search box and type a name, company or job title.
- **Save someone.** Tap the bookmark icon next to their name. They're added to **Saved**.
- **Message someone.** Tap the message icon next to their name. It's hidden for people who don't accept messages.
If the organizer has turned on matchmaking, a banner such as "5 people to meet" at the top opens your matches (see below).
 On some events, attendees can't browse the directory. **Community** then shows only your own people: your meetings, contacts and leads.
## Profiles
Tap anyone to open their profile: their photo, job title, company, headline and bio, plus anything they've added, such as **Interests**, **Skills**, **Ask me about** and **Availability** (for example, "Open to scheduled meetings"). If they work for a sponsor or exhibitor, **Representing** shows which one.
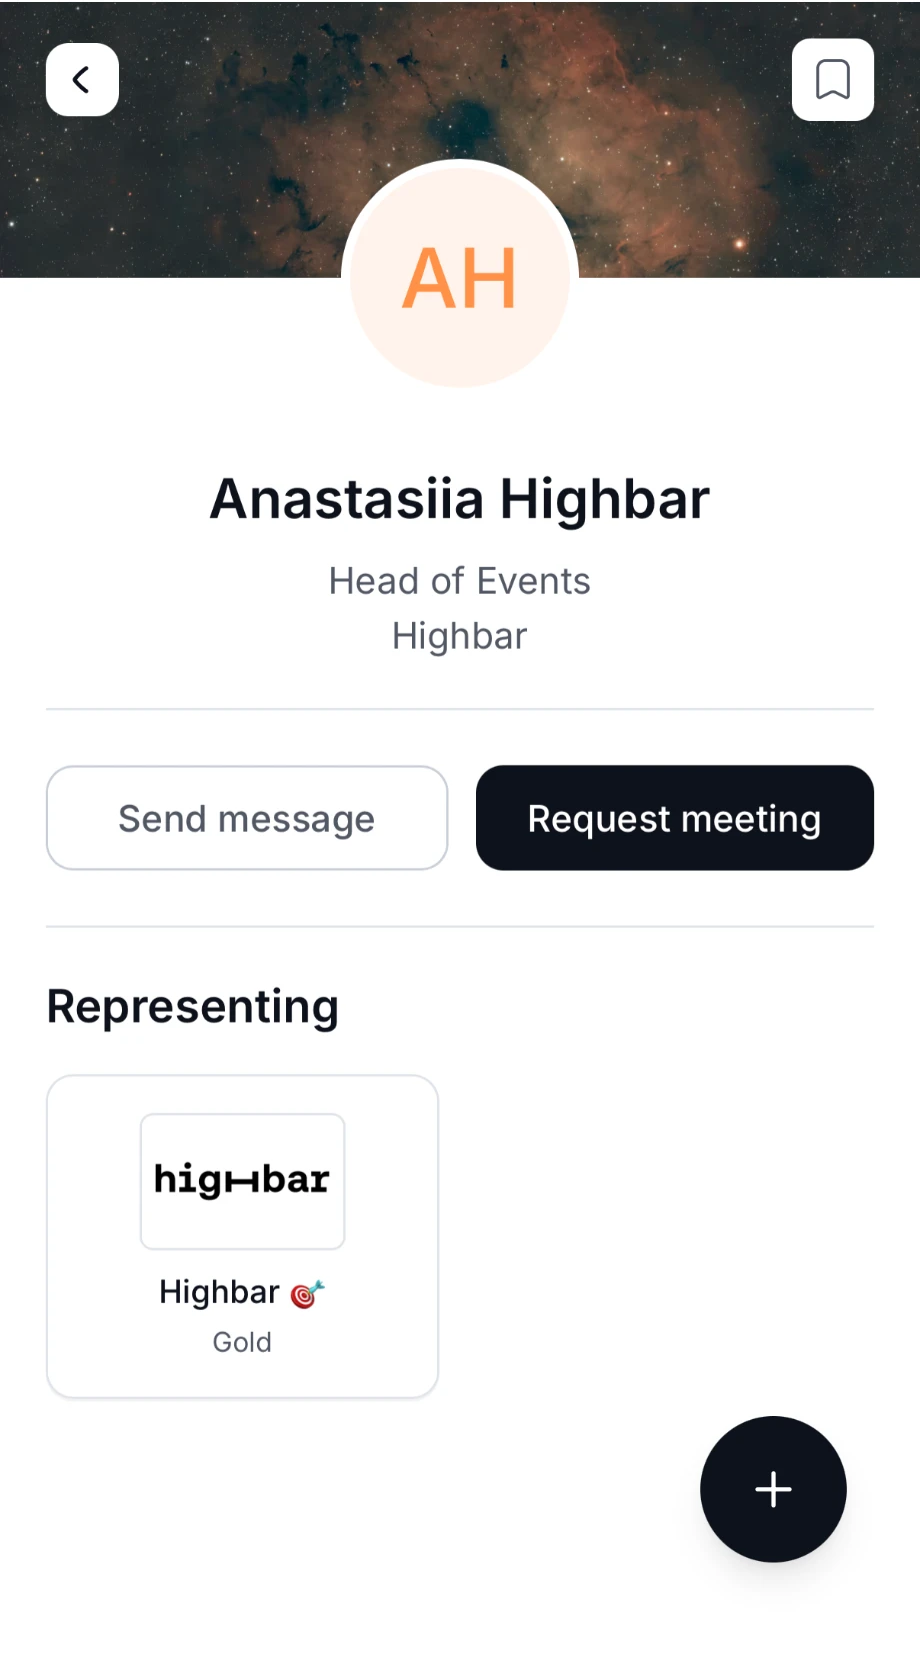 From a profile you can:
- Tap **Send message** to start a chat.
- Tap **Request meeting** to book a meeting. See [Meetings](https://help.highbar.ai/docs/attendees/meetings).
- Tap the bookmark icon to save them.
- For people you've exchanged contacts with, add private notes under **My notes**, and download their details to your phone's address book.
If you were matched with someone, **Why we matched you** explains the match.
## Your Saved list
Tap **Saved** at the top of **Community**. It gathers your people in sections:
- **Meetings**: your confirmed meetings and requests you've sent, with any requests waiting for your answer at the top.
- **Leads**: people you've scanned, if you work a sponsor's booth with lead retrieval.
- **Contacts**: people whose QR code you've scanned.
- **Saved**: people you've bookmarked.
Use the filter icon to show only some sections.
## Get matched with people
If the organizer has turned on matchmaking, the home page has a **Curated for you** section. It suggests people, sessions, speakers and sponsors for you, based on your profile and your goals. A **NEW** label shows how many new suggestions are waiting.
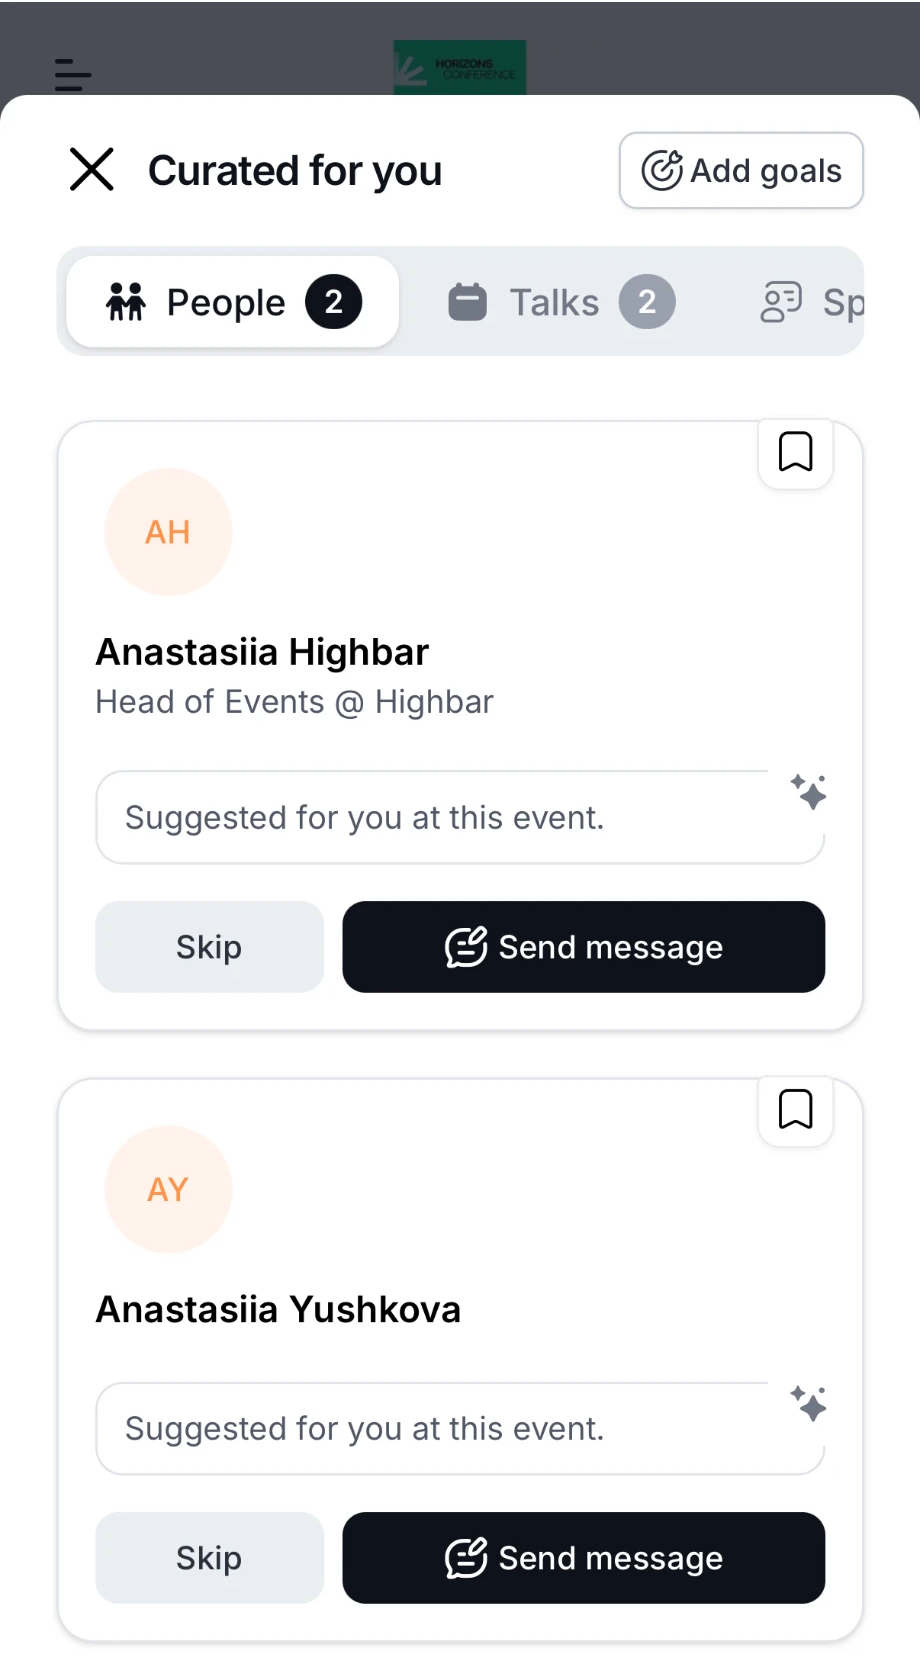
Tap a tile, such as **People**, to open your matches. Tabs at the top switch between people, sessions, speakers and sponsors, with the number of matches on each. For each person:
- Read why you were matched.
- Tap **Send message** or **Request meeting** to reach out, or the bookmark icon to save them.
- Tap **Skip** to hide them. Skipped matches don't come back.
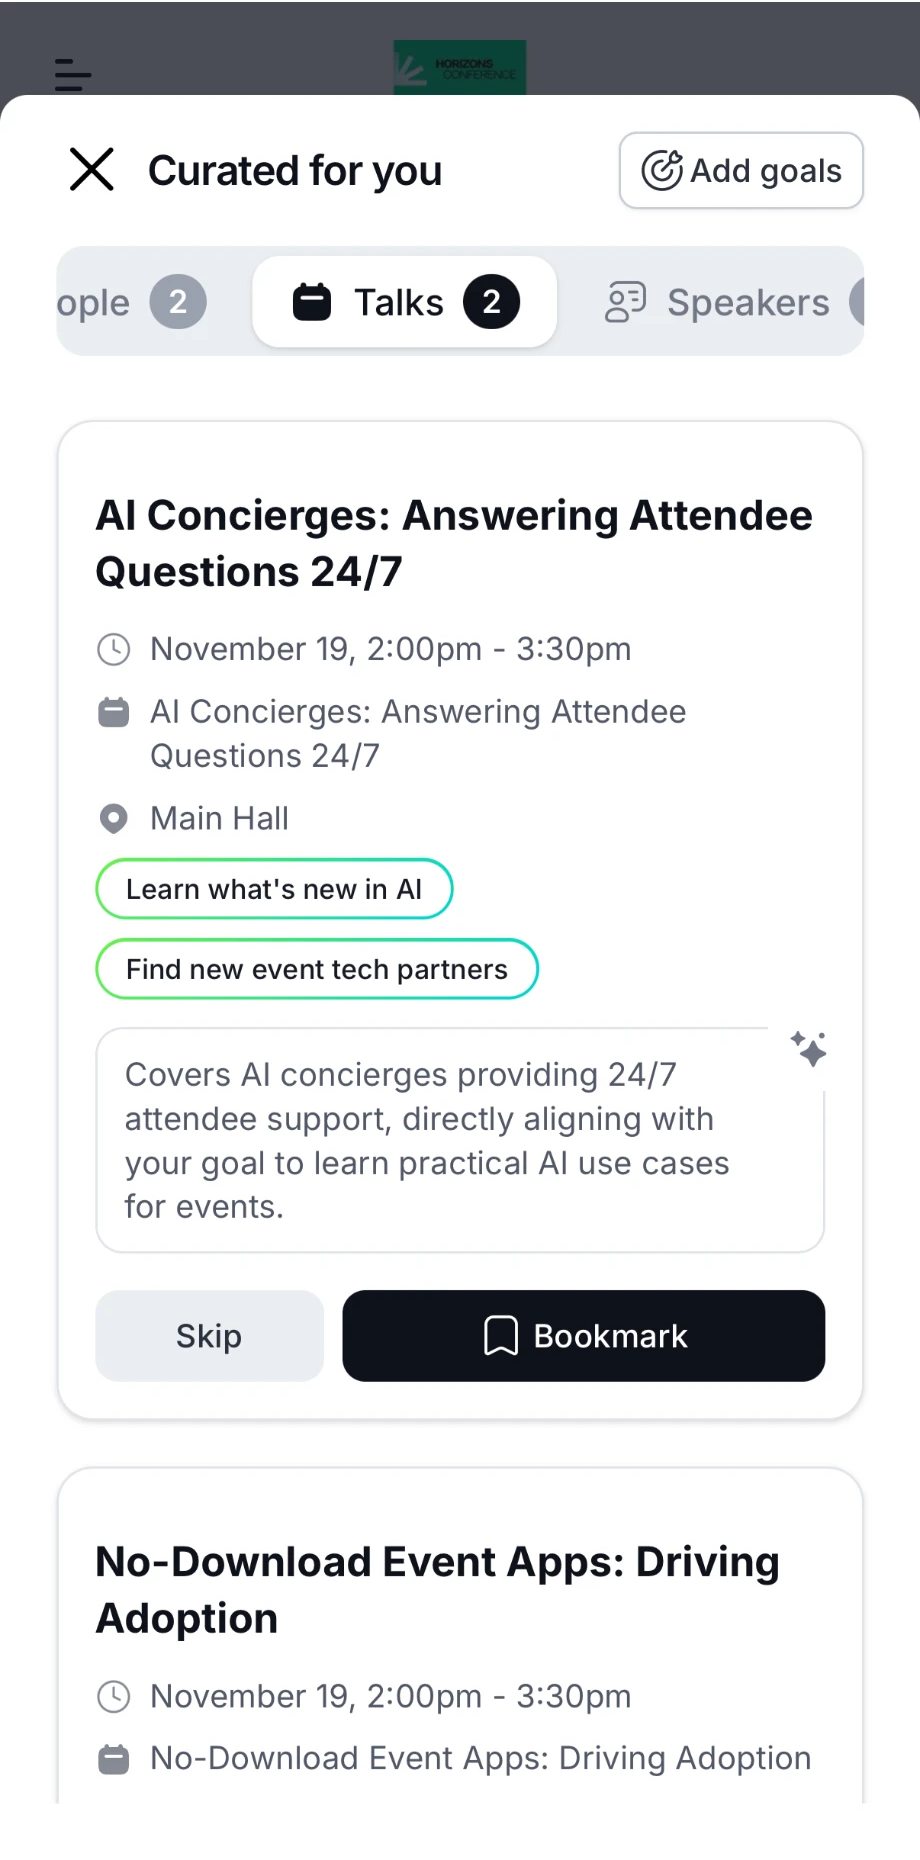
 Matched sessions show which of your goals they fit and why they were picked. Tap **Bookmark** to save one to **My agenda**, or **Skip** to hide it. Tap **Add goals** at the top to tell the app more about what you're looking for.
 ### Set a goal
Your matches get better when you tell the app what you're looking for.
On the home page, under **What's your goal?**, type what you want to achieve, or tap a starter such as **Meet**, **Evaluate**, **Find** or **Learn**.
Answer any follow-up question, then tap **Find matches**.
Keep using the app. When your new matches are ready, you get a notification.
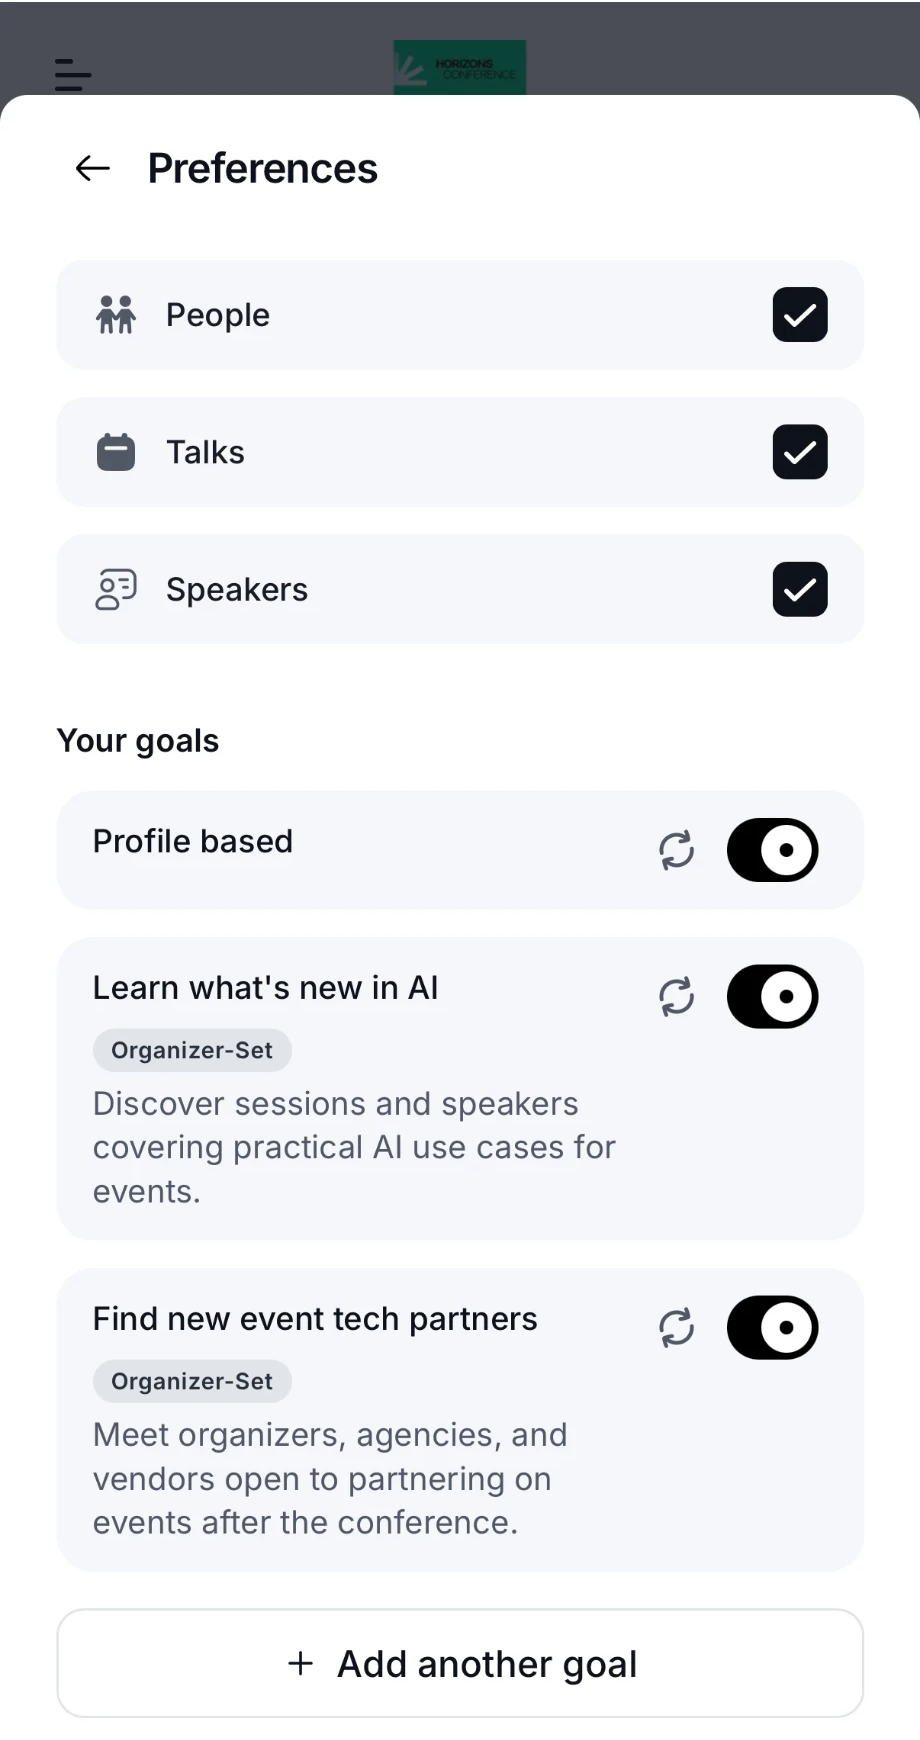
To manage your goals, tap the pencil next to **Curated for you** on the home page. **Preferences** opens:
- Tick the kinds of matches you want, such as people, sessions or speakers.
- Under **Your goals**, turn each goal on or off. **Profile based** matches you on your profile alone. Goals marked **Organizer-Set** were suggested by the organizer.
- Tap the refresh icon next to a goal to look for new matches.
- Tap **Add another goal** to add one (up to 10).
 A complete profile also helps. Until yours has a photo, bio, headline, job title, company, skills, interests and things people can ask you about, the home page shows **Update your profile** (**Get better matches**).
## Exchange contacts
Instead of swapping business cards, scan each other's QR code.
To share your details, open the menu and tap **QR Code**. Show the code to the other person.
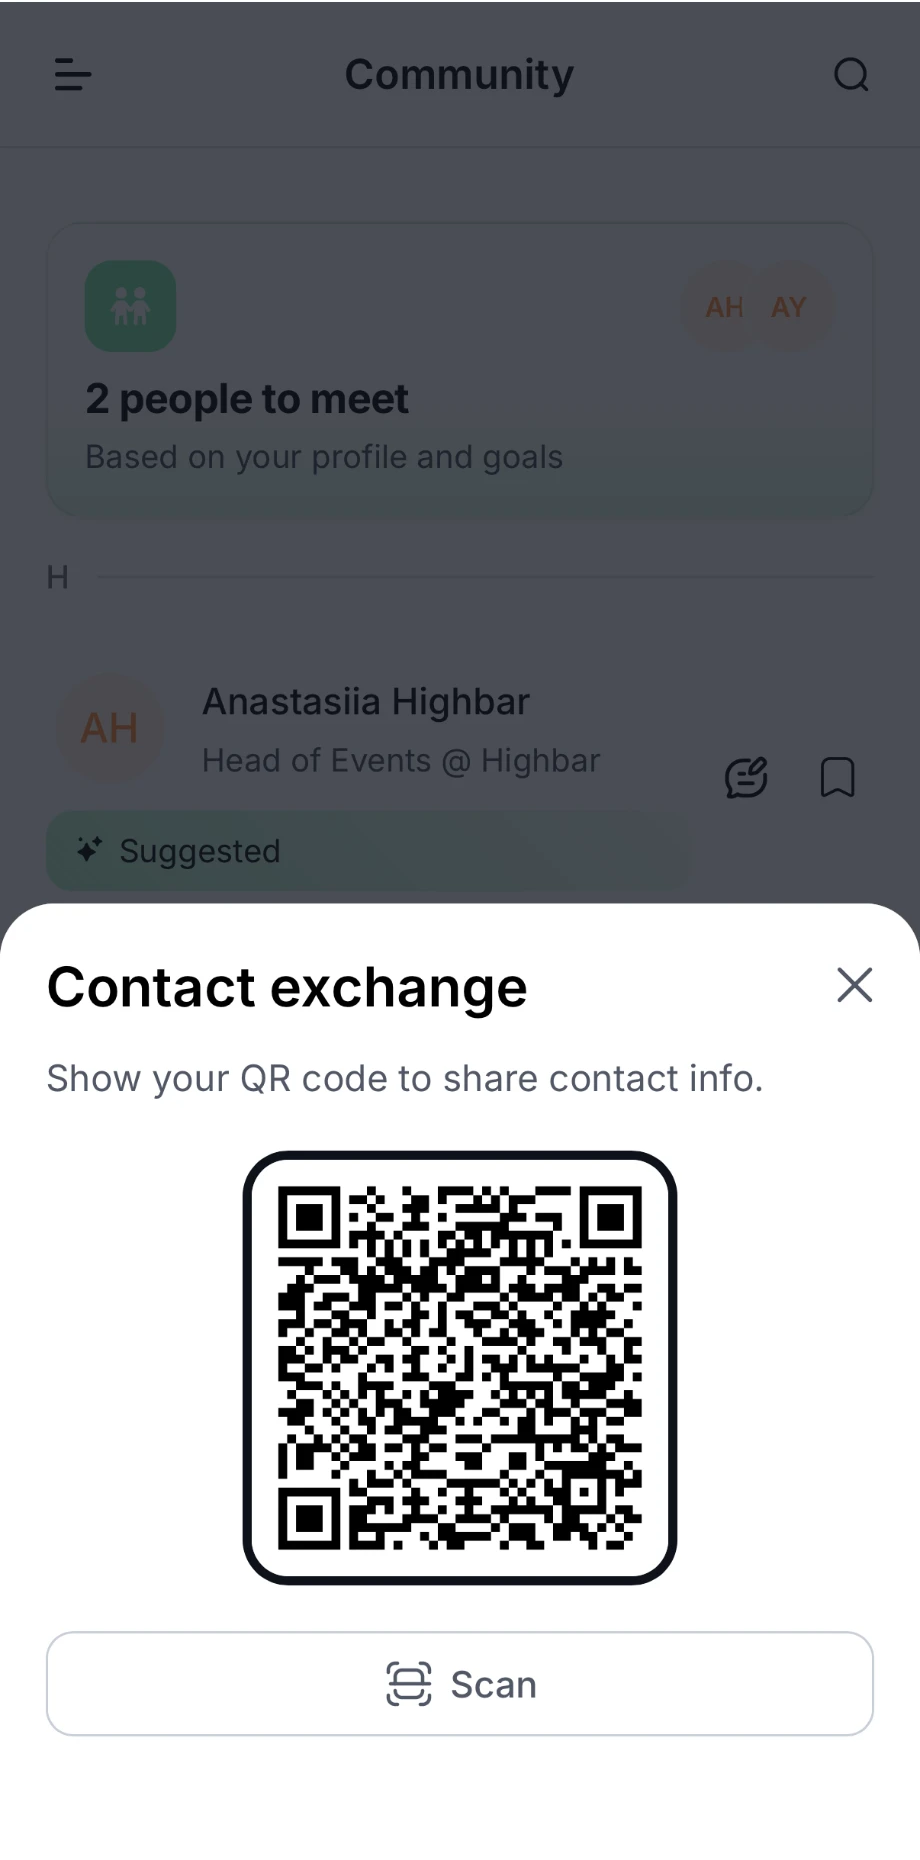 To scan someone, tap **Scan** on your QR code screen, or tap the round button in the bottom-right corner, then **Scan**. Point your camera at their code. The same **Scanner** also scans game QR codes.
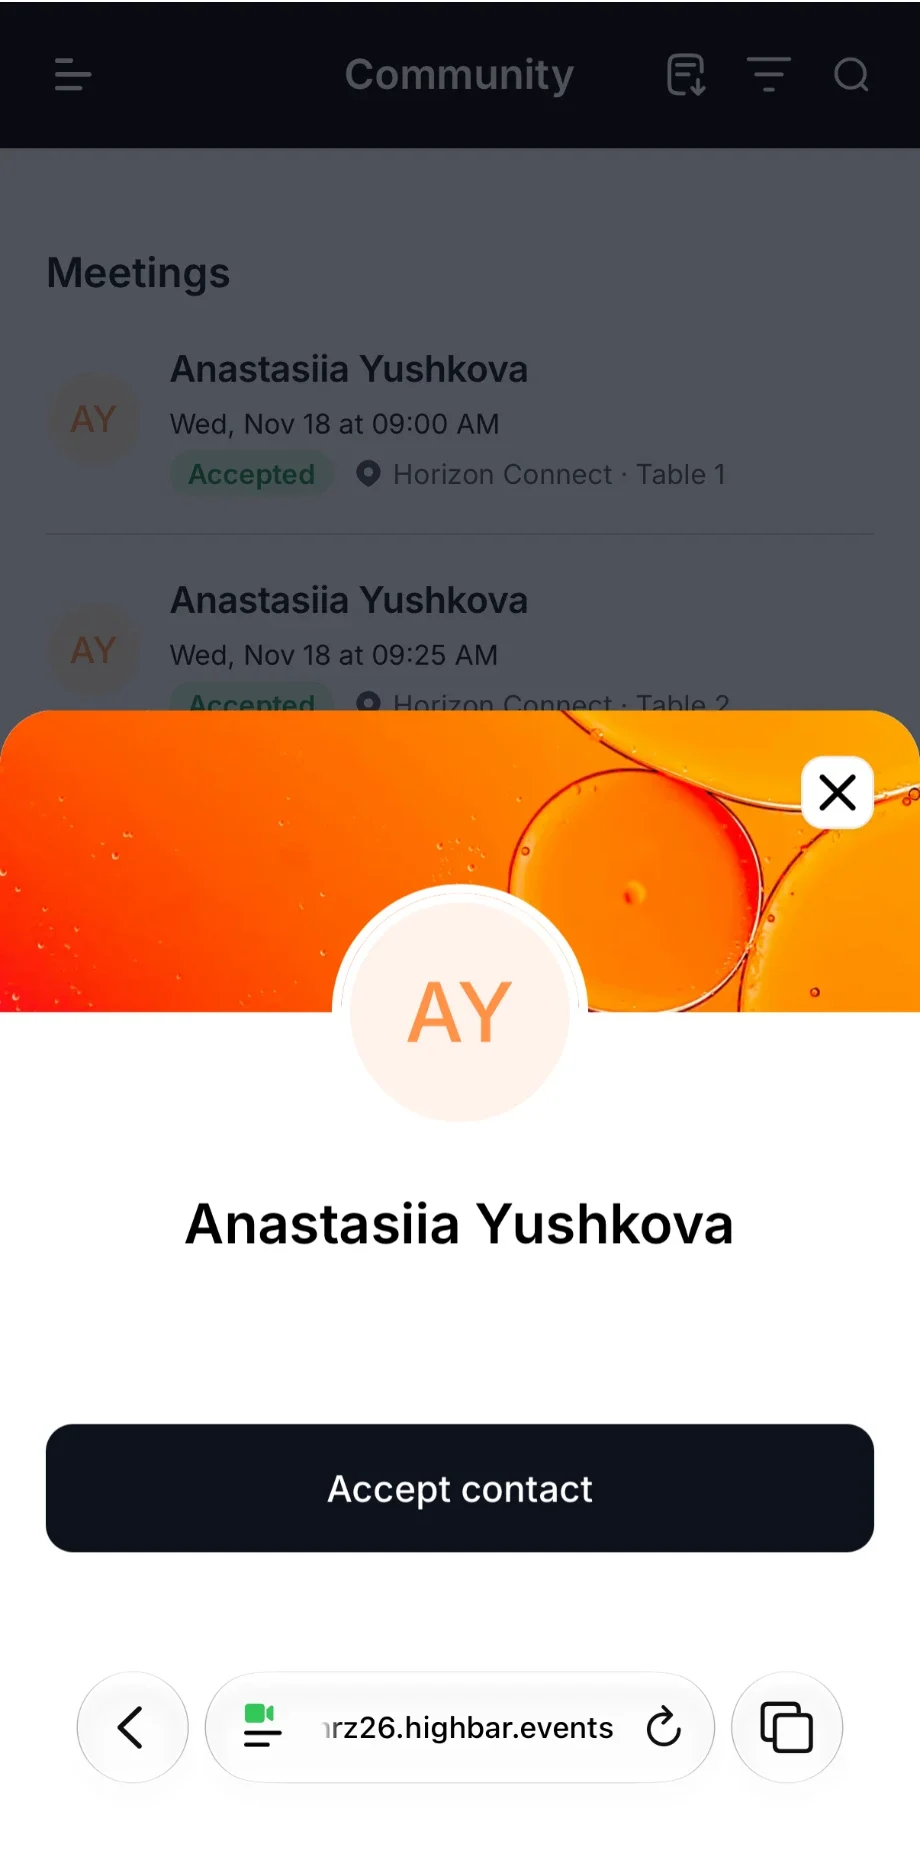
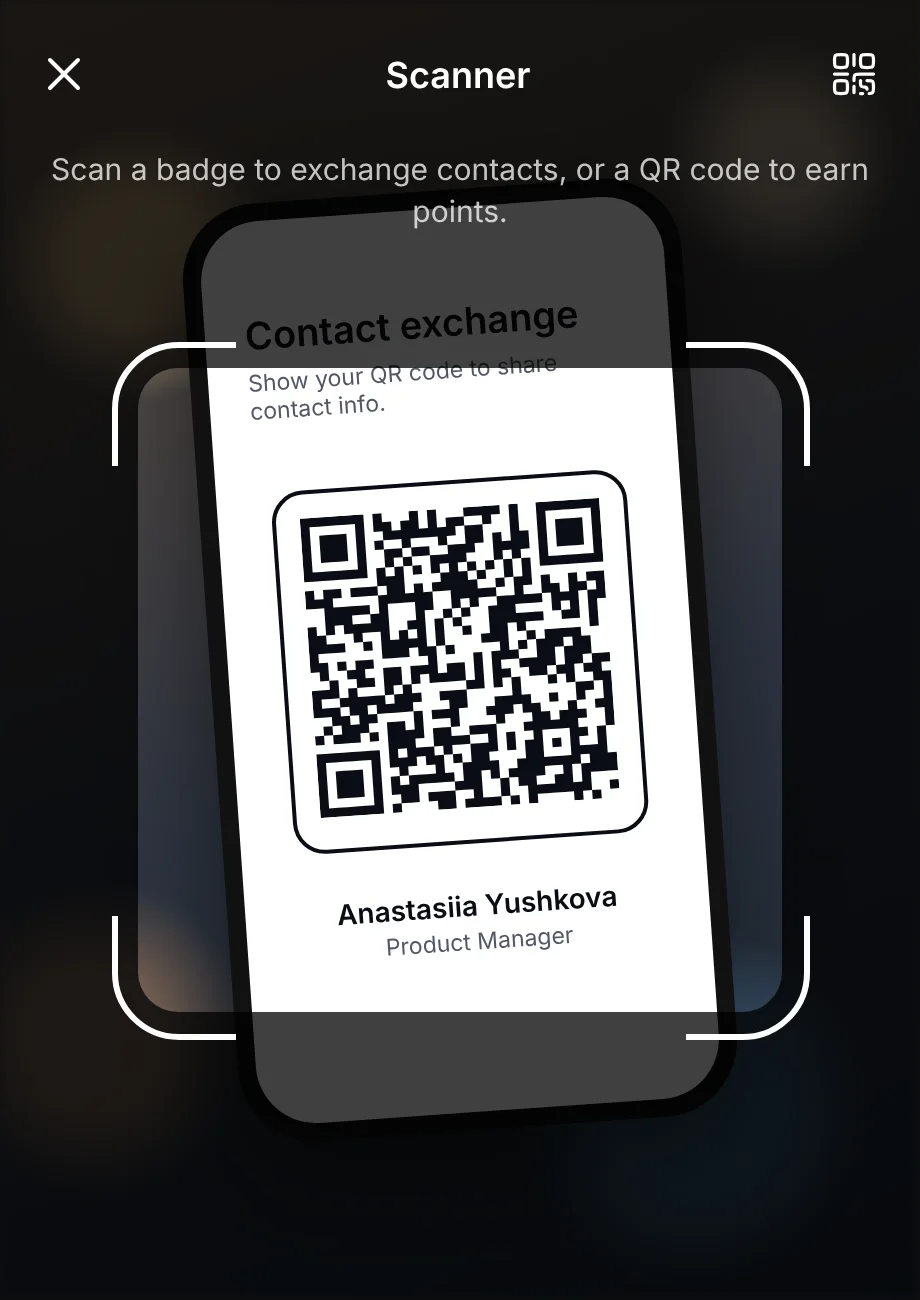 Their name appears. Tap **Accept contact**.
 Under **Contact accepted**, add a note about how you met (only you can see it), then tap **Save**. If the event has a game, a message shows the points you earned.
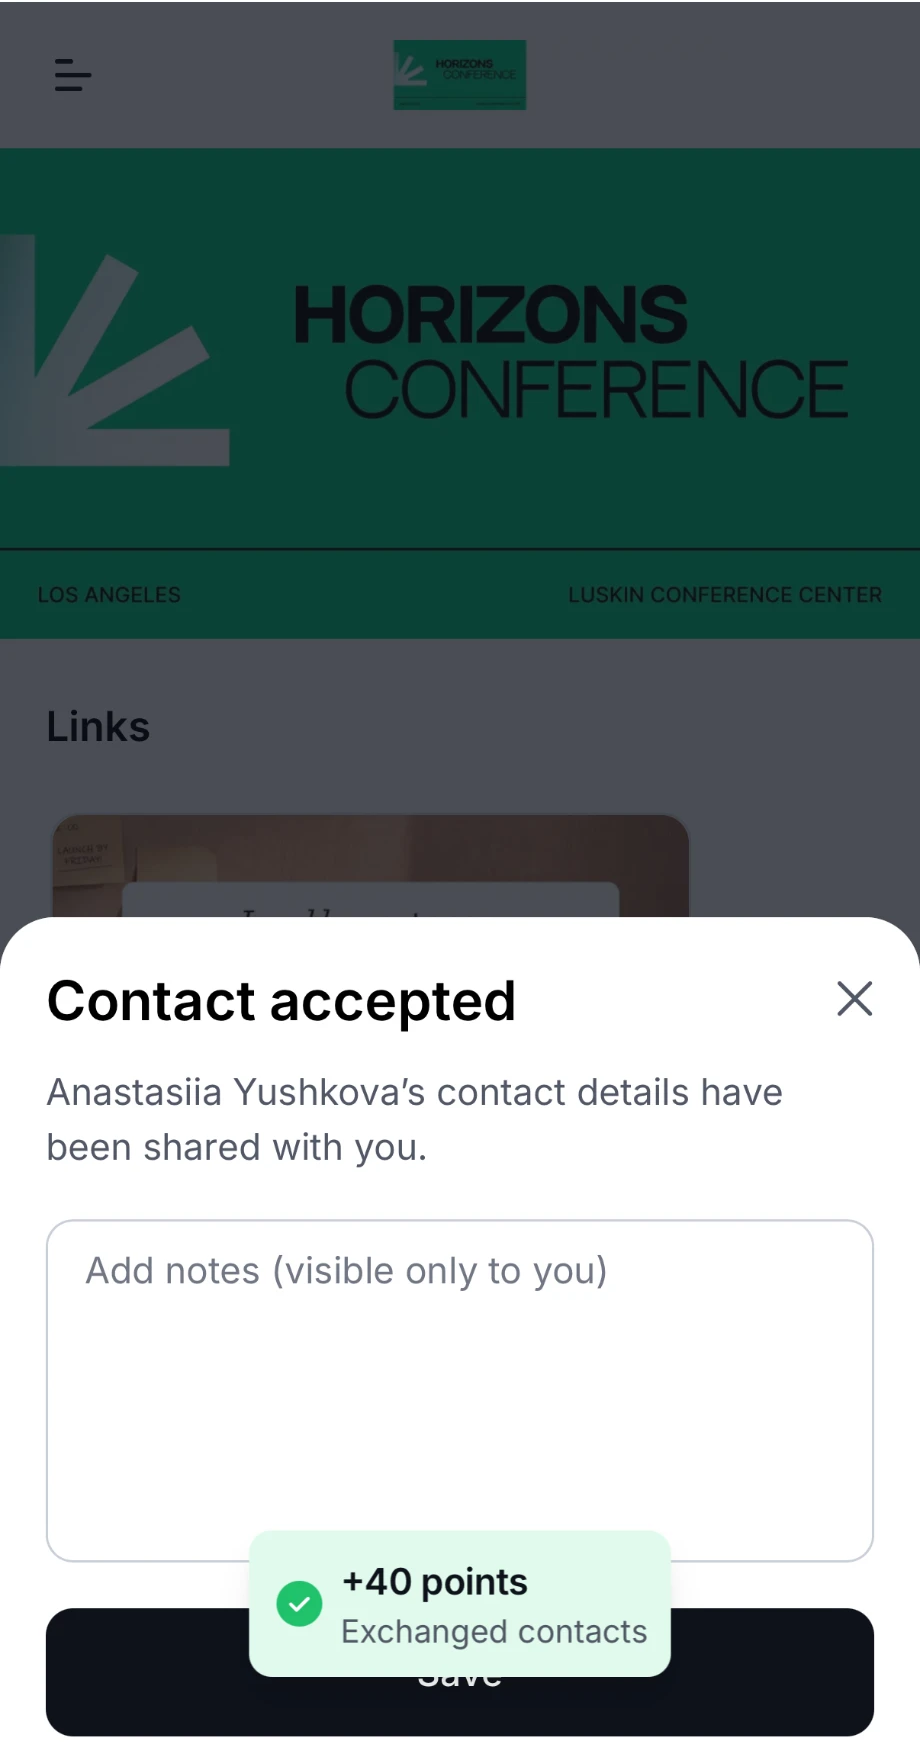 **You're connected** confirms it, and they appear under **Contacts** in your **Saved** list. Only the person who scans gets the contact, so if you both want each other's details, scan each other's code.
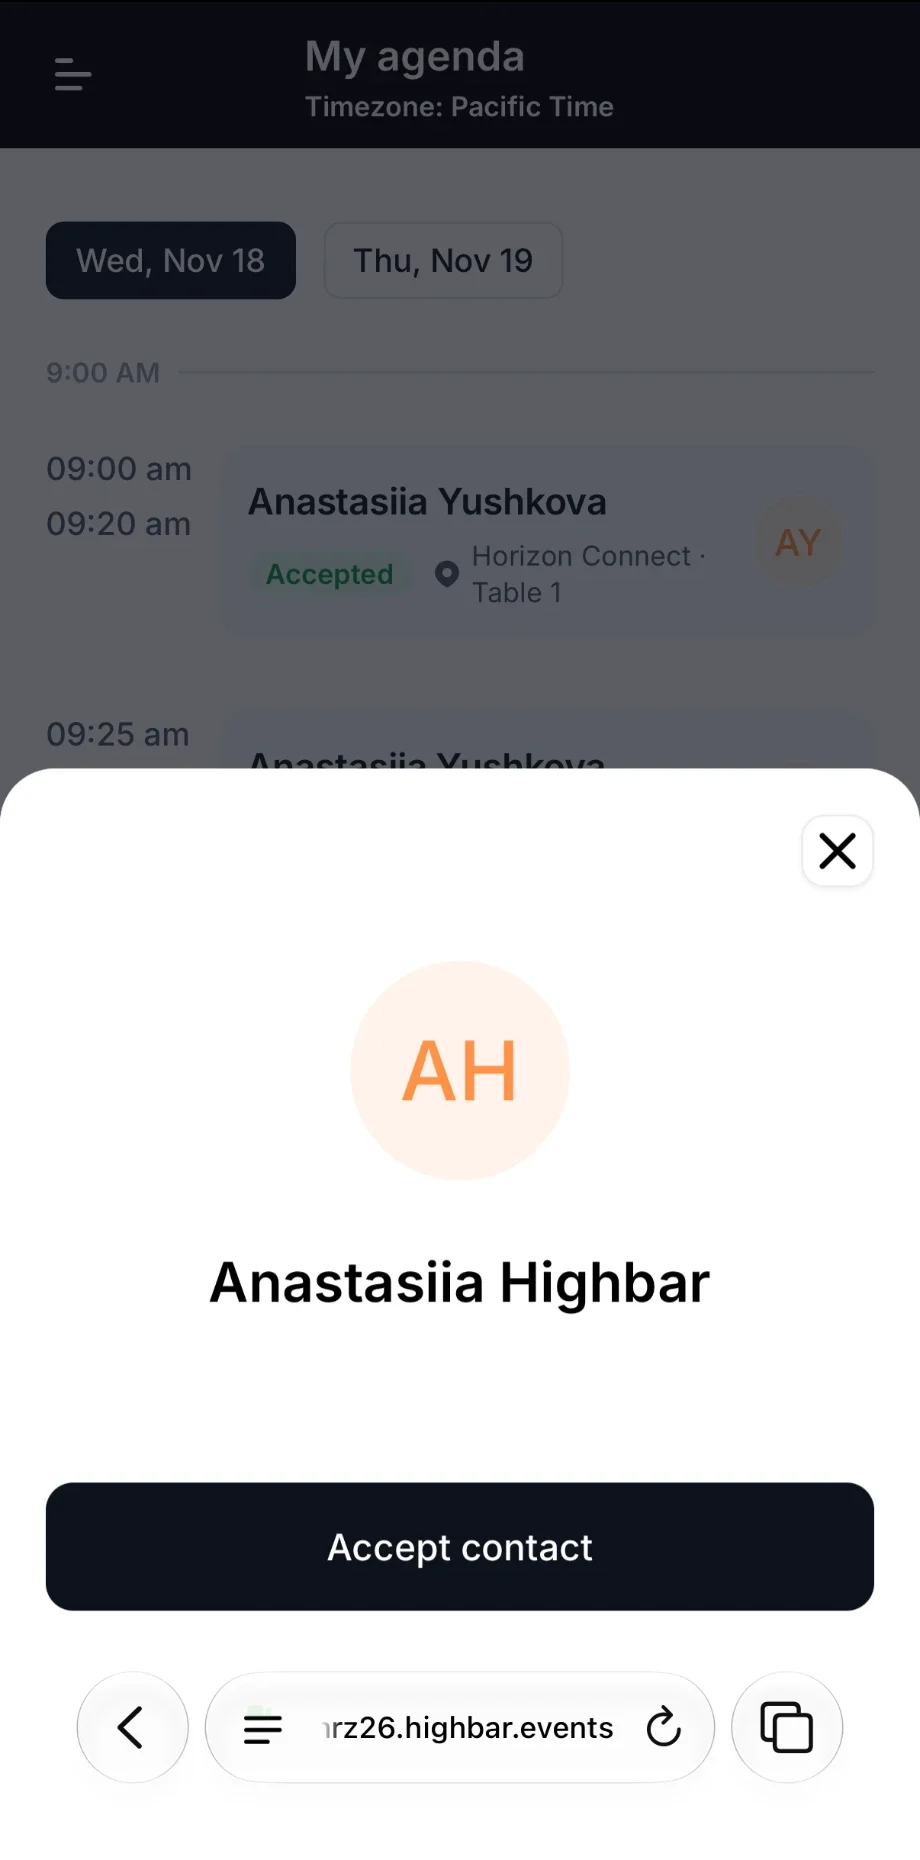
You can also scan someone's code with your phone's own camera. It opens the event app (log in if asked) and shows their name with **Accept contact**.
 ## Messages
Start a chat from someone's profile (**Send message**) or from the message icon in **Community**. Open **Messages** from the menu to see all your conversations. You get a notification when someone writes to you.
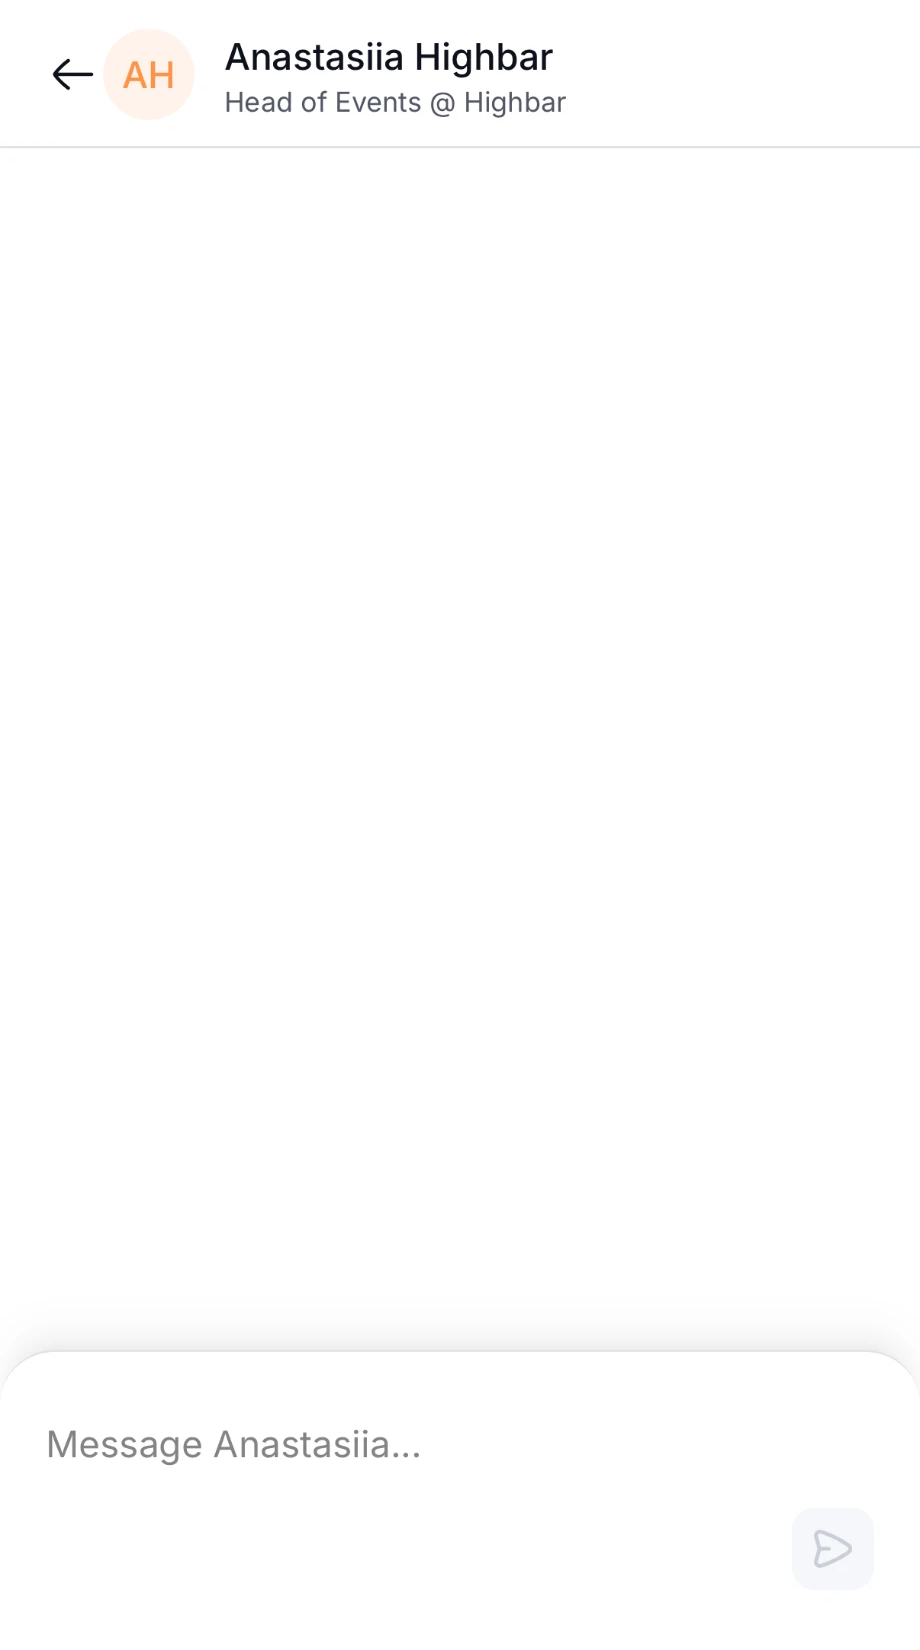 The organizer can limit messaging. For example, you might be able to reply to messages but not start new conversations.
### Channels
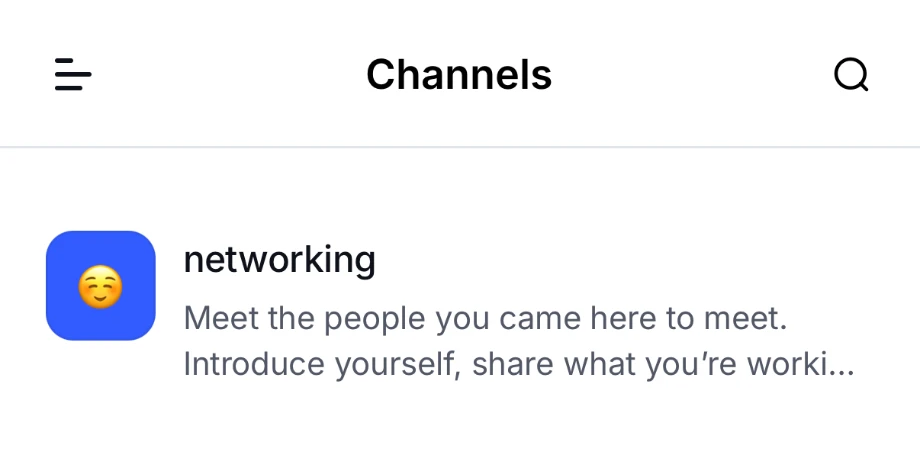
If the organizer has set up **Channels**, open them from the menu. Channels are group feeds on a topic, created by the organizer, where you can post, like and comment as in the [activity stream](https://help.highbar.ai/docs/attendees/activity-stream). Public channels are open to everyone. Private ones only appear if the organizer added you.
 ## Control who can find you
If the organizer allows it, the **Settings** screen (tap your name at the bottom of the menu) has two privacy switches:
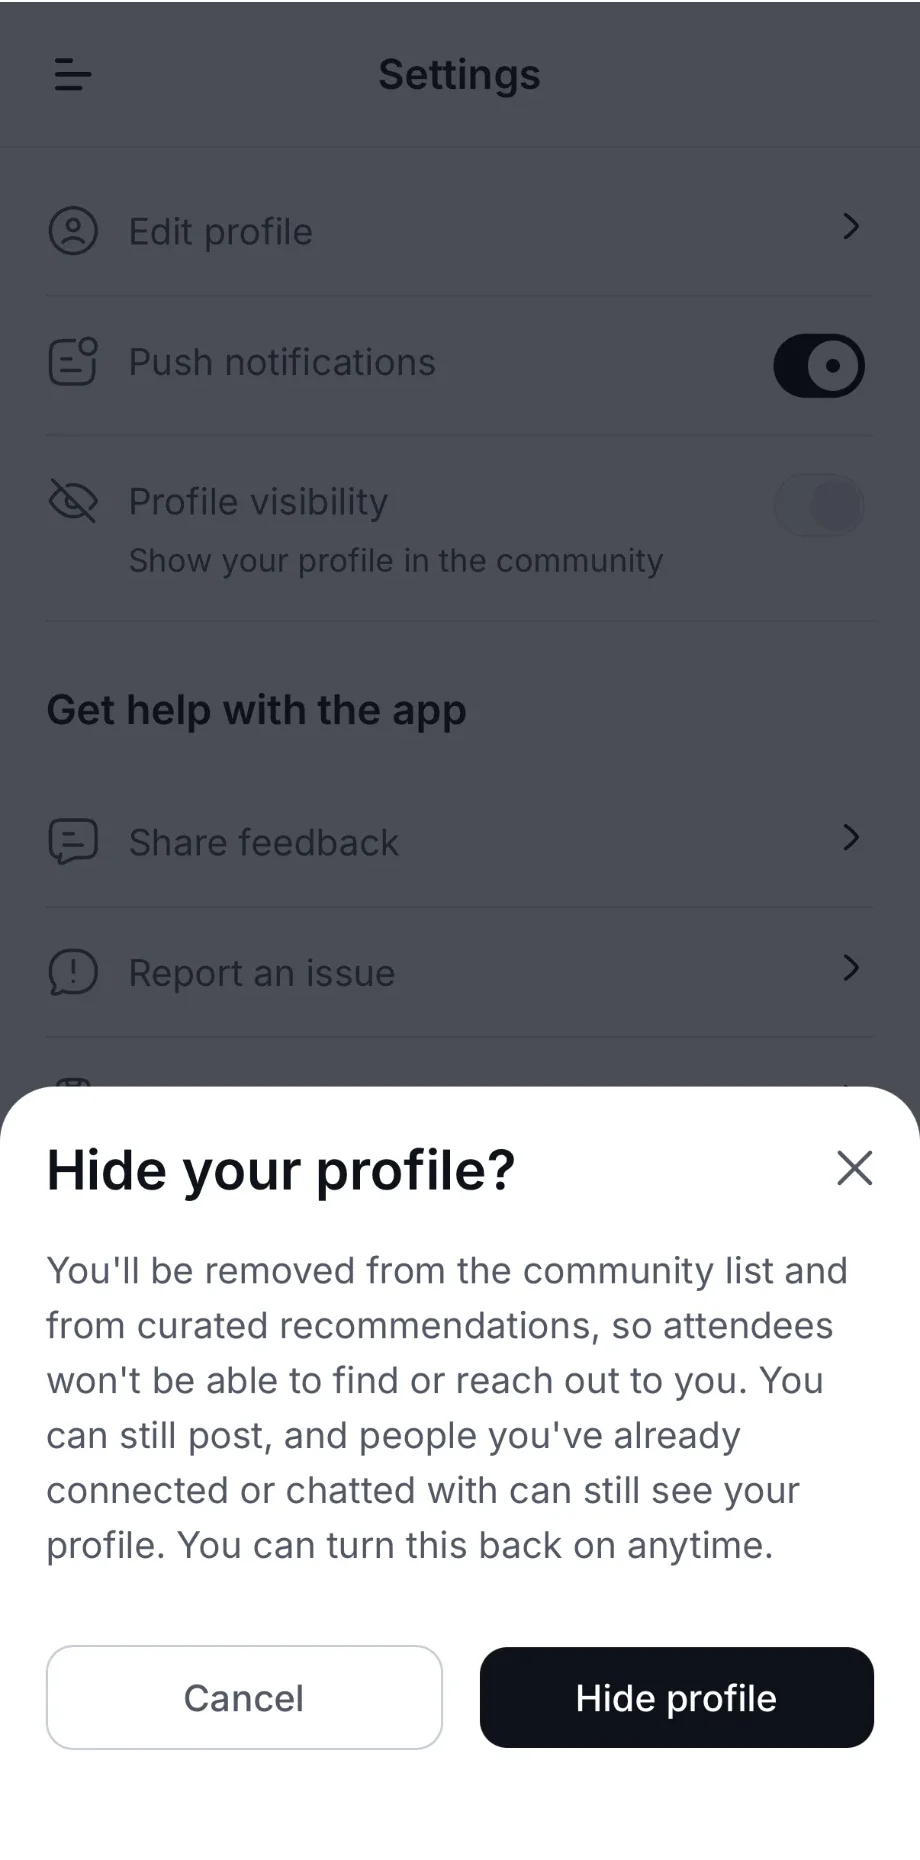
- **Profile visibility**: turn it off to hide your profile from **Community** and from other people's matches. People you've already connected or chatted with can still see you.
- **Direct messages**: turn it off so attendees can't start new conversations with you. Conversations you already have stay open. You also won't be suggested as a match, since nobody could reach you.
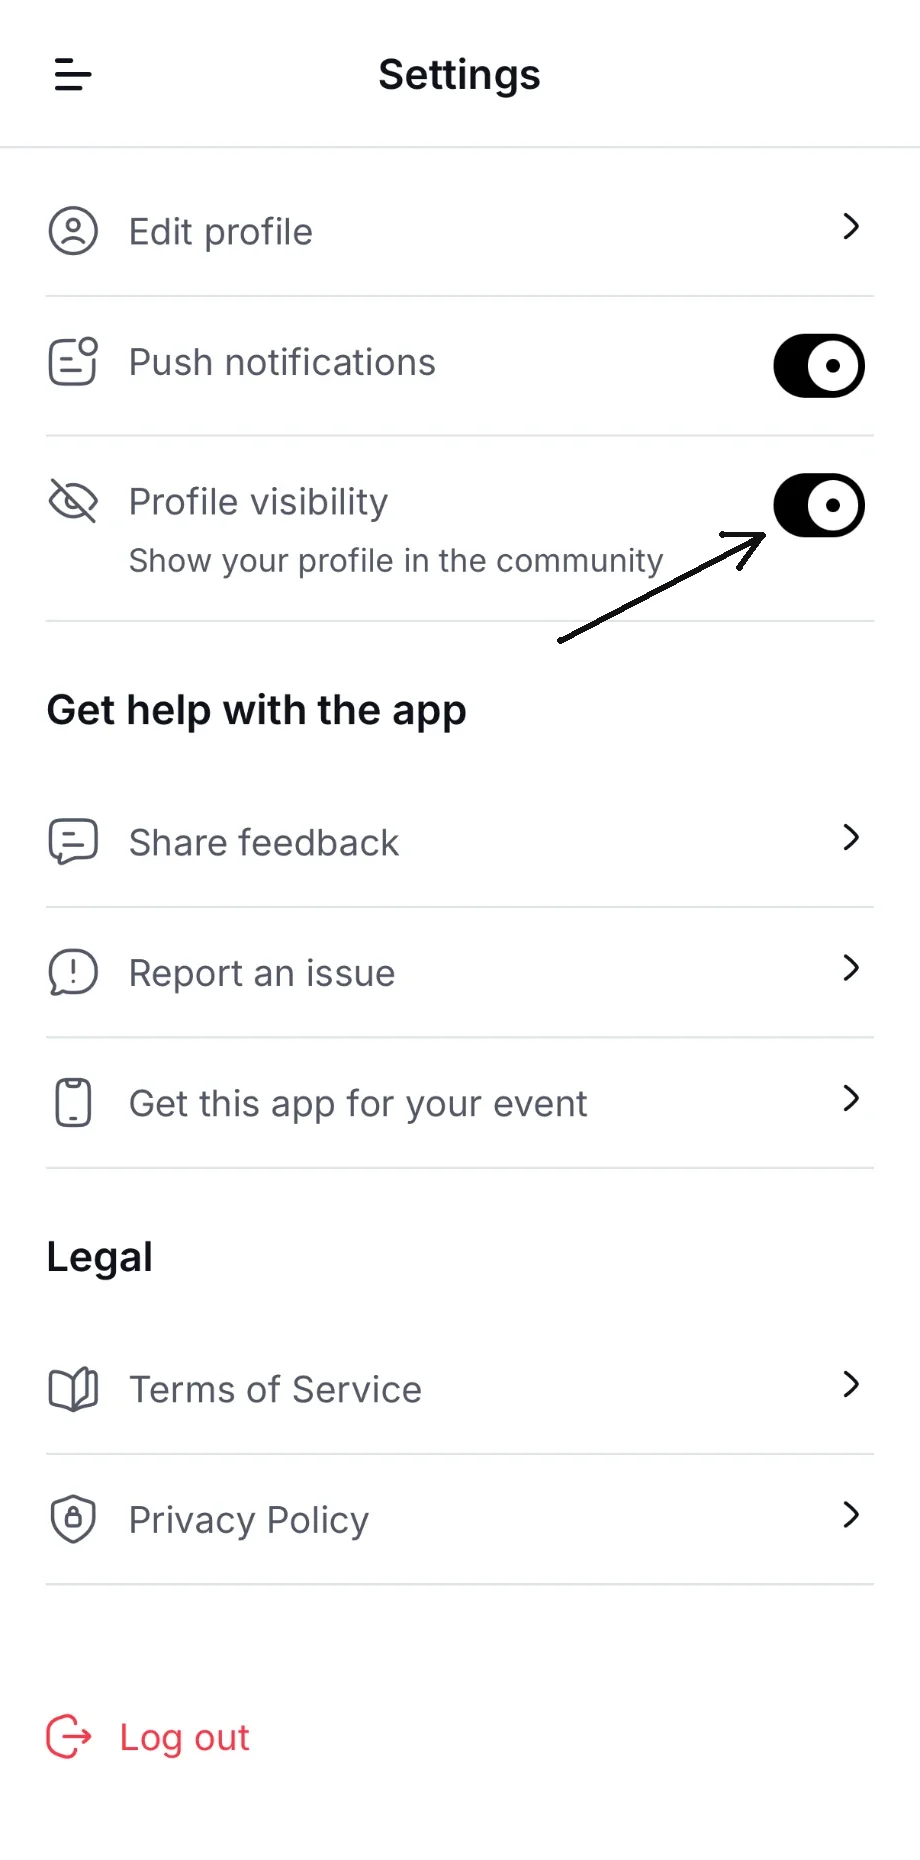 When you turn off **Profile visibility**, the app asks **Hide your profile?**. Tap **Hide profile** to confirm. You can turn it back on at any time.
 To choose whether your email address and phone number show on your profile, open **Settings**, then **Edit profile**, and use **Show email on profile** and **Show phone on profile**.