Event details
Set your event's name, dates, venue and time zone, add organizer contact details, and choose what appears on your app's install page.
The General tab (2) of Event settings holds the basics of your event: its name, dates, venue and time zone, your contact details, and what appears on your app's install page. Open it from Event (1) in the event sidebar: before launch it's the first setup step, and after launch it's under App settings. To create a new event, see the Quickstart.
Everything saves as you type, and the App preview beside the page shows your install page, the public page where people install your app.
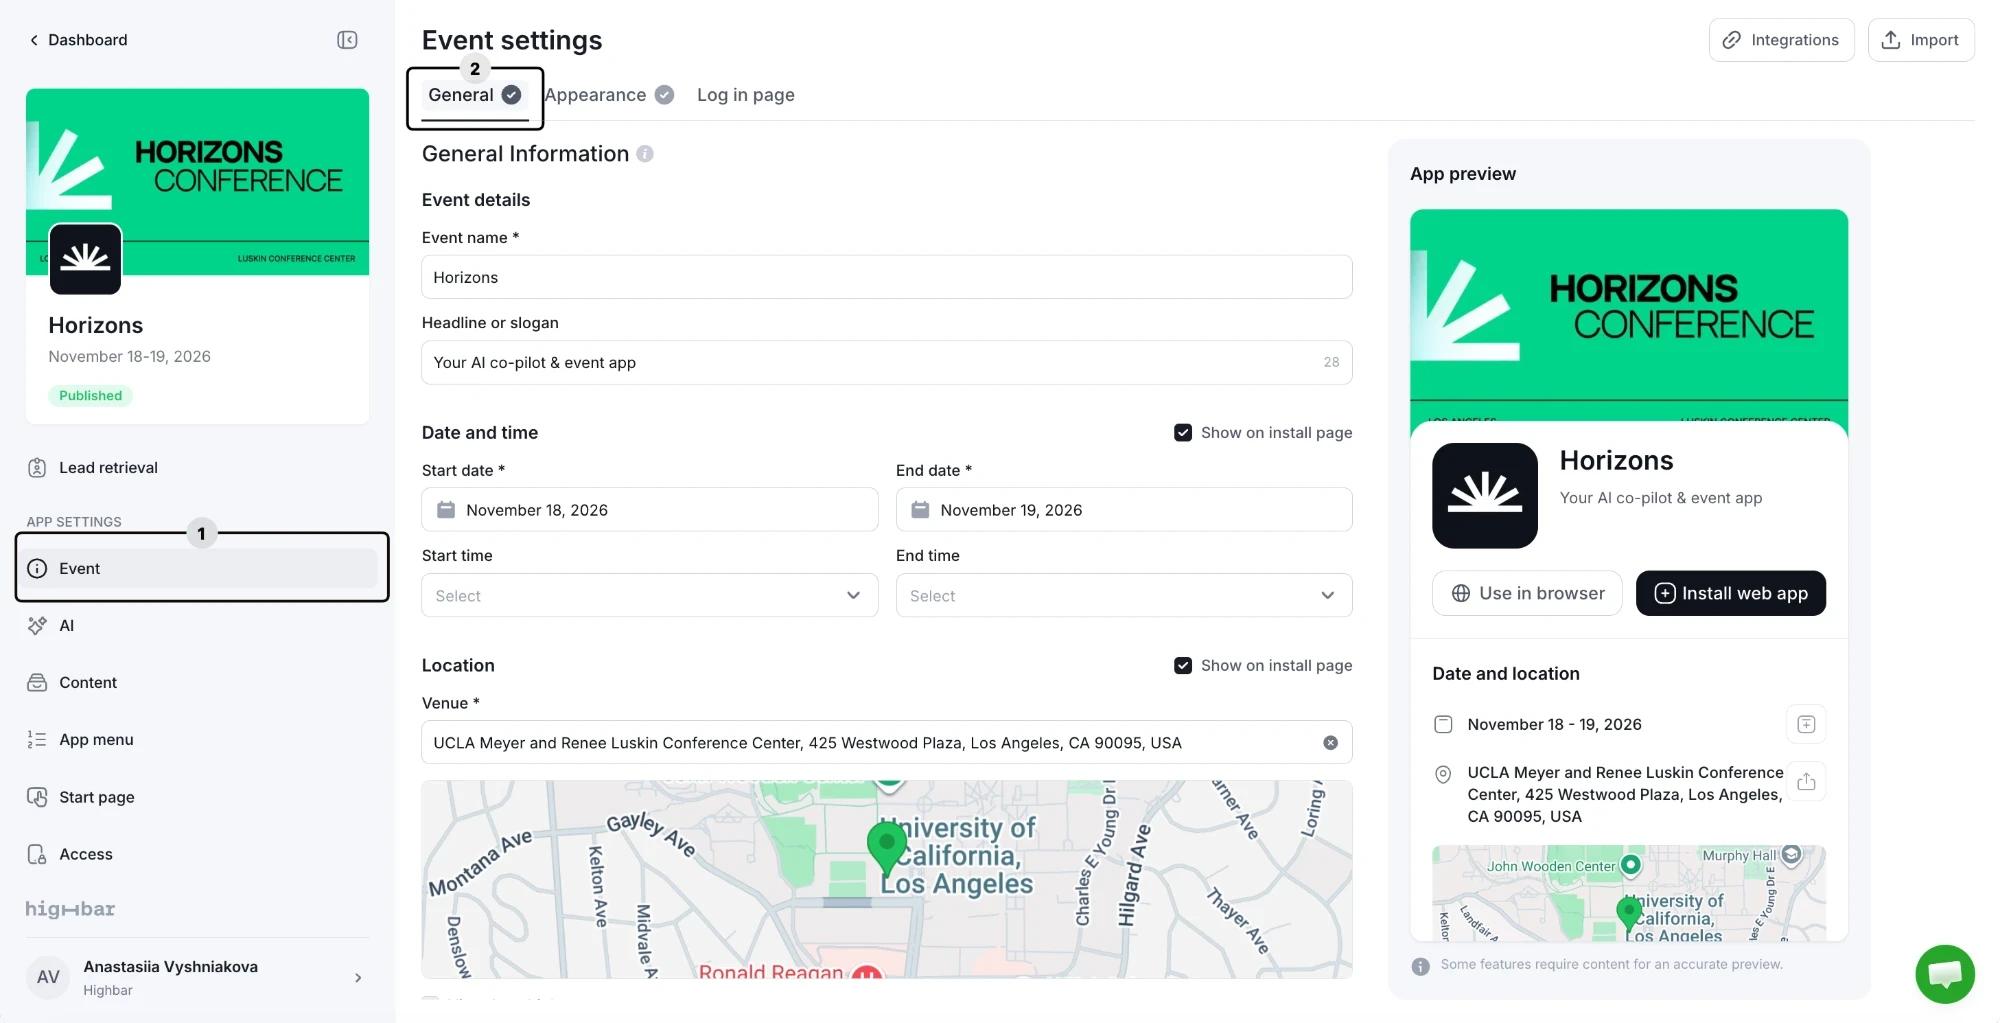
Event details
| Field | What it's for |
|---|---|
| Event name (required) | Your event's name, shown on the install page, in the app and to the AI Concierge. |
| Headline or slogan | A short line under the event name on the install page, up to 36 characters. New events start with a default headline: replace it with your own. |
| Start date and End date (required) | The days your event runs. The start date can't be in the past. |
| Start time and End time | Optional. Add them if your event has a clear opening and close. |
| Venue (required unless virtual) | Where the event takes place. See below. |
| Time zone (required) | The time zone your event runs in. |
Changing the dates
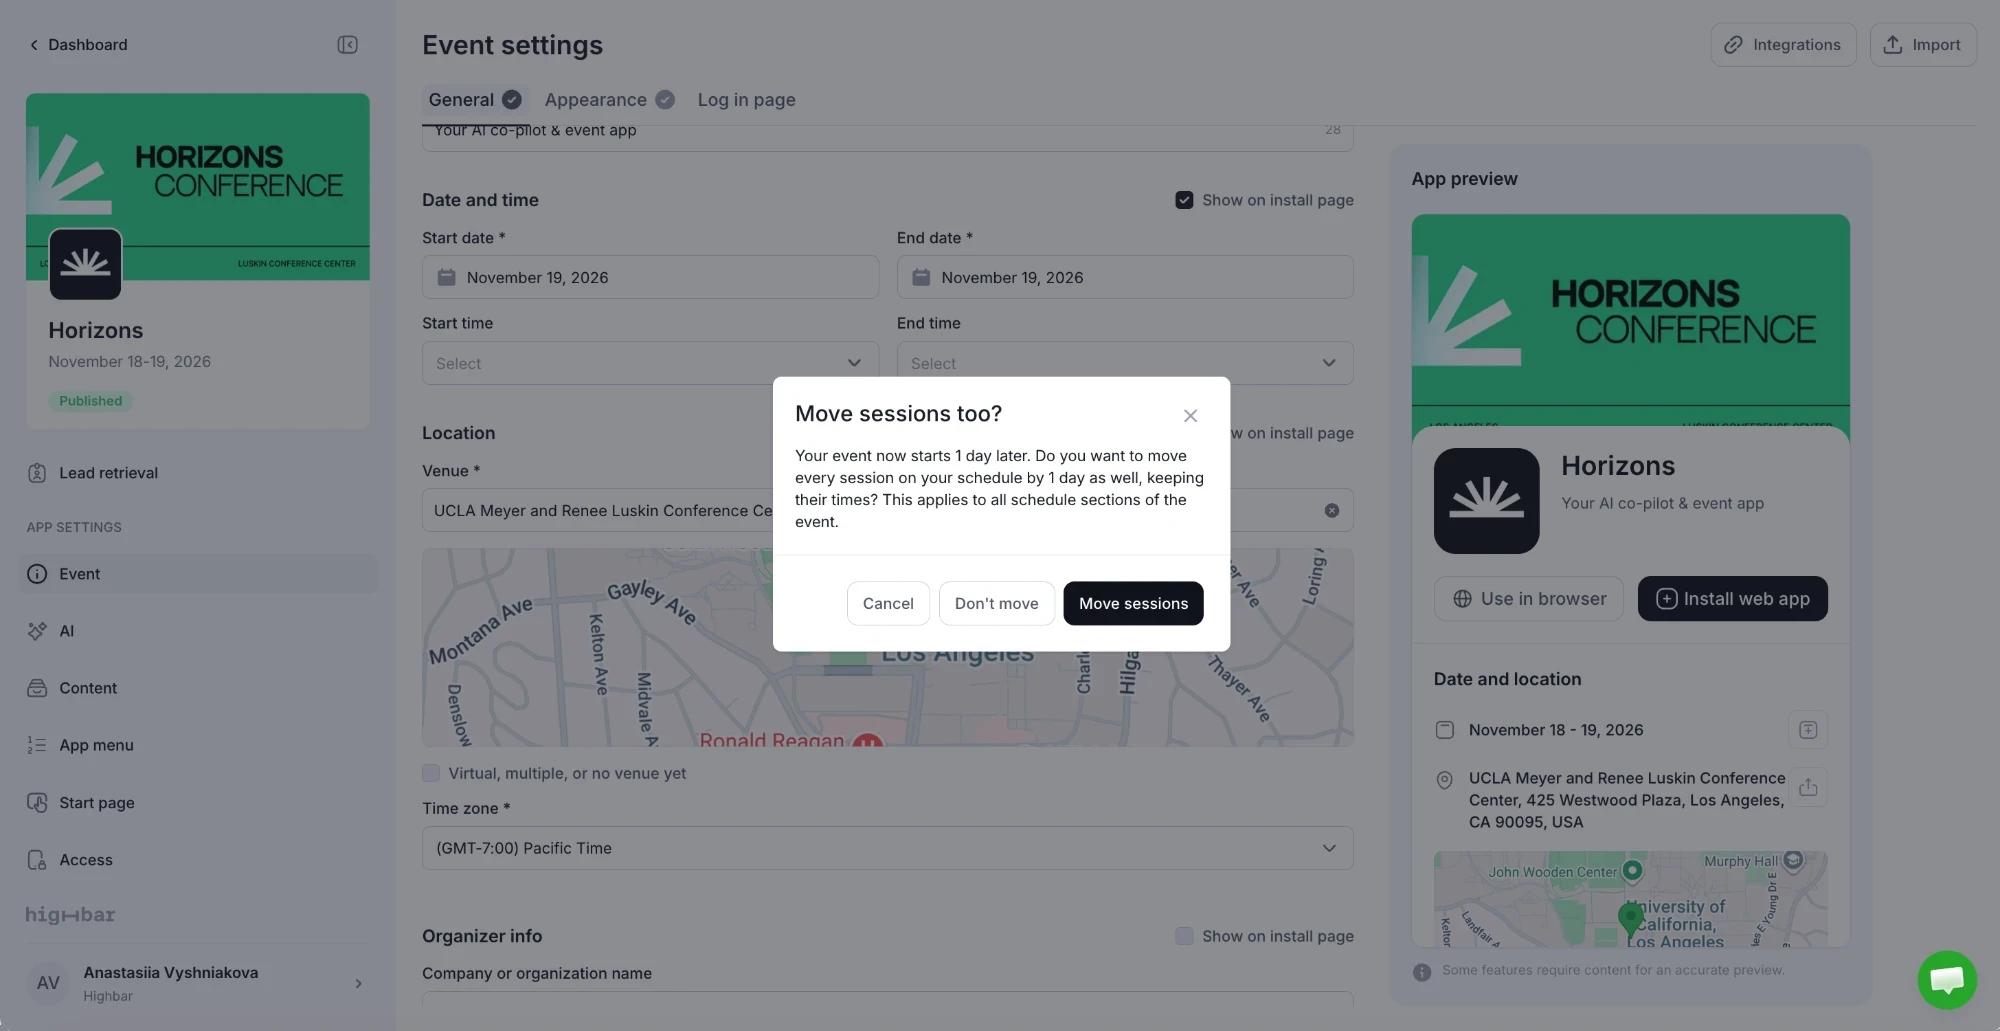
If your schedule already has sessions and you move the start date, Highbar asks Move sessions too?
- Move sessions moves every session in every schedule section by the same number of days, keeping their times.
- Don't move changes the event dates only.
- Cancel puts the old dates back.
Setting the venue
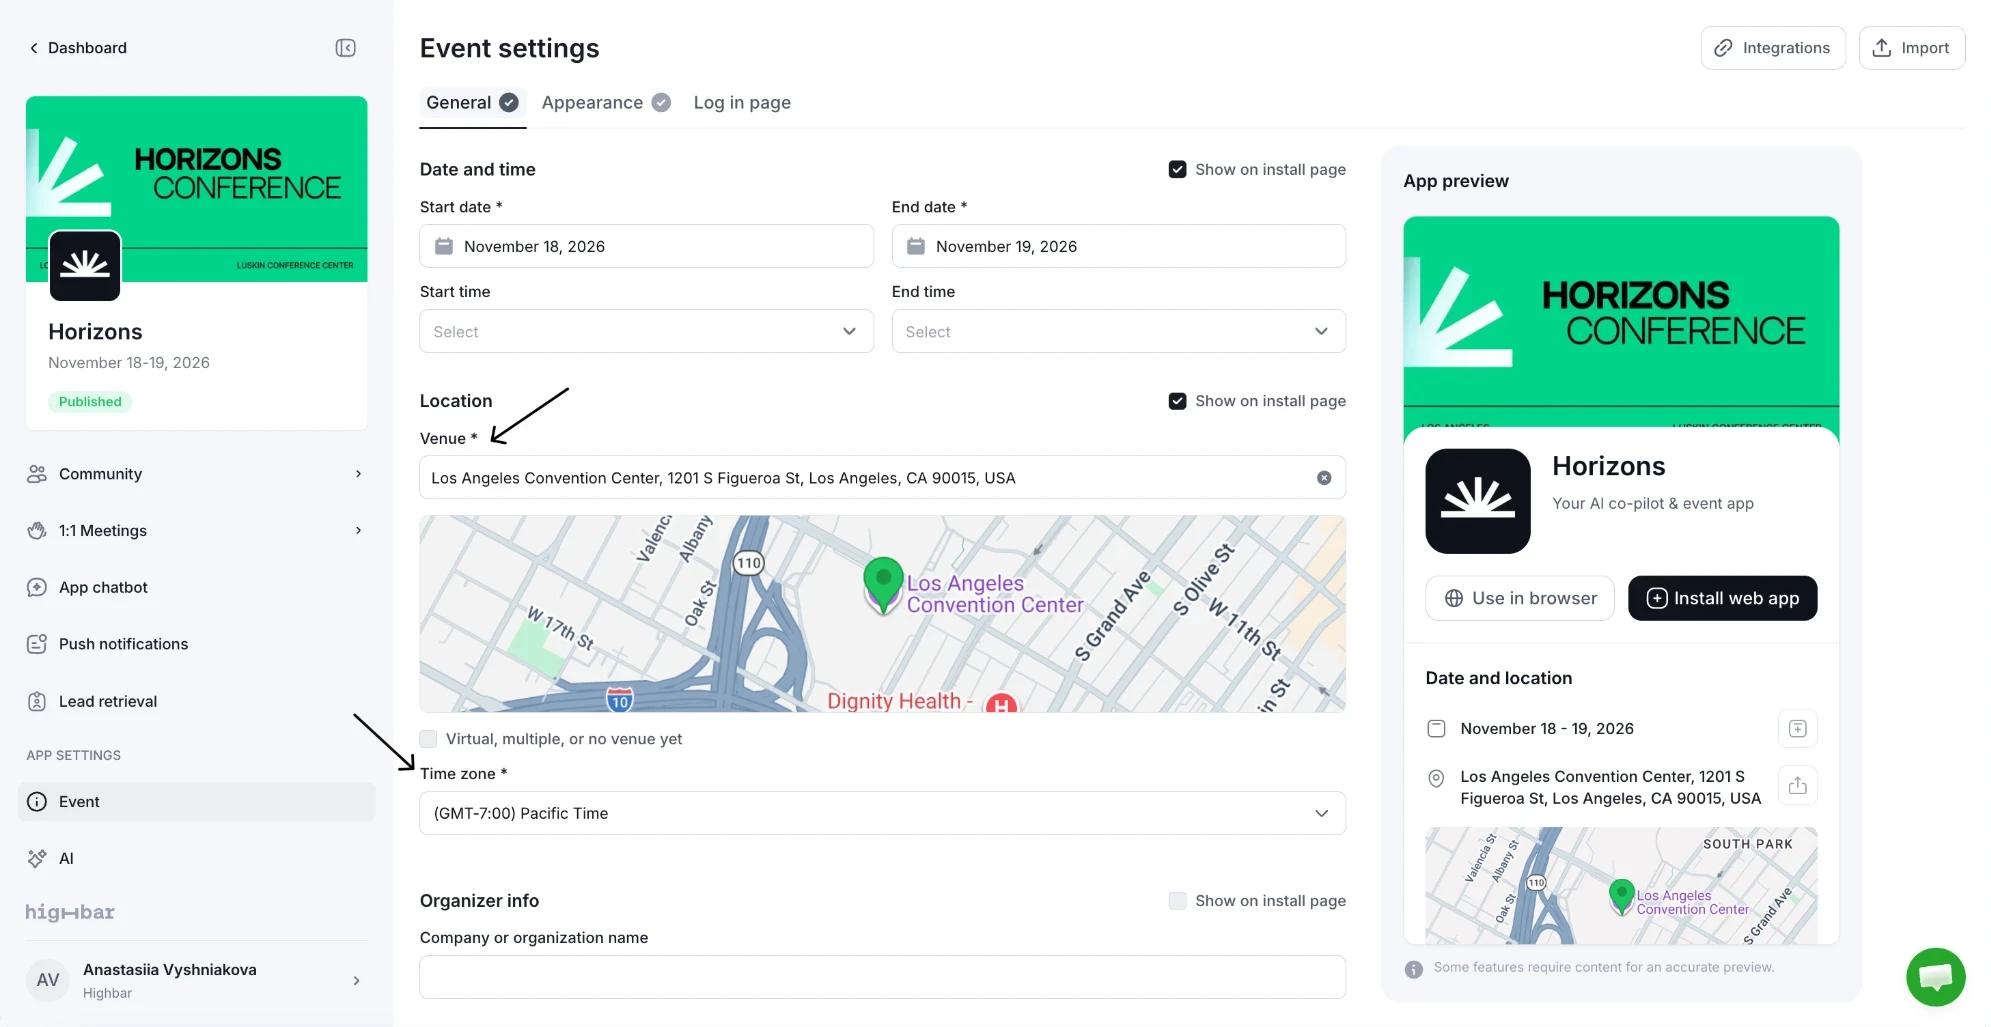
Start typing the venue's name or address and pick it from the suggestions. Highbar fills in the address, shows a map and sets Time zone to the venue's.
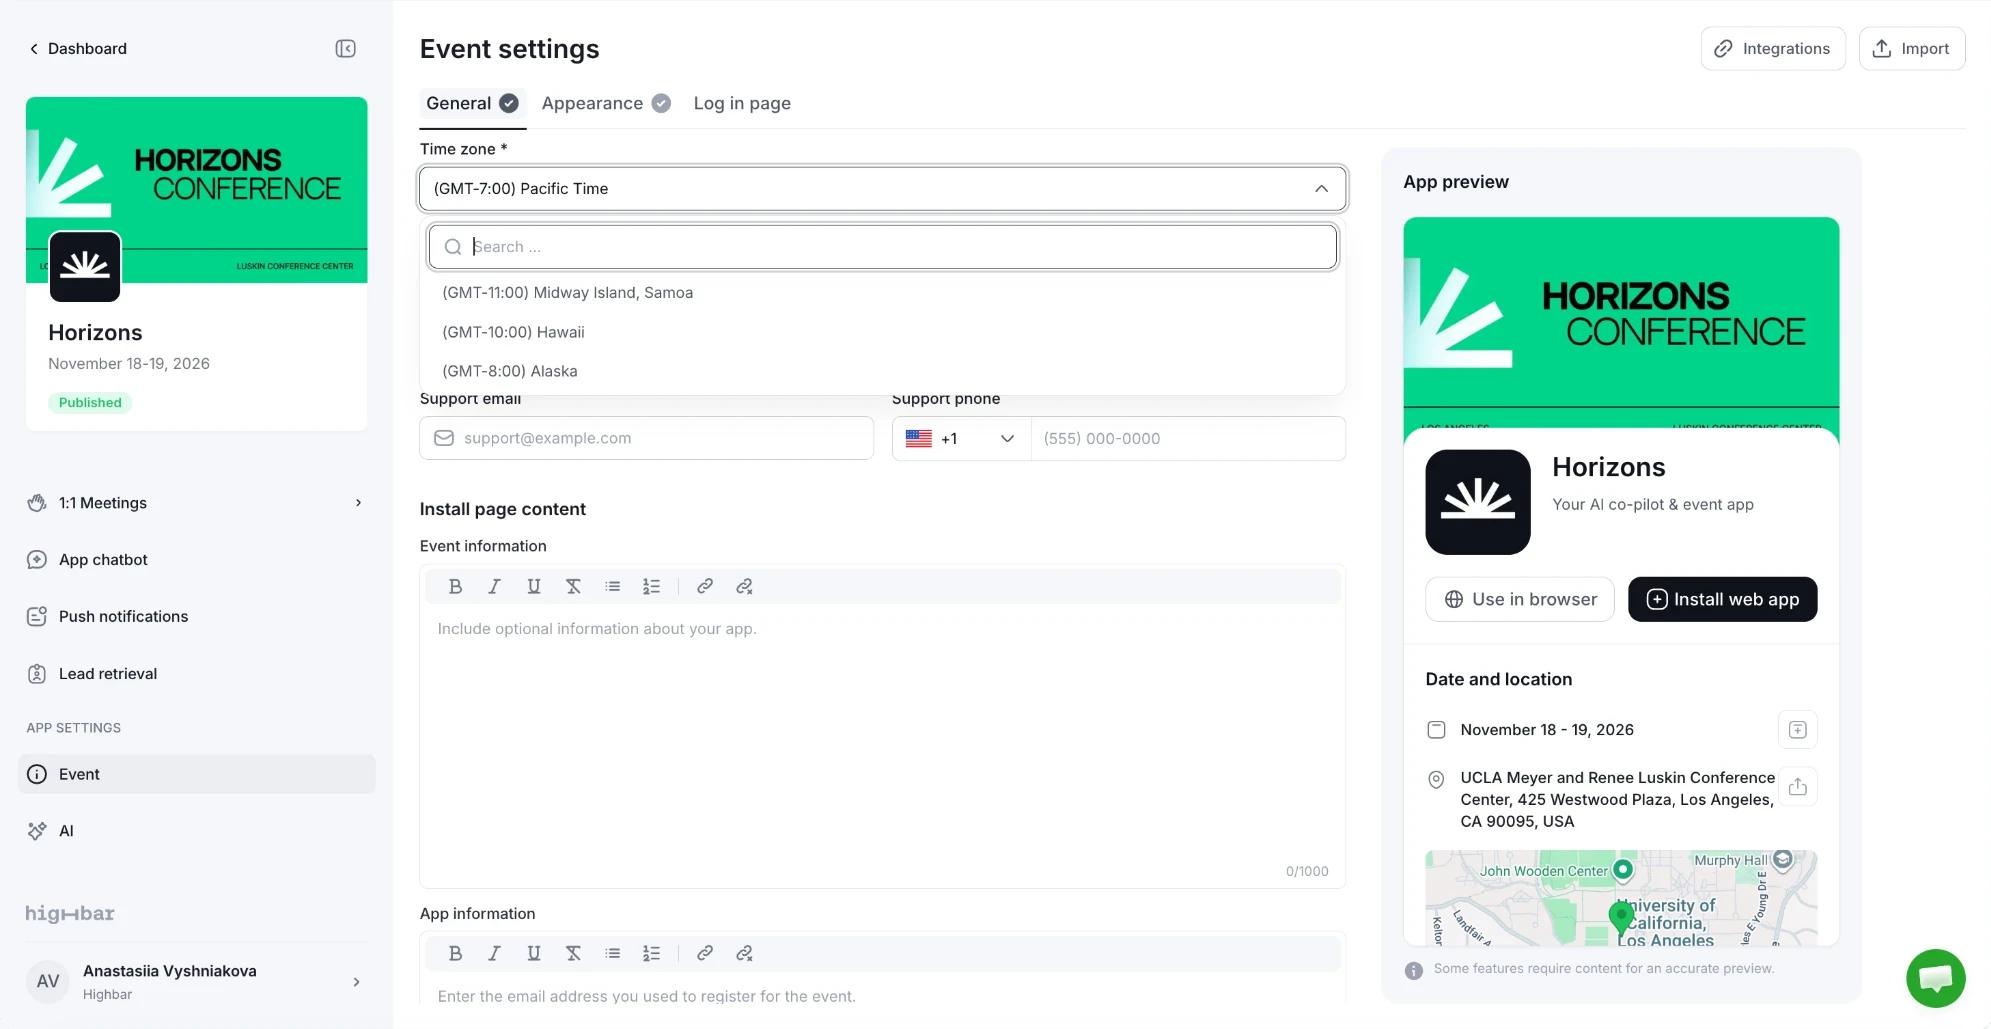
To pick a different time zone, open Time zone and search for it.
If your venue isn't suggested, choose Add venue address manually below the search box.
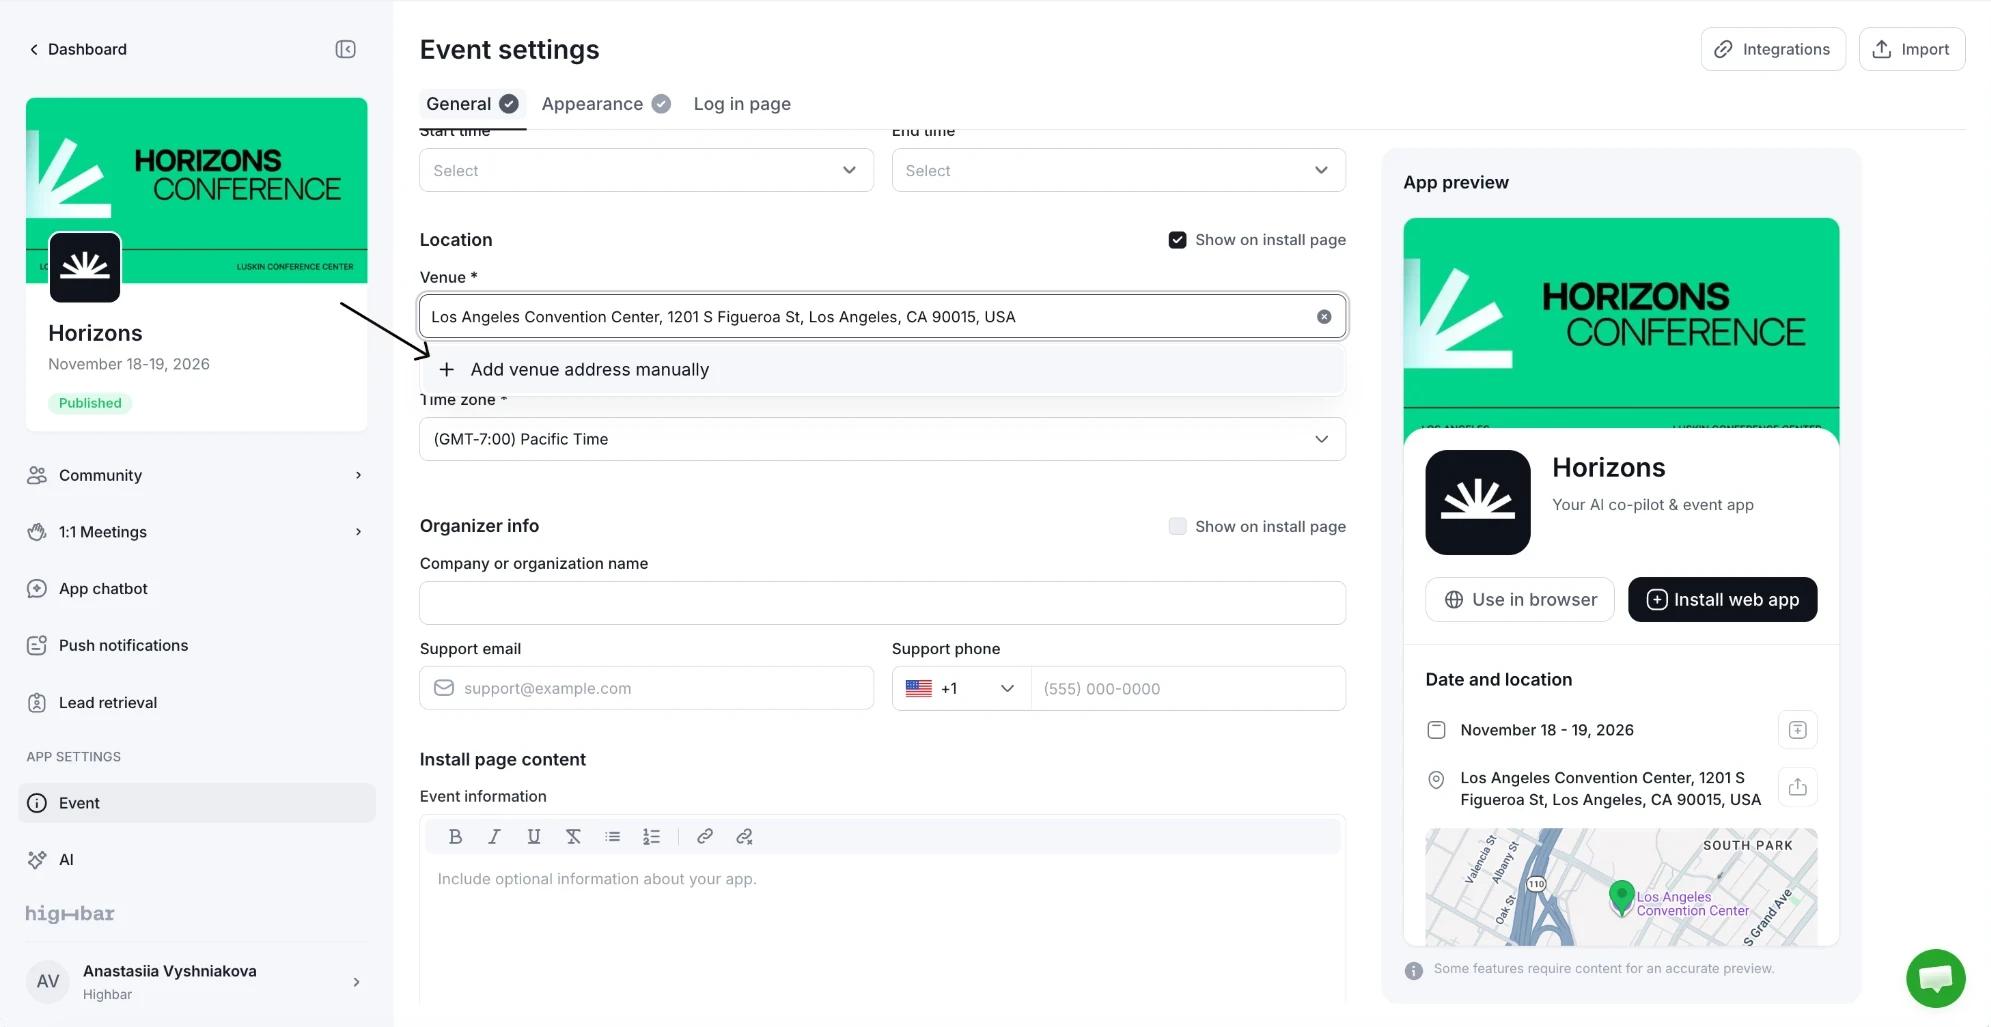
Fill in the address yourself, then check the time zone. Back to search returns to the search box.
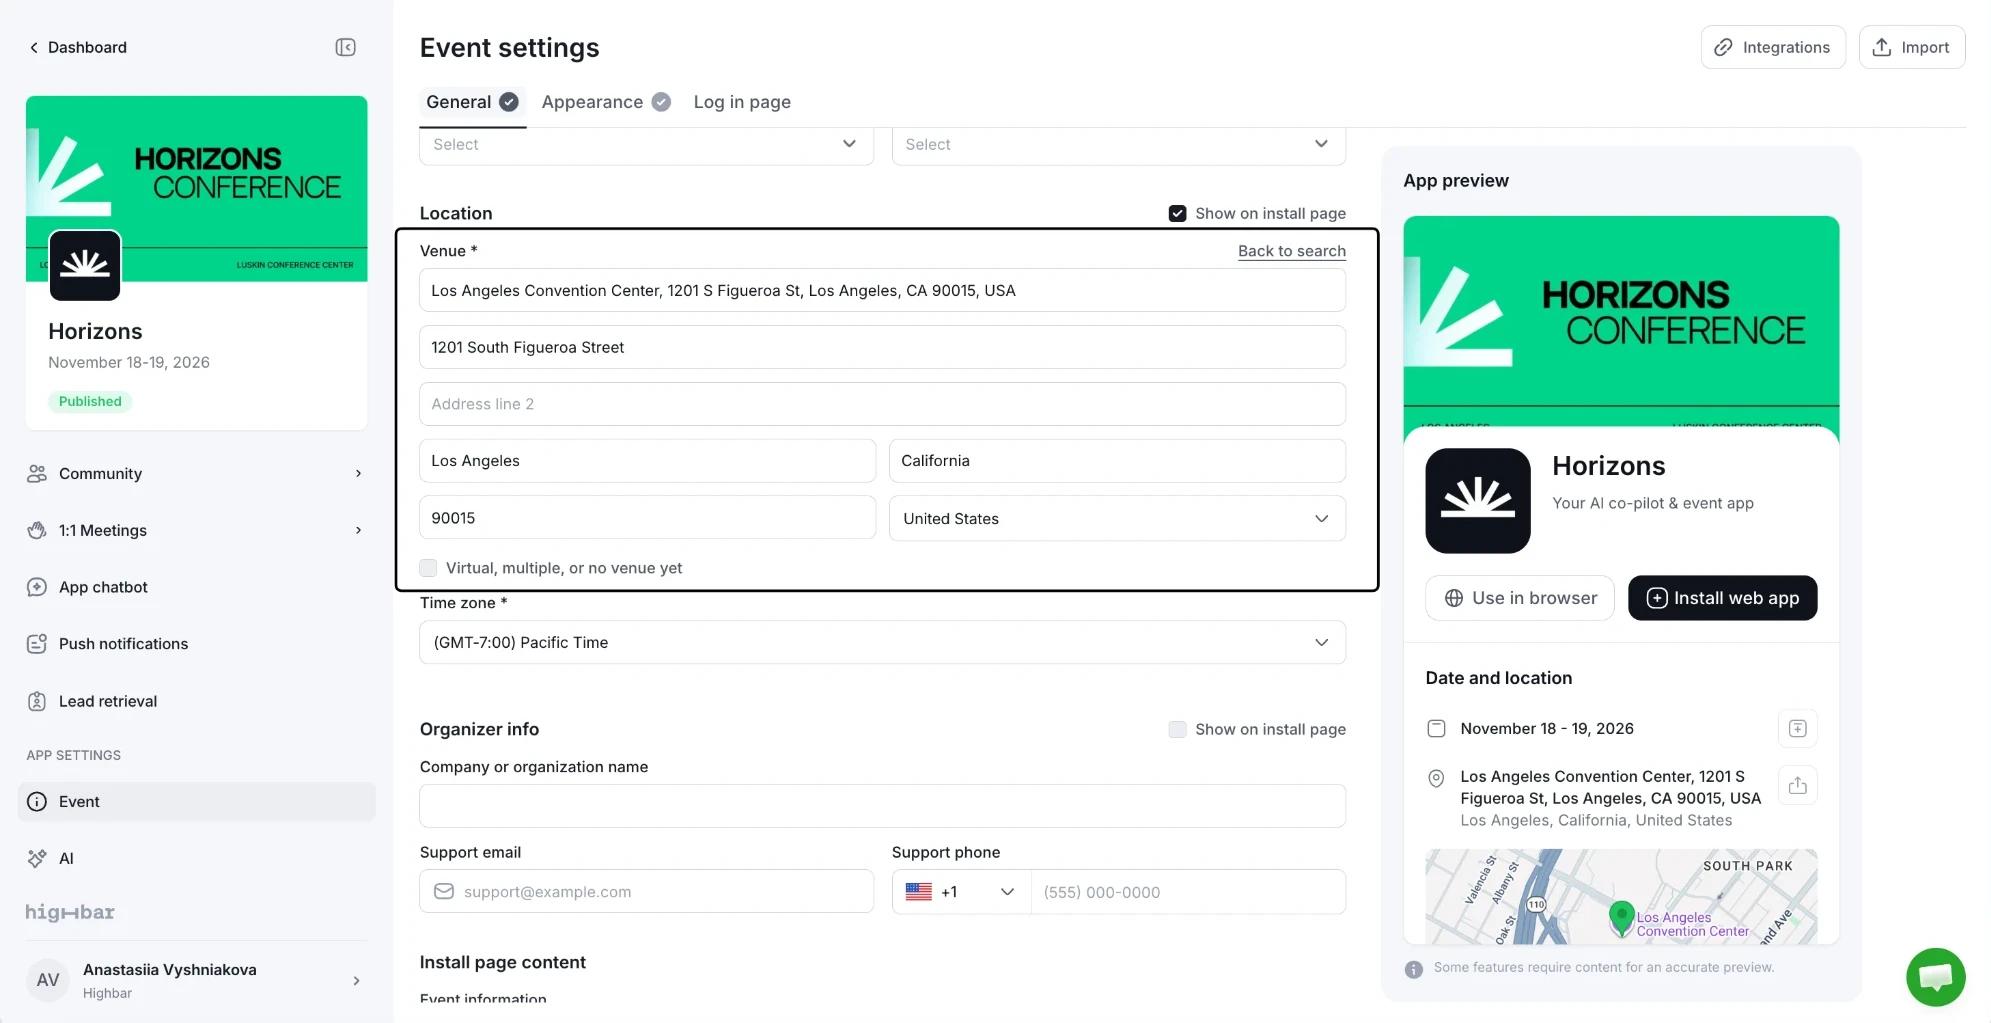
For an online event, an event across several venues, or one without a venue yet, tick Virtual, multiple, or no venue yet.
Organizer info
Add Company or organization name, Support email and Support phone. Your support email matters even if you don't show it publicly:
- On the log in page, someone whose email isn't on your attendee list gets a link to contact you at this address.
- The AI Concierge points attendees to it when they ask something it can't answer.
Tick Show on install page to also show these details on the install page, under Organizer.
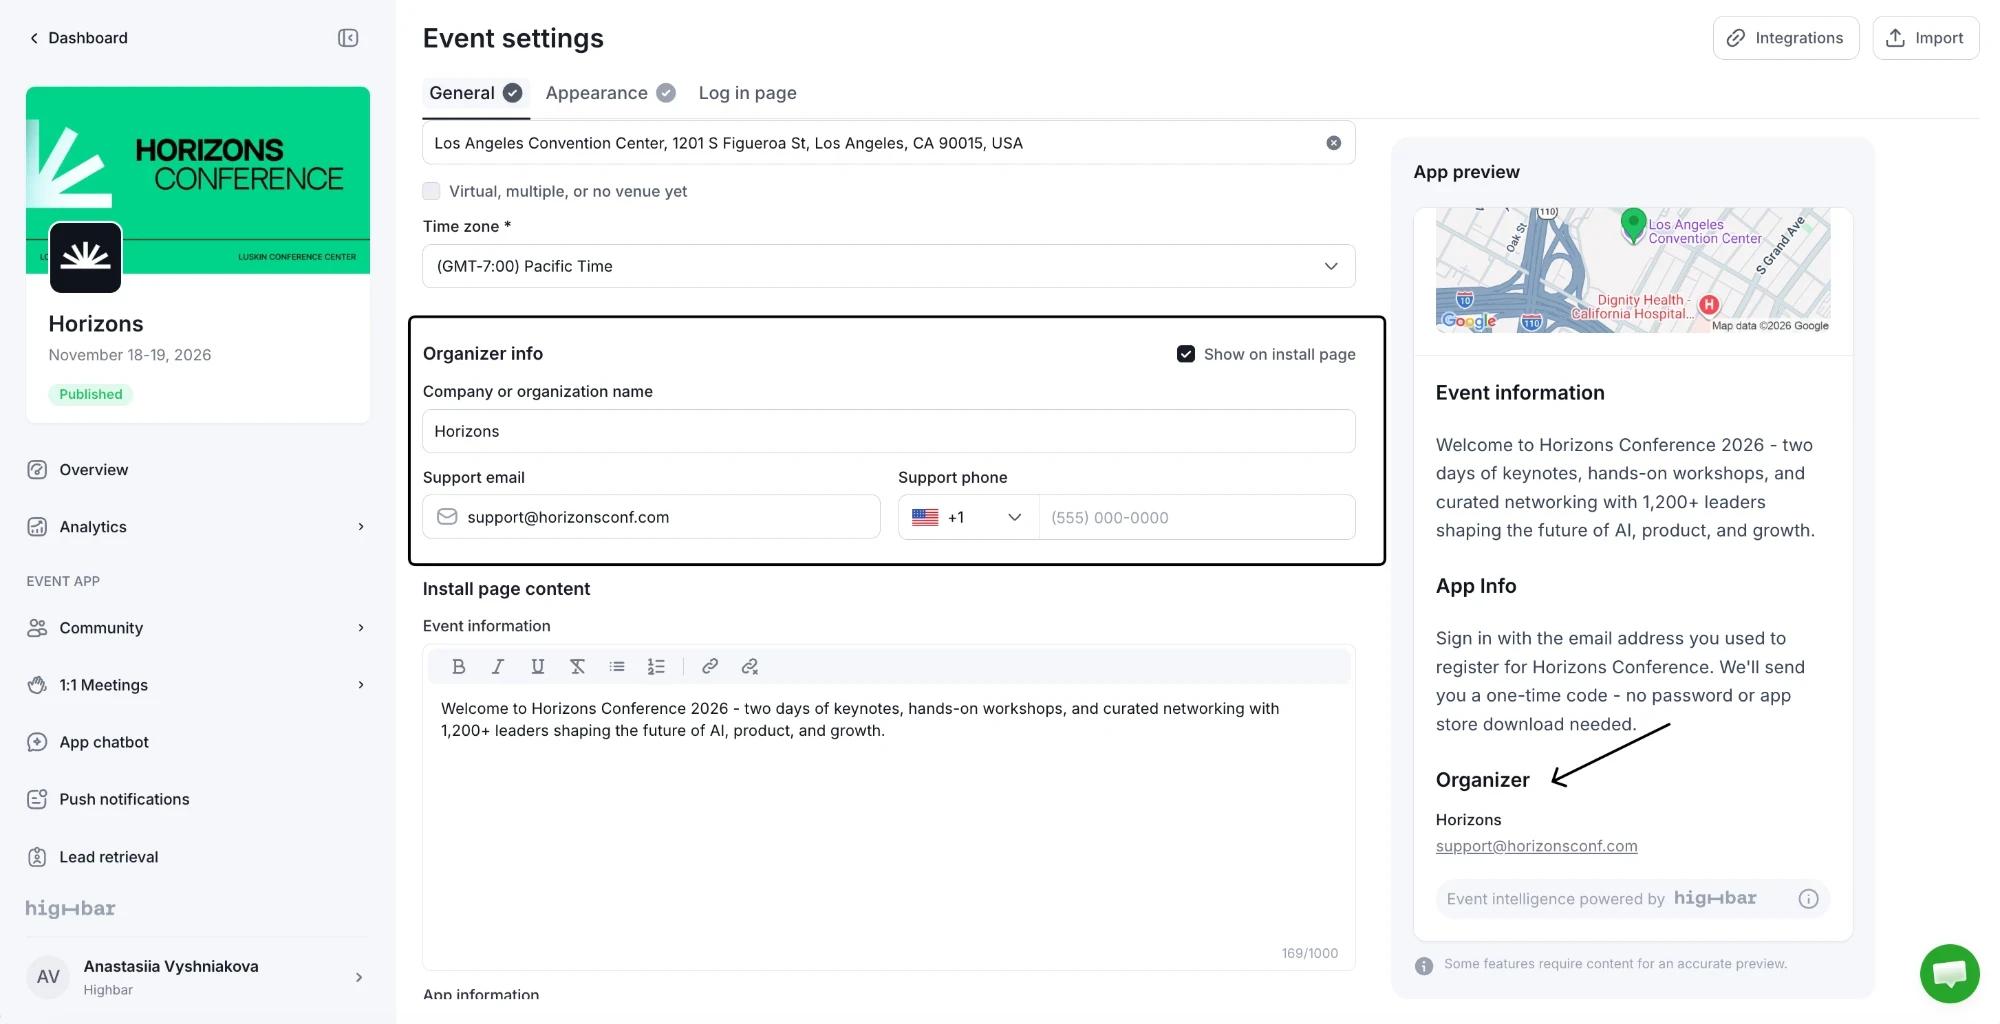
What appears on the install page
The install page shows your app icon, event name, headline and event cover (set on Appearance), plus the sections you choose here.
| Section | Shown by default | What attendees see |
|---|---|---|
| Date and time | Yes | The dates and times, with an add-to-calendar link. |
| Location | Yes | The venue and address, with a map if you picked the venue from the search. |
| Organizer info | No | Your organization name, support email and phone. |
Untick Show on install page next to a section's heading to hide it. The details stay saved and still work everywhere else.
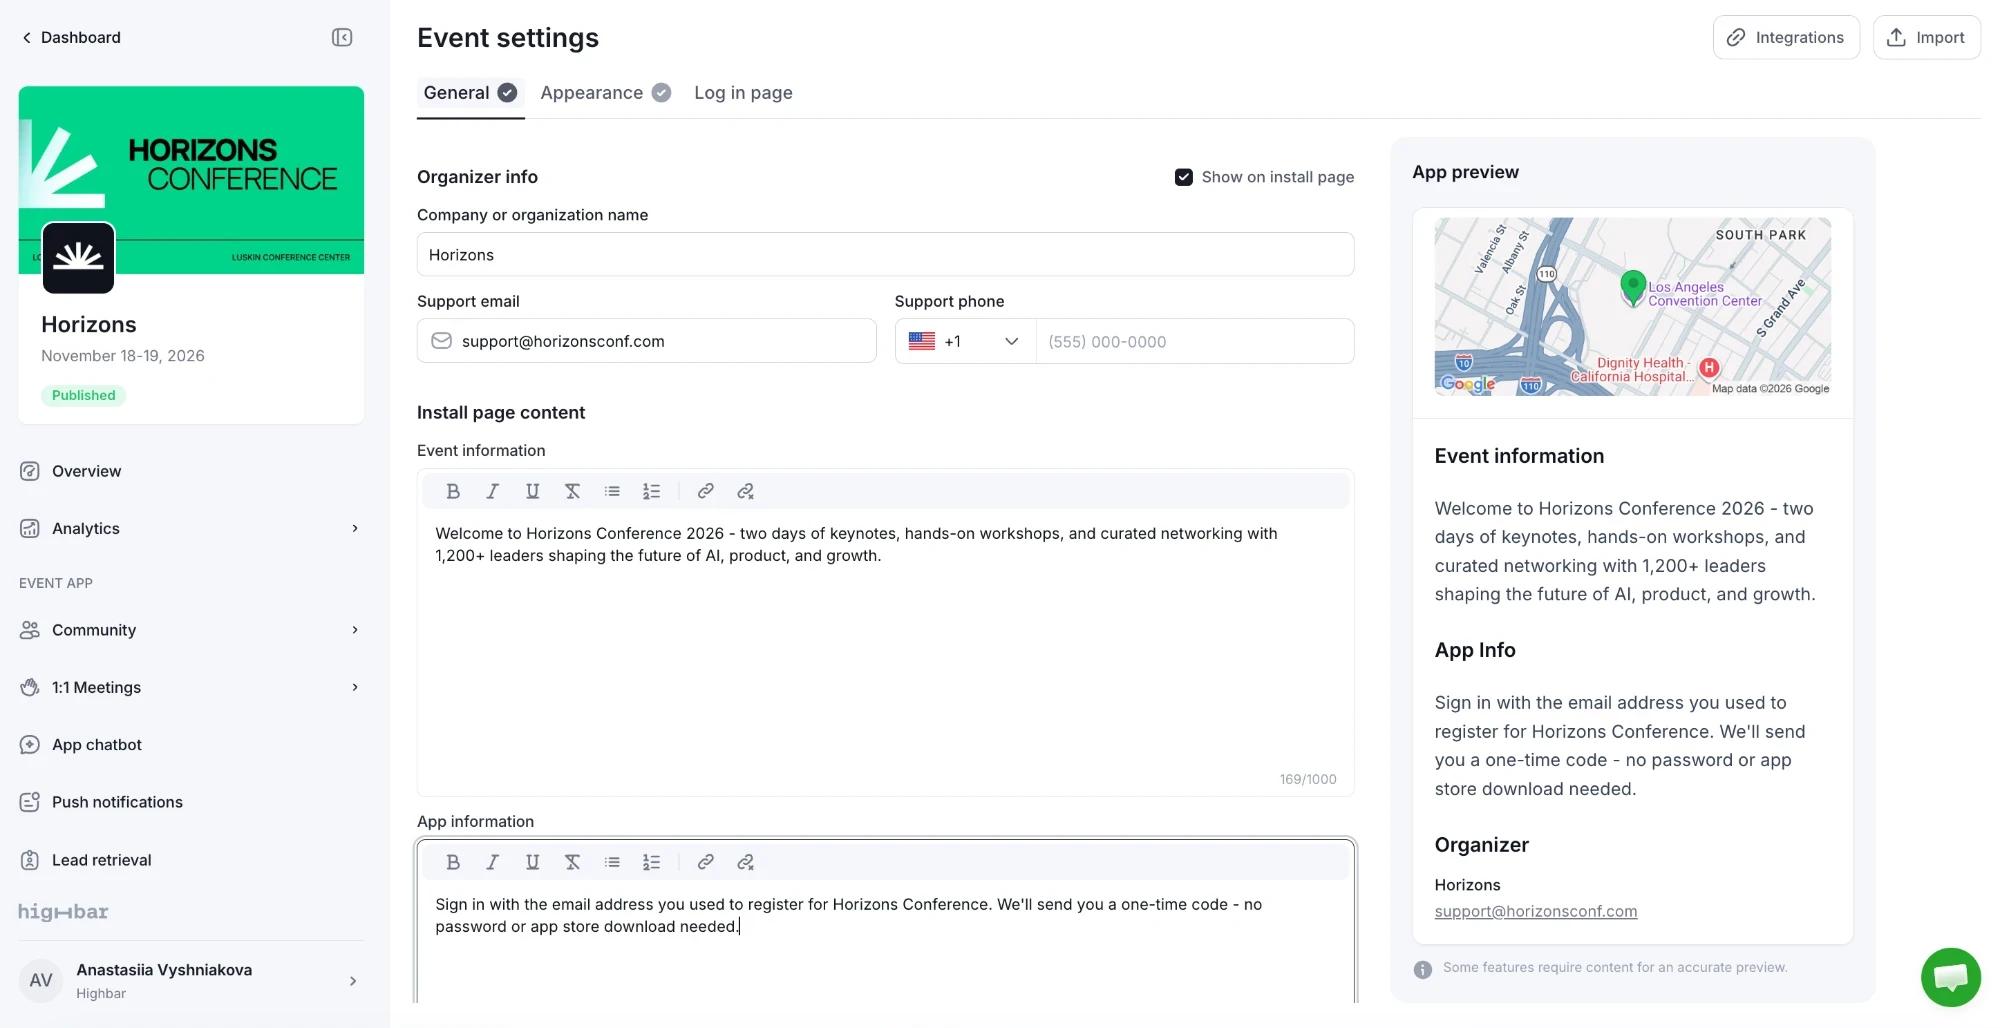
Under Install page content, two formatted text fields add more to the page:
- Event information: what the event is and who it's for.
- App information: what the app does, how to sign in, and why it's worth installing.
Keep both short. The counter under each field shows how much of the limit you've used.
Event dates, venue and organizer details also feed the AI Concierge, so keep them up to date: attendees asking "when does it start?" or "where is it?" get the answer from this tab.