Launch your app
What you need before you can launch, what the launch steps ask for, and what changes once your app is live.
Launching publishes your event app at its own link, ready to share with attendees. Until then, only you and your collaborators can see it, through the preview in the dashboard.
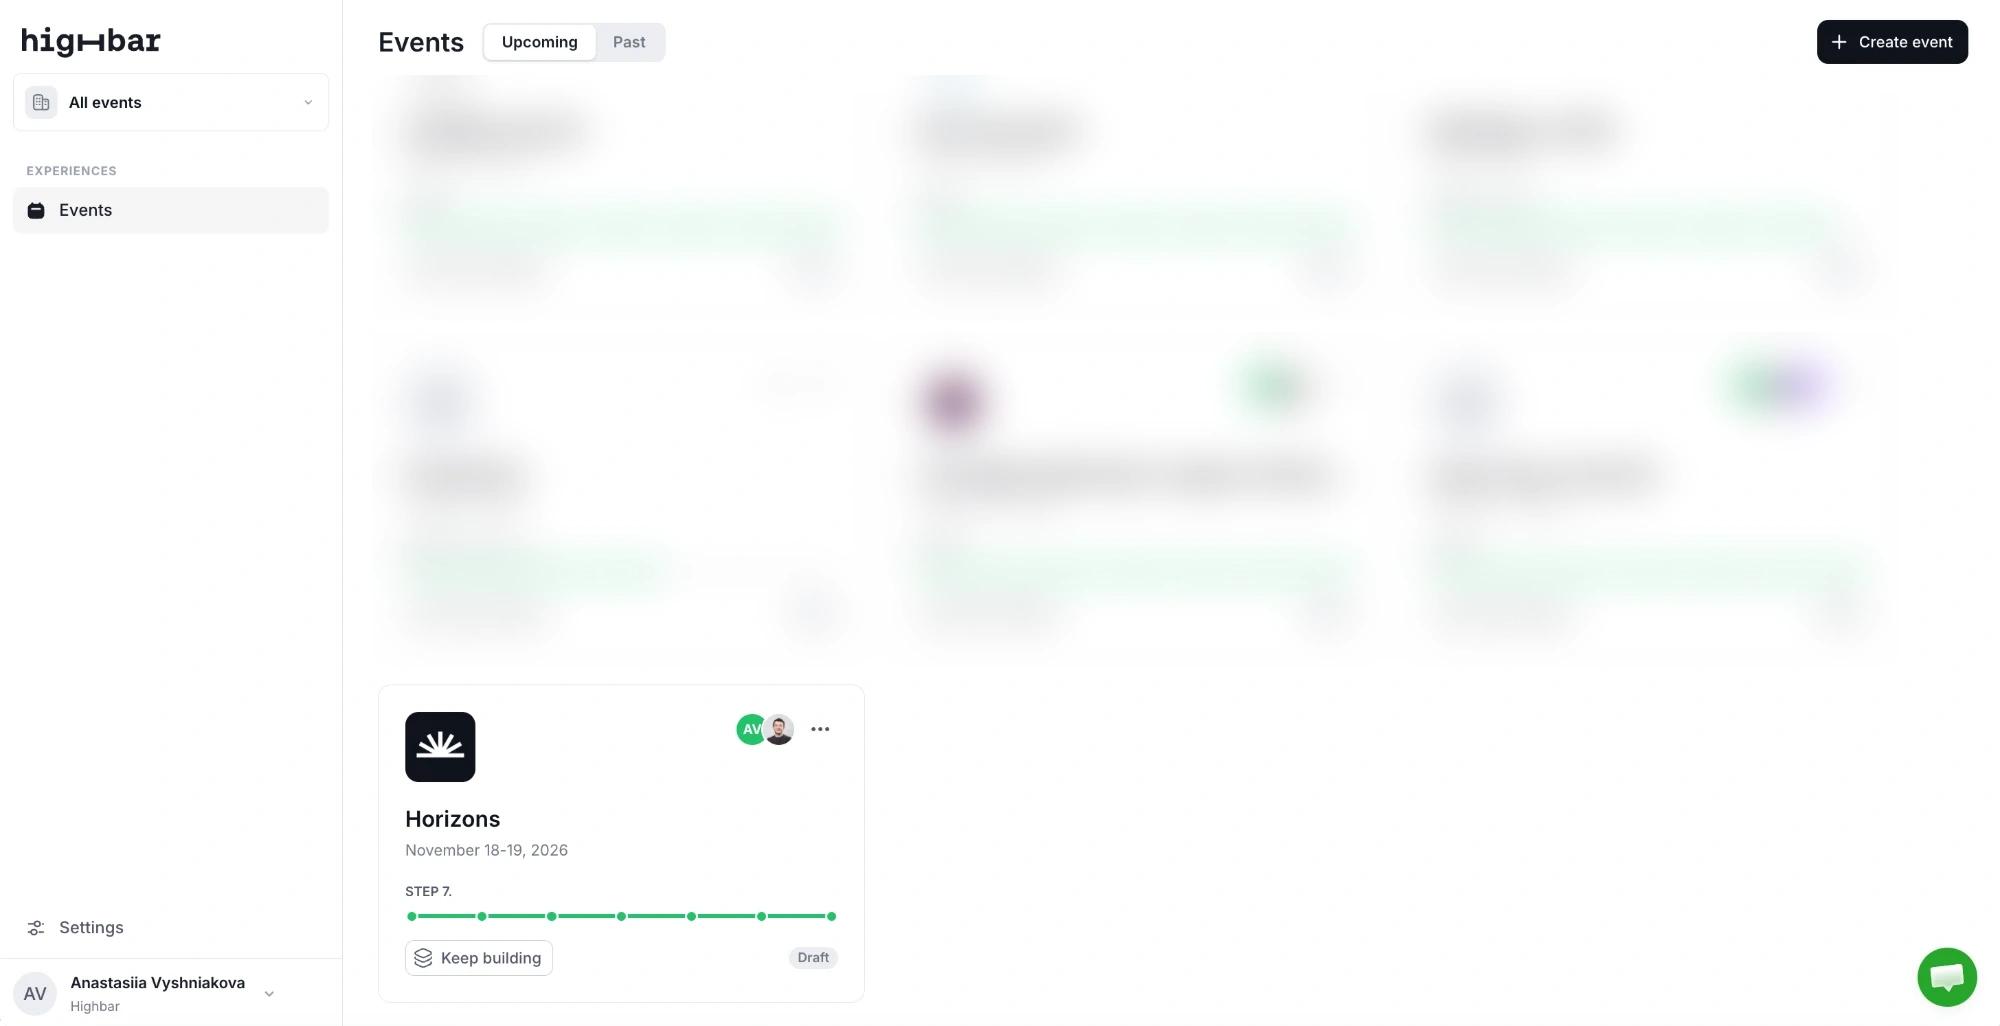
Before you launch
The Launch App button at the bottom of the event sidebar stays greyed out until these setup steps are complete:
| Step | What "complete" means |
|---|---|
| Event | The event has a name, start and end dates, a time zone and a venue (or is marked virtual), and Appearance has an app label, app icon, navigation bar logo and event cover. |
| AI | The AI Concierge has a chat icon, name, welcome message and unknown response, or you've switched it off. |
| Content | At least one Schedule, Speakers or Sponsors section has at least one item in it. Maps, resource libraries, photo galleries and web views don't count toward this. |
The other steps never block launch: App menu and Start page start from sensible defaults, and you can add people on the Access page before or after launching. Each step shows a check mark in the sidebar once it's done.
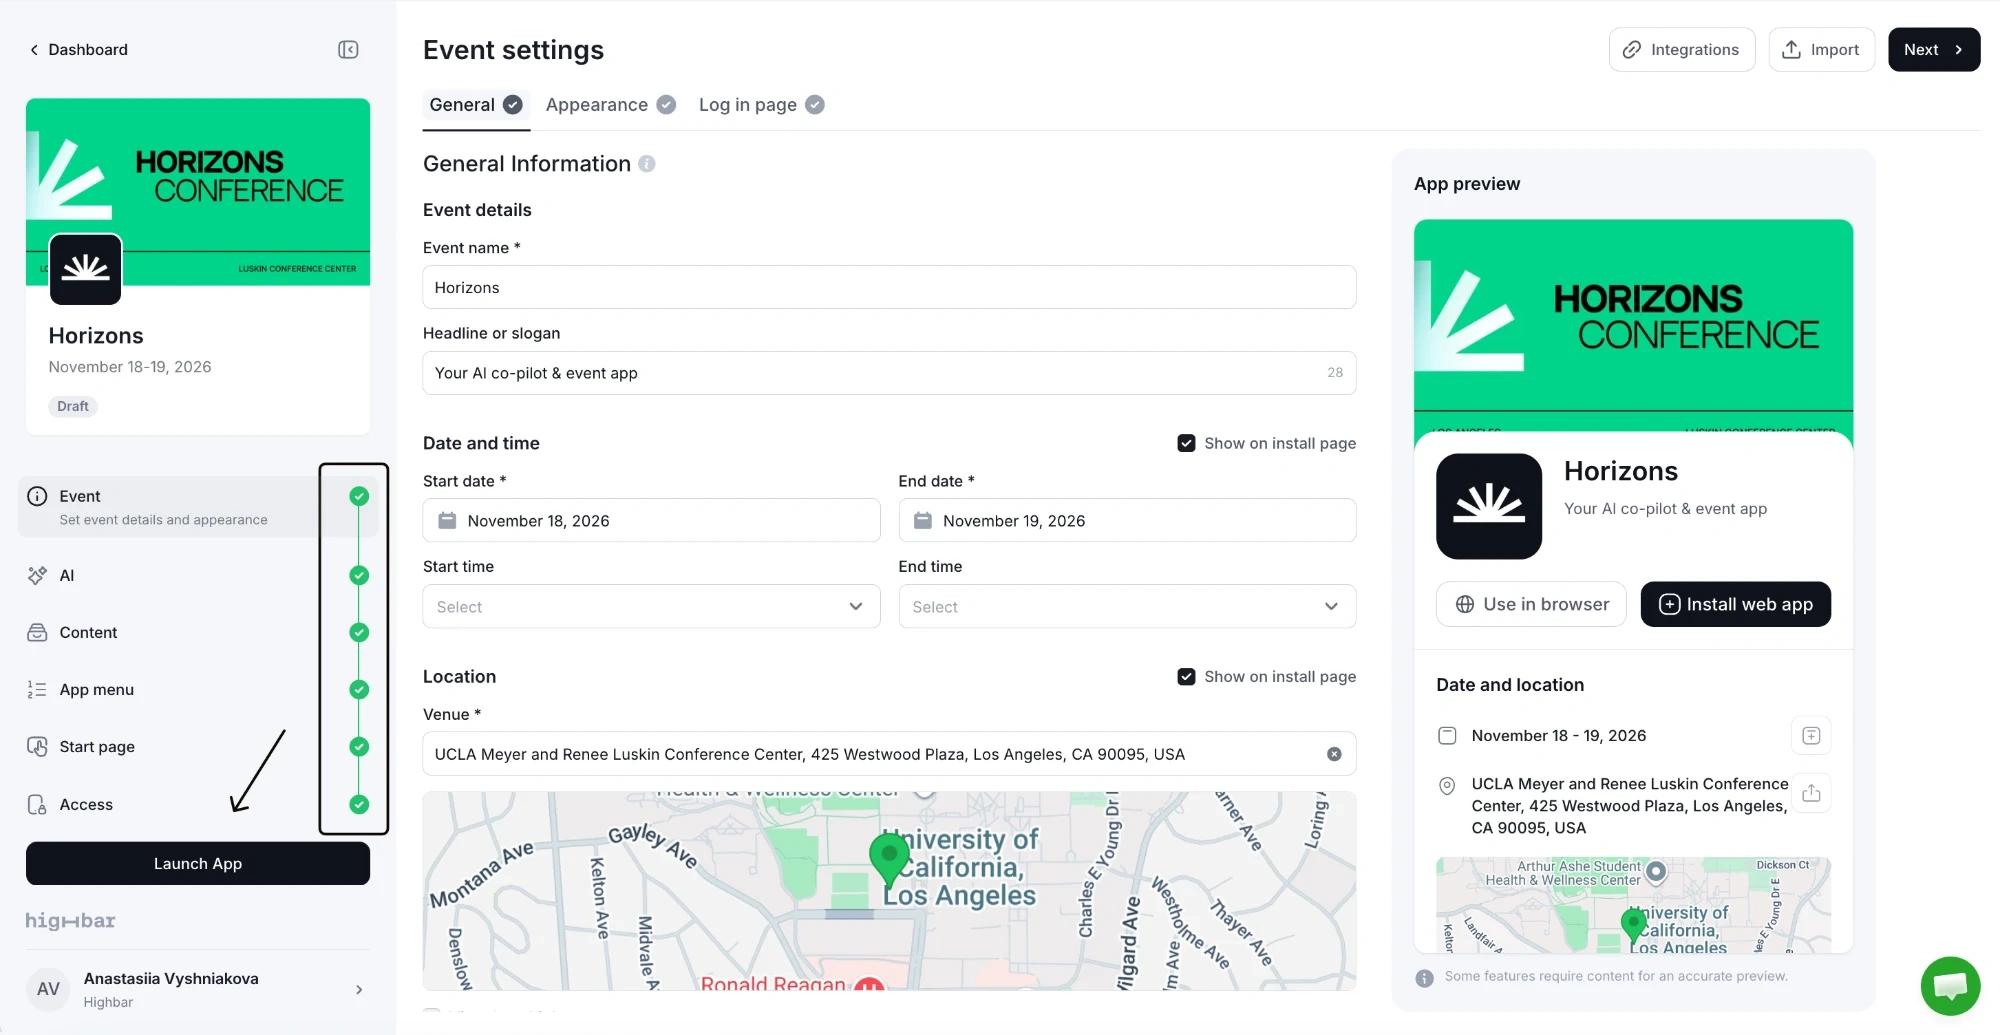
If the button stays grey, look for the step without a check mark. The most common miss is the Event step's Appearance tab, which needs an app label, app icon, navigation bar logo and event cover.
Launch
Click Launch App in the event sidebar (or Launch app at the top of the Access page).
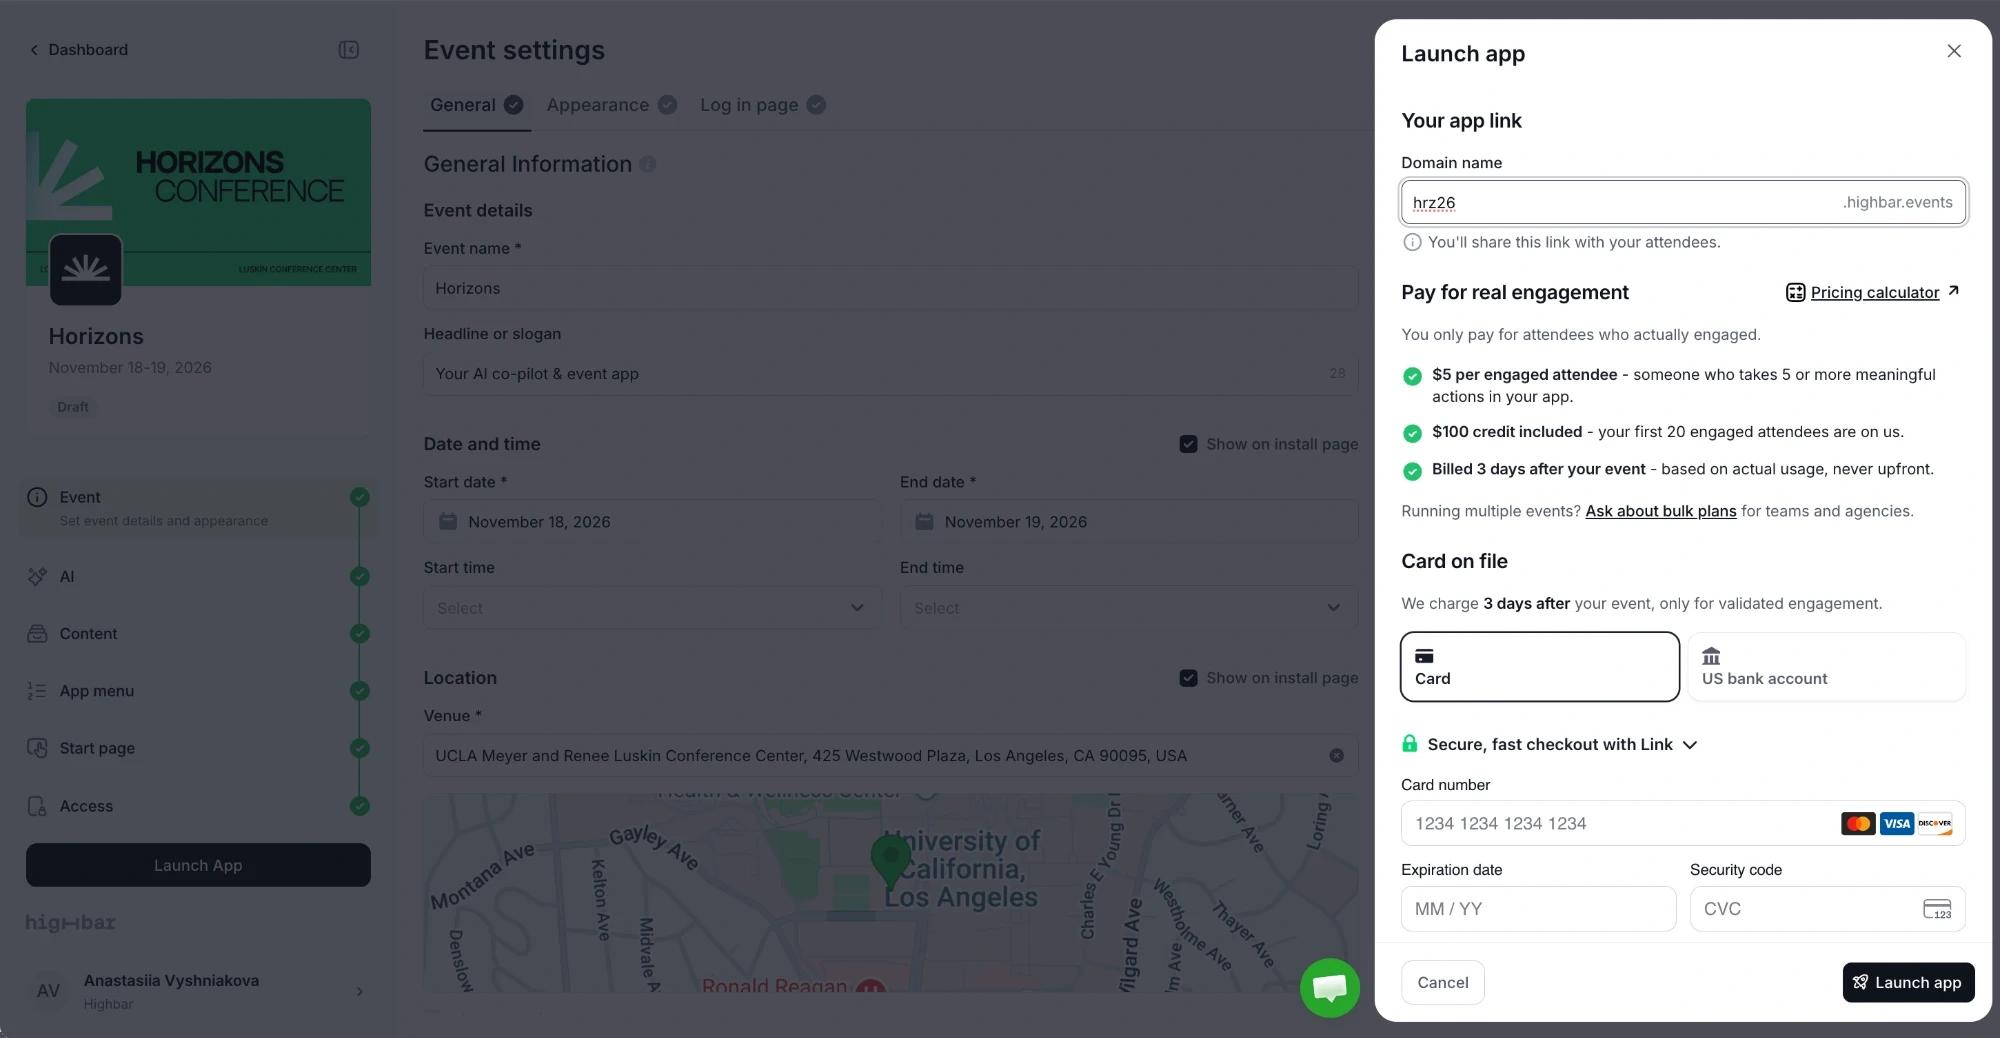
Under Your app link, enter a Domain name. This becomes your app's address, for example your-event.highbar.events. Use letters, numbers and dashes only. Choose carefully: you'll print and send this link, and only Highbar support can change it after launch.
Under Card on file, add a payment card (or a US bank account, if offered). Nothing is charged now: Highbar bills after your event, based on how many attendees actually engaged. See Pricing and billing. If your organization has a contract with Highbar, you'll see Covered by your contract instead and no card is needed.
Click Launch app. When you see Your app is live!, your app is published at the link shown.
Share your app
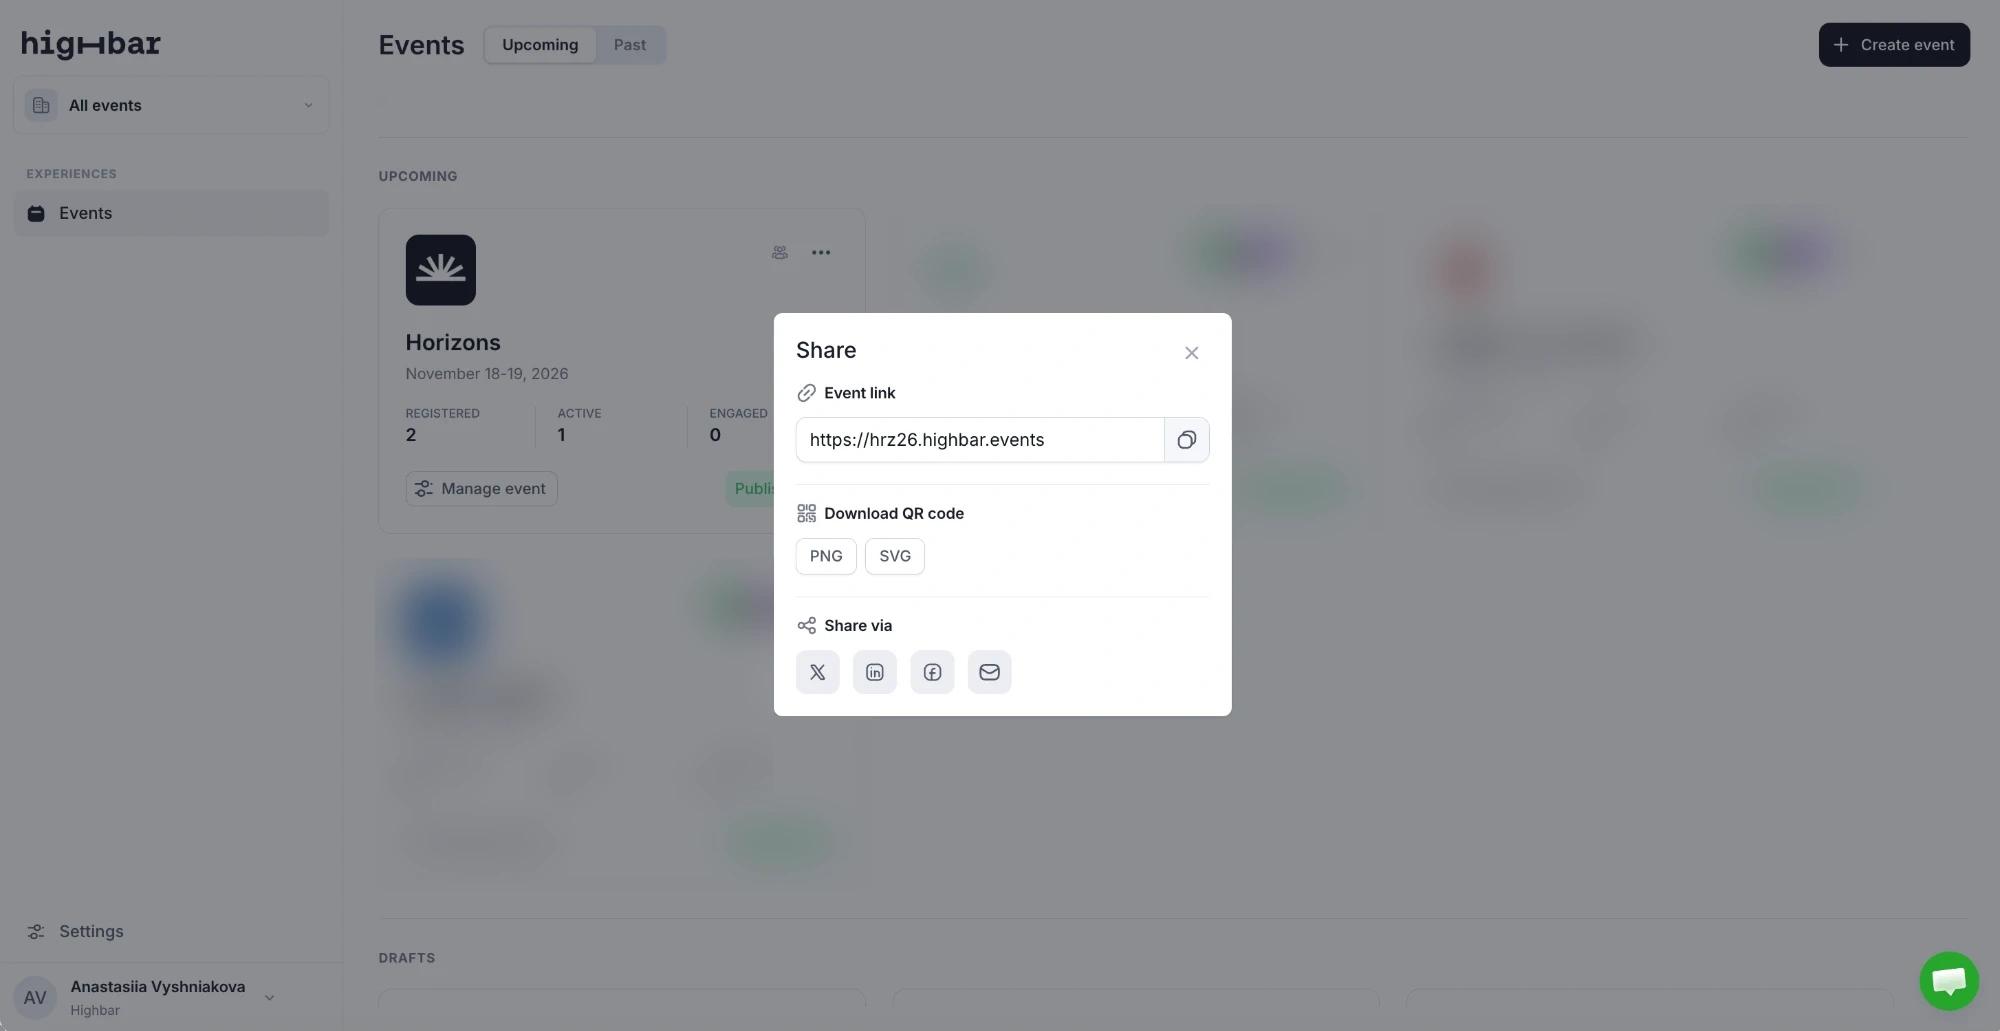
From your dashboard, click Published on the event's card to open Share.
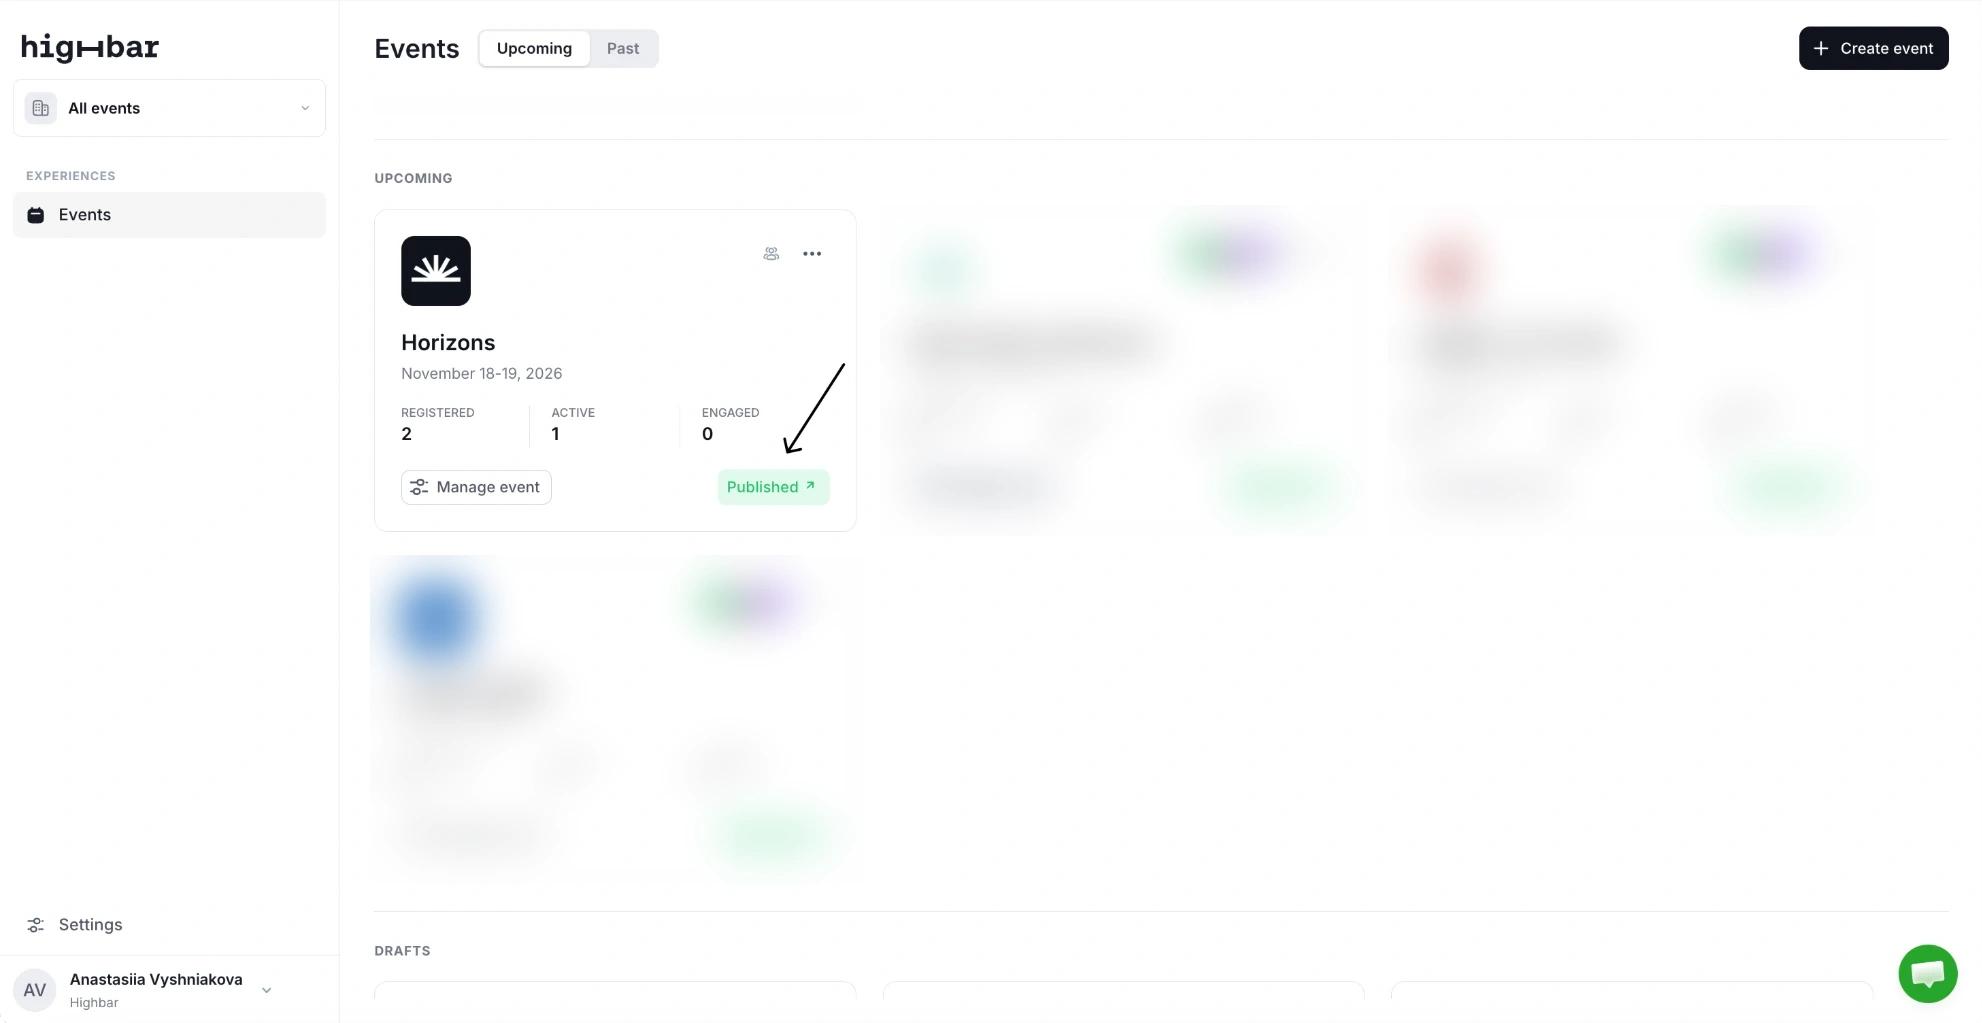
Share has:
- Event link, to copy into emails, your website and confirmation messages.
- Download QR code, as PNG or SVG, for signage, slides and printed badges.
- Share via X, LinkedIn, Facebook or email.
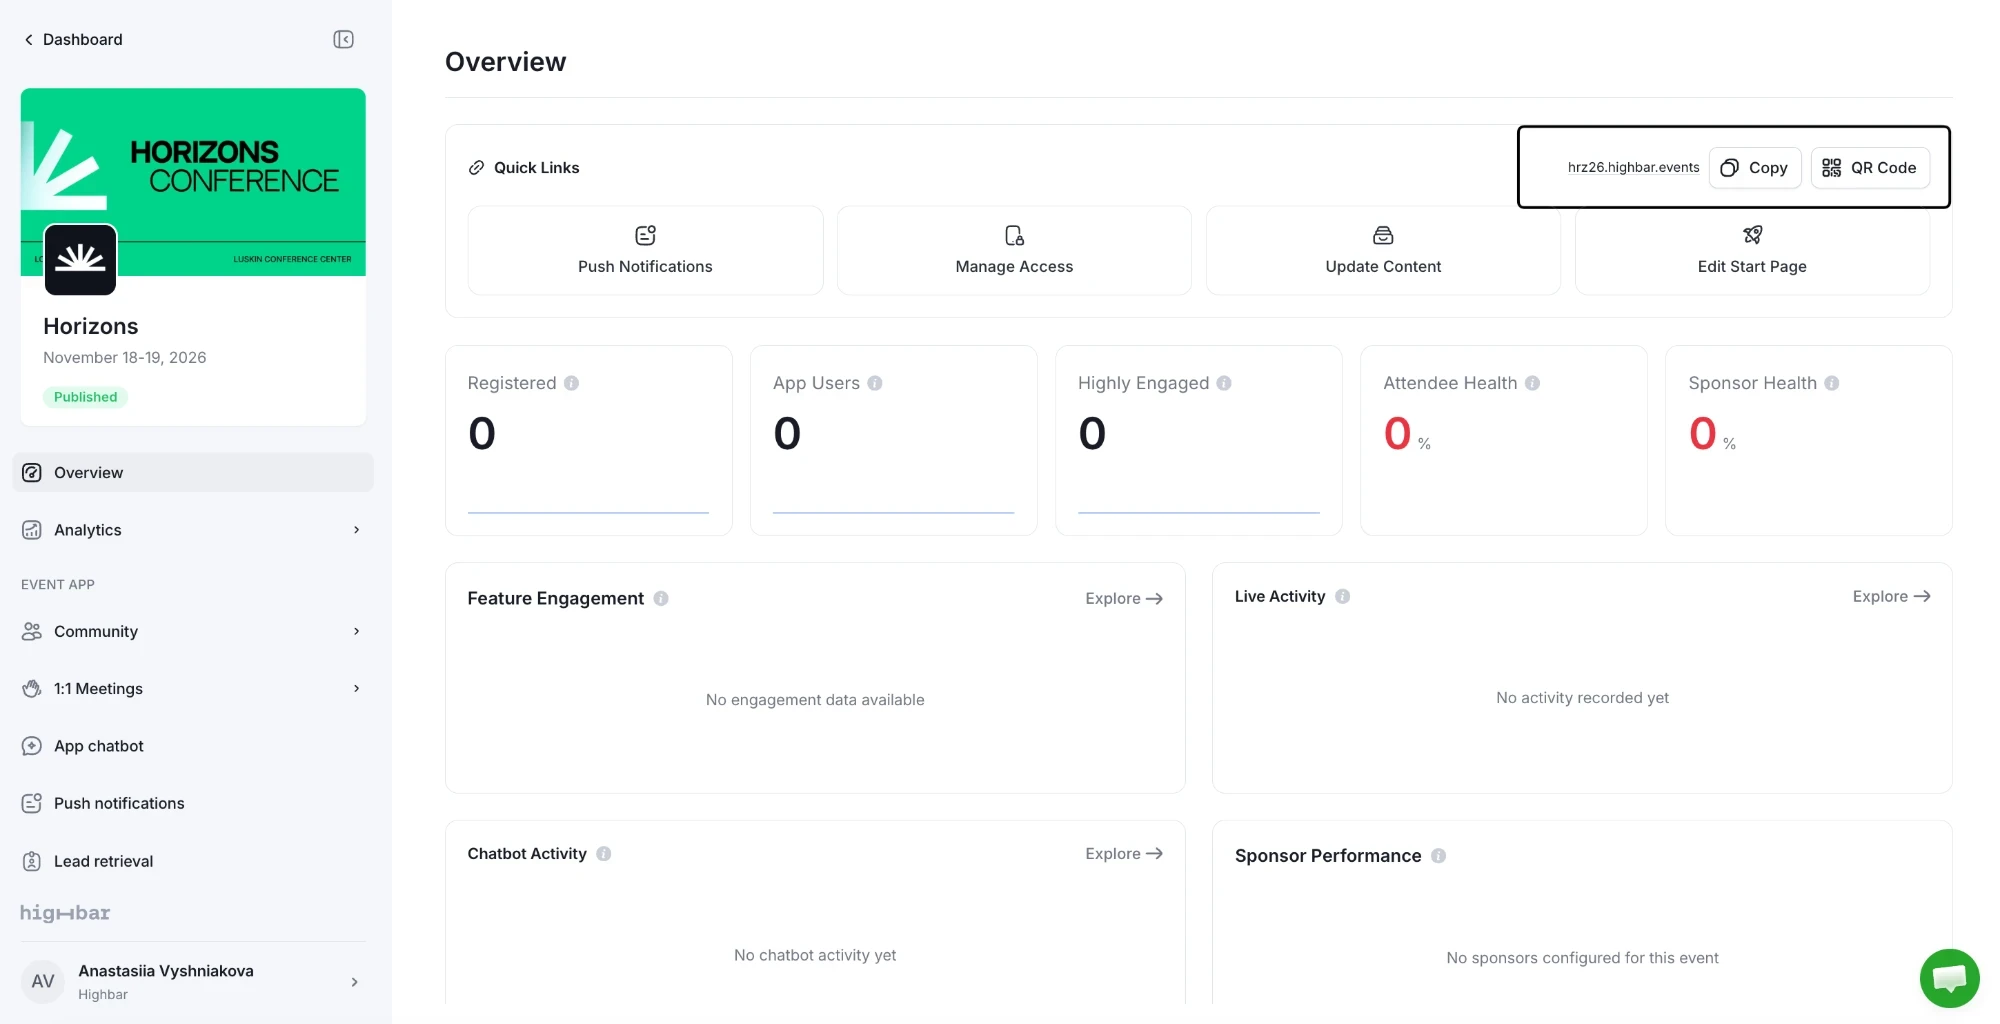
Your app link is also at the top of the event's Overview page, under Quick Links, with Copy and QR Code buttons.
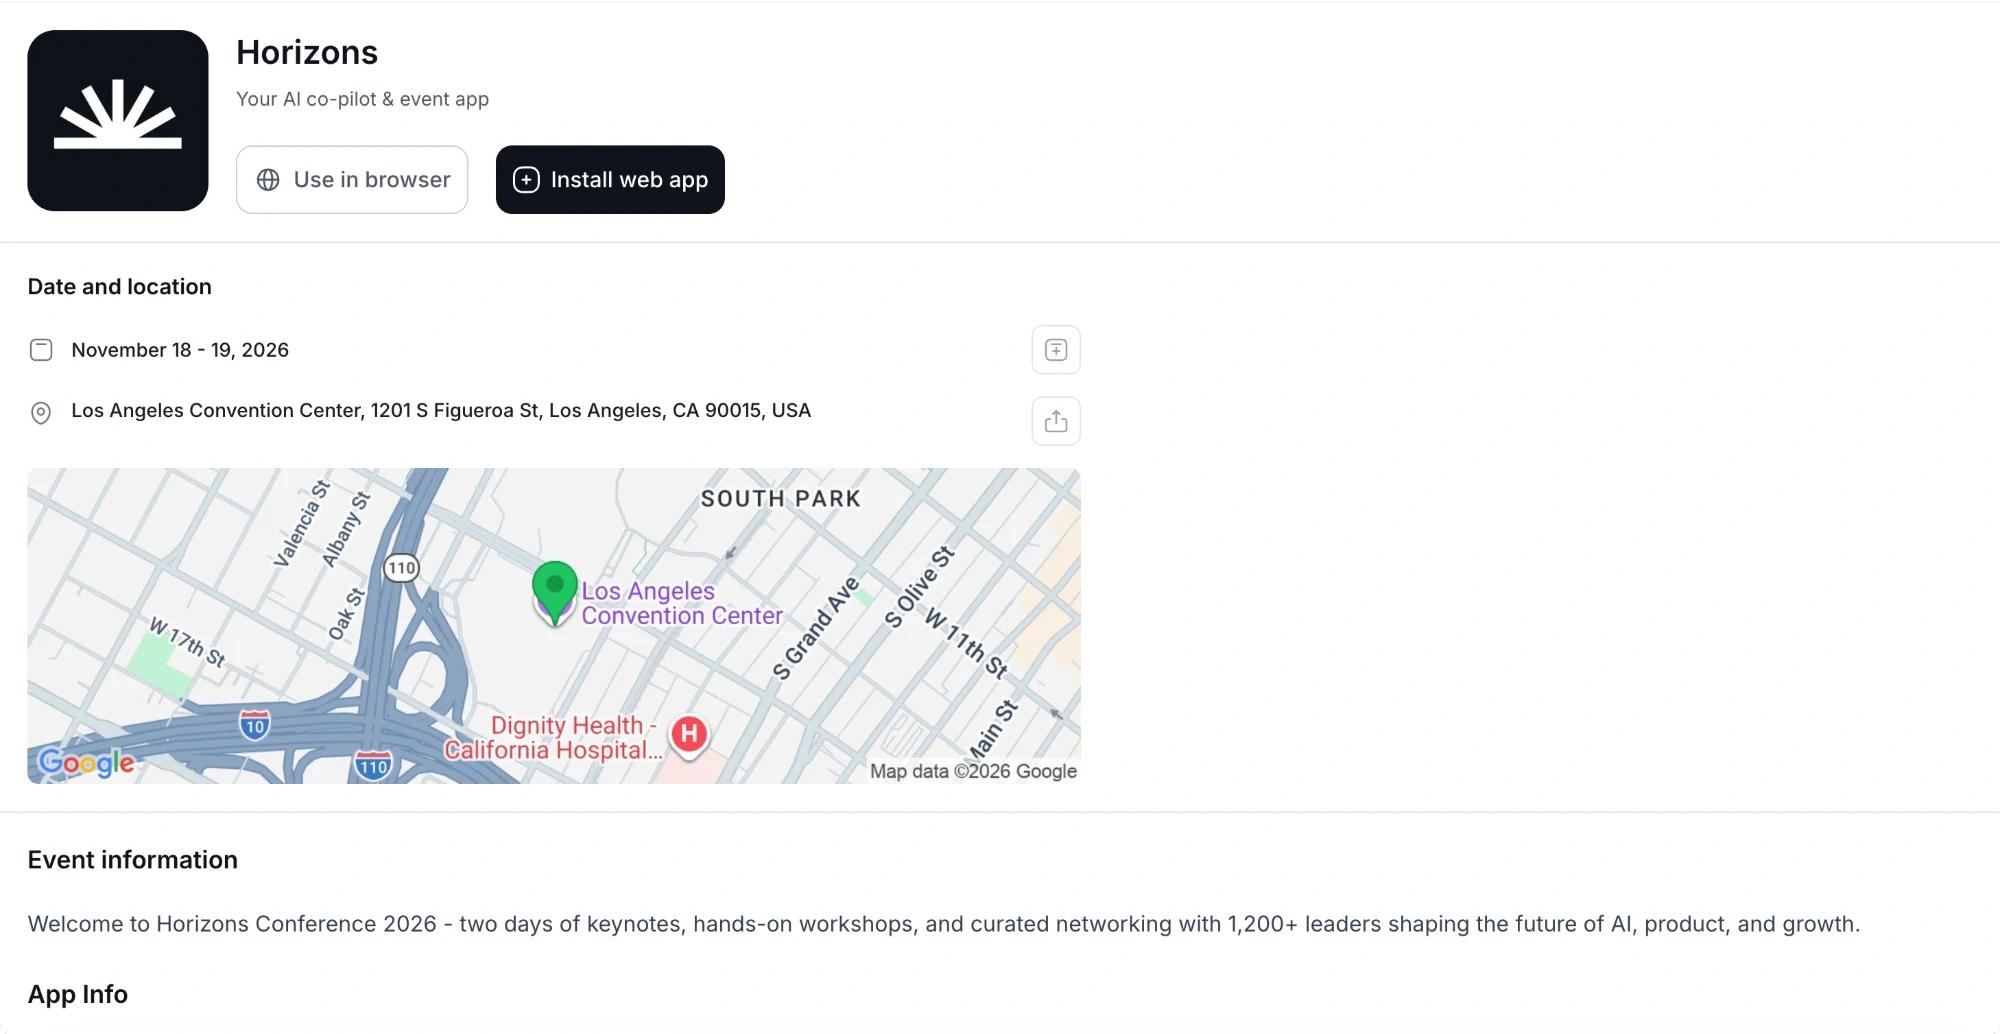
Attendees who open the link in a browser land on the app's install page, where they can Use in browser or Install web app. Point them to Installing the app and Logging in if they need help. Remember that with an attendee list, only people on the list can log in.
After launch
-
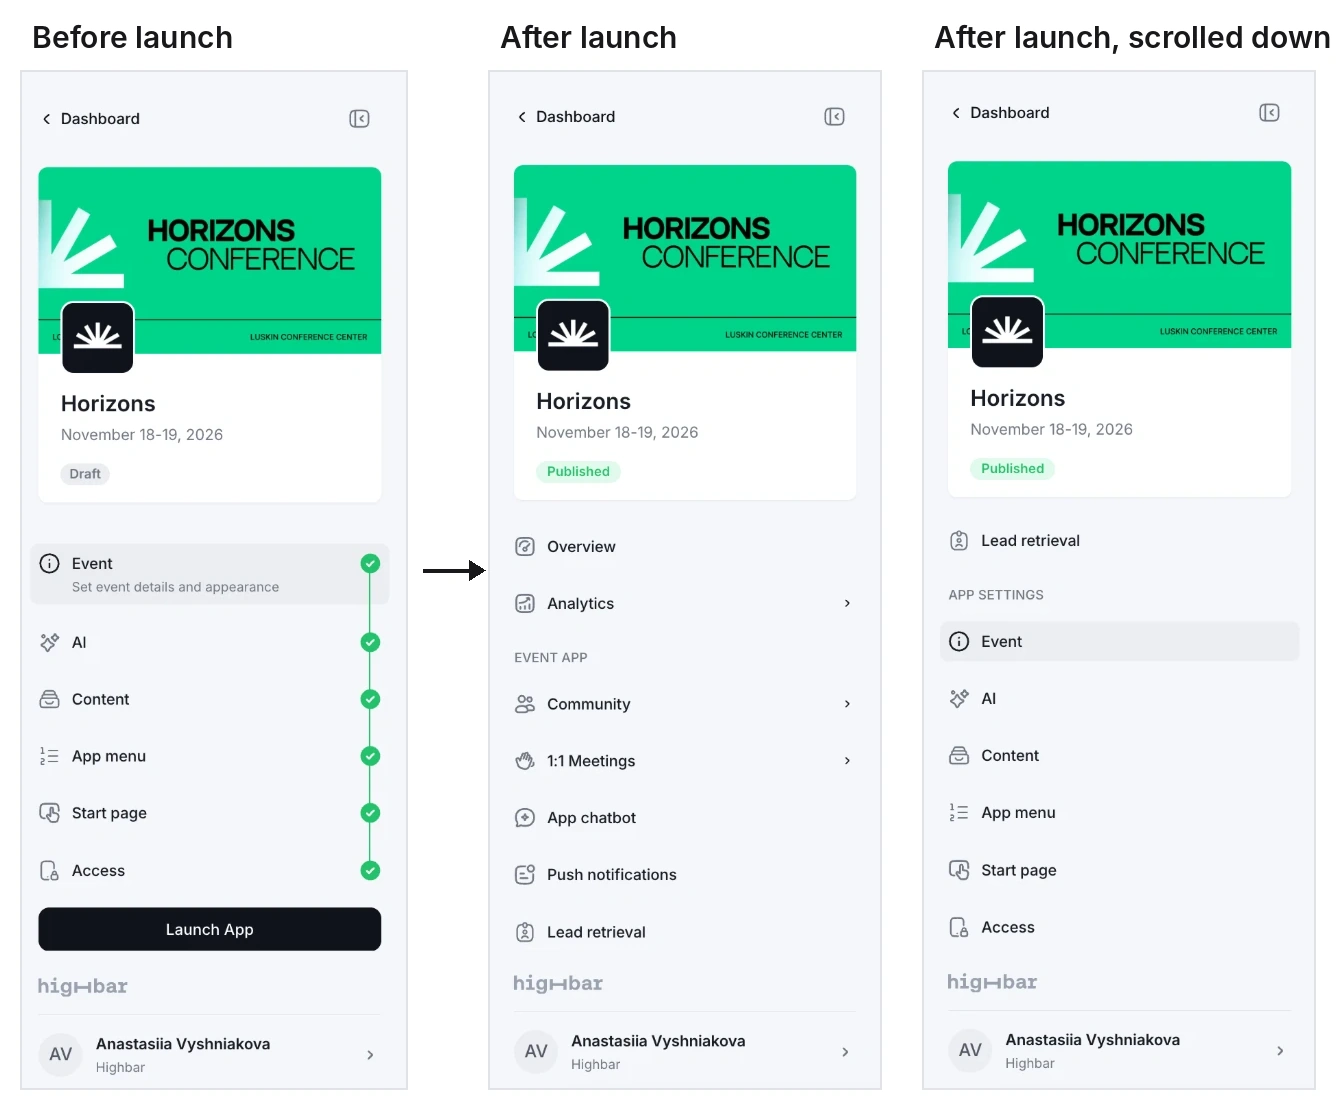
Your sidebar changes. Overview and Analytics move to the top, and a new Event app group holds the tools for running your event, such as Community, 1:1 Meetings and push notifications. The setup steps move under App settings.
-
Edits go live. Changes you save to content, the start page or settings show up in the published app. Attendees with the app open may need to refresh.
-
Billing starts counting. Engagement is tracked from launch. See How engagement is measured.
-
Changing the link or using your own domain. Contact support@highbar.ai. Only Highbar can change an app's address after launch or connect a custom domain to it.