Interactive maps
Upload your venue floor plans, add pins for rooms and booths, and link sessions, speakers and sponsors to them.
An Interactive Map section shows your venue floor plans in the app, with pins for rooms, booths and other spots, linked to your sessions, speakers and sponsors.
Add the section from Content with Add section. See Sections and visibility to add, rename, reorder, hide or schedule sections.
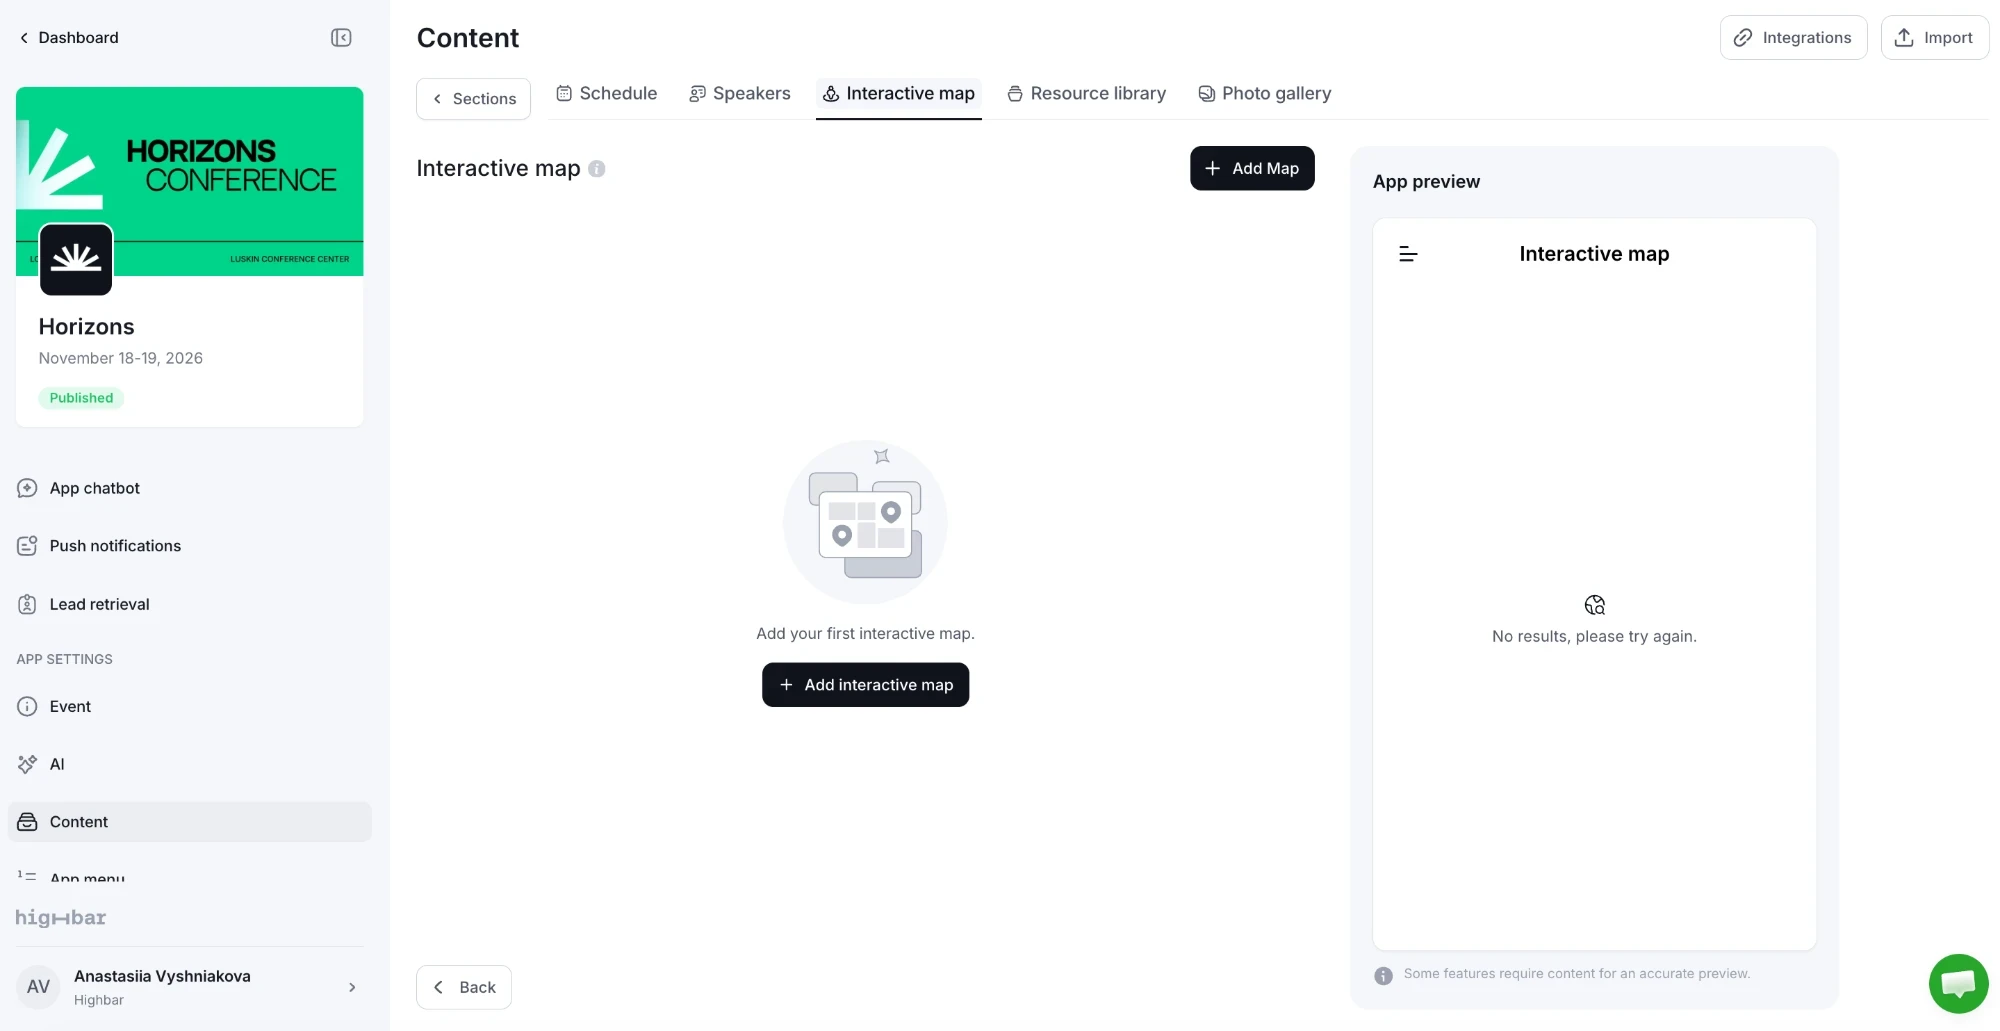
Click Add interactive map (or Add Map at the top), give it a Map name and upload a floor plan (JPG or PNG, up to 10 MB).
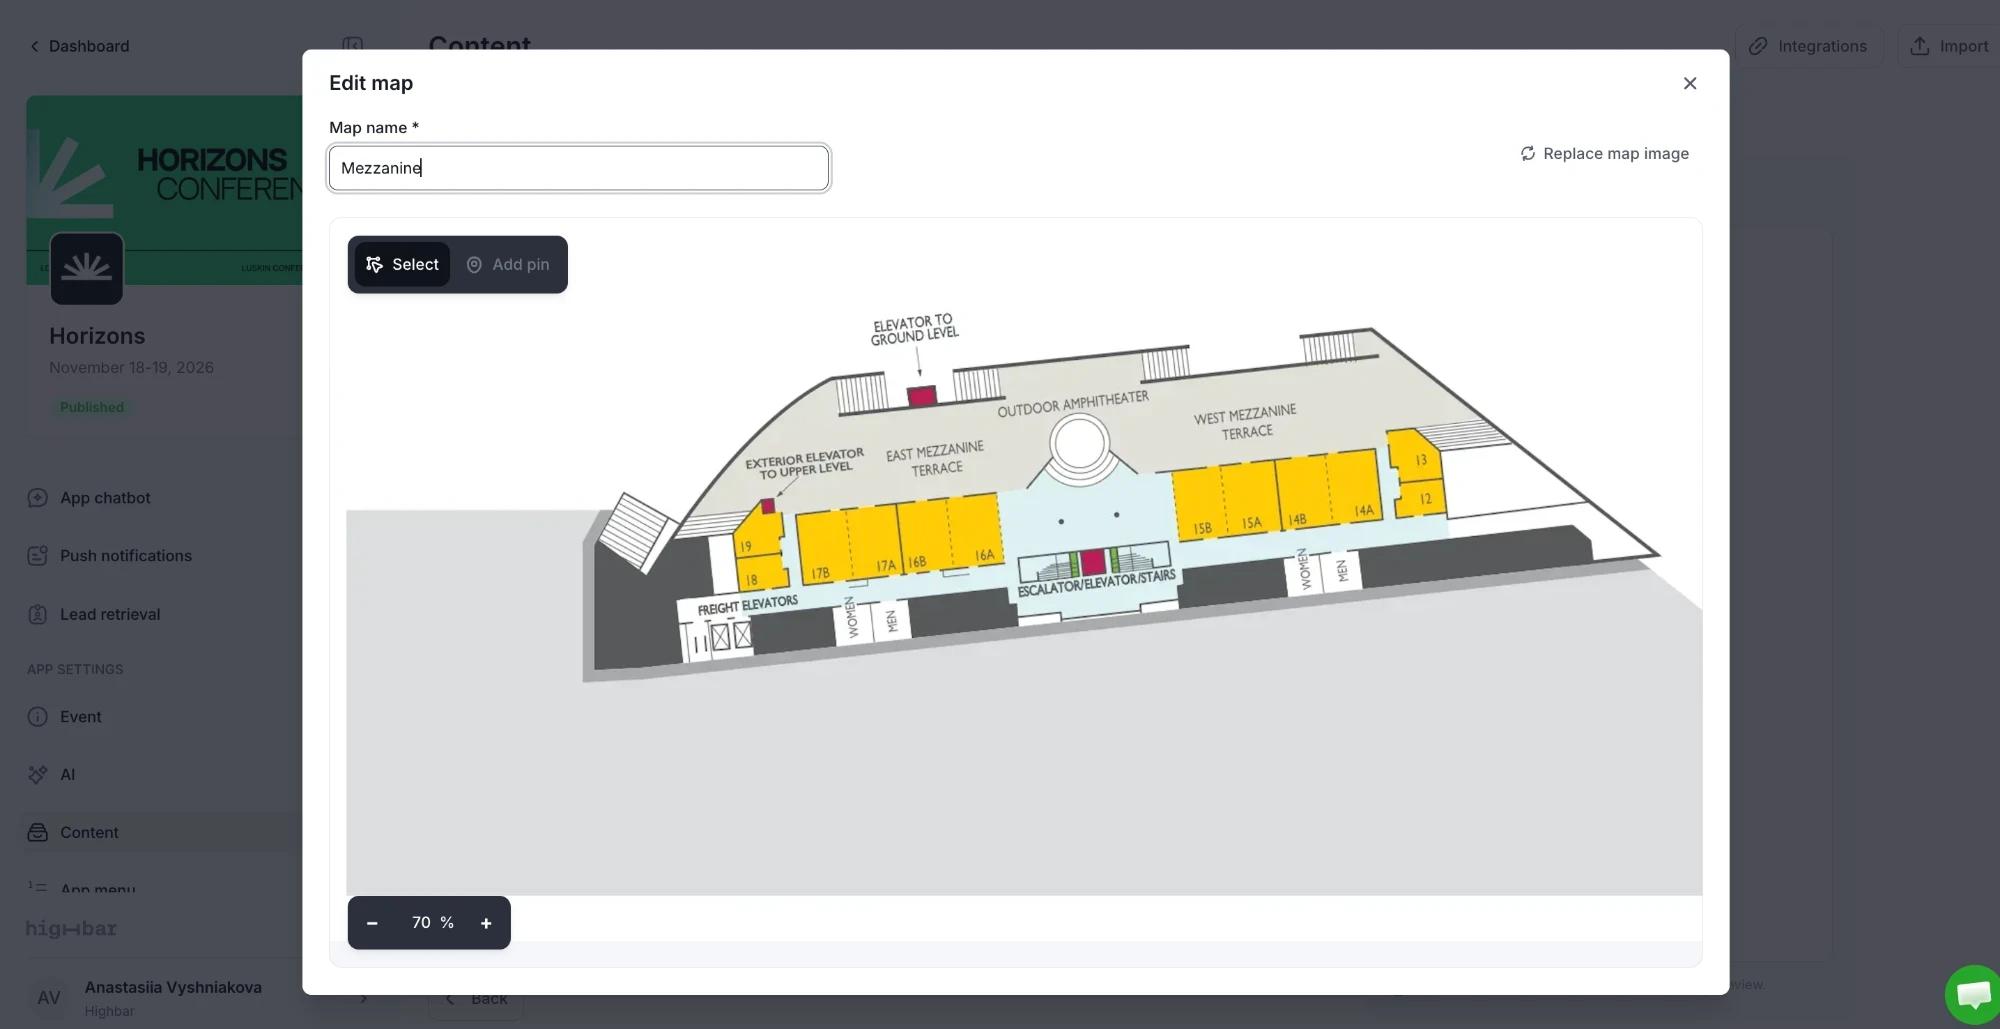
Your floor plan opens in the map editor. Use the zoom controls to get closer, and Replace map image to upload a different plan.
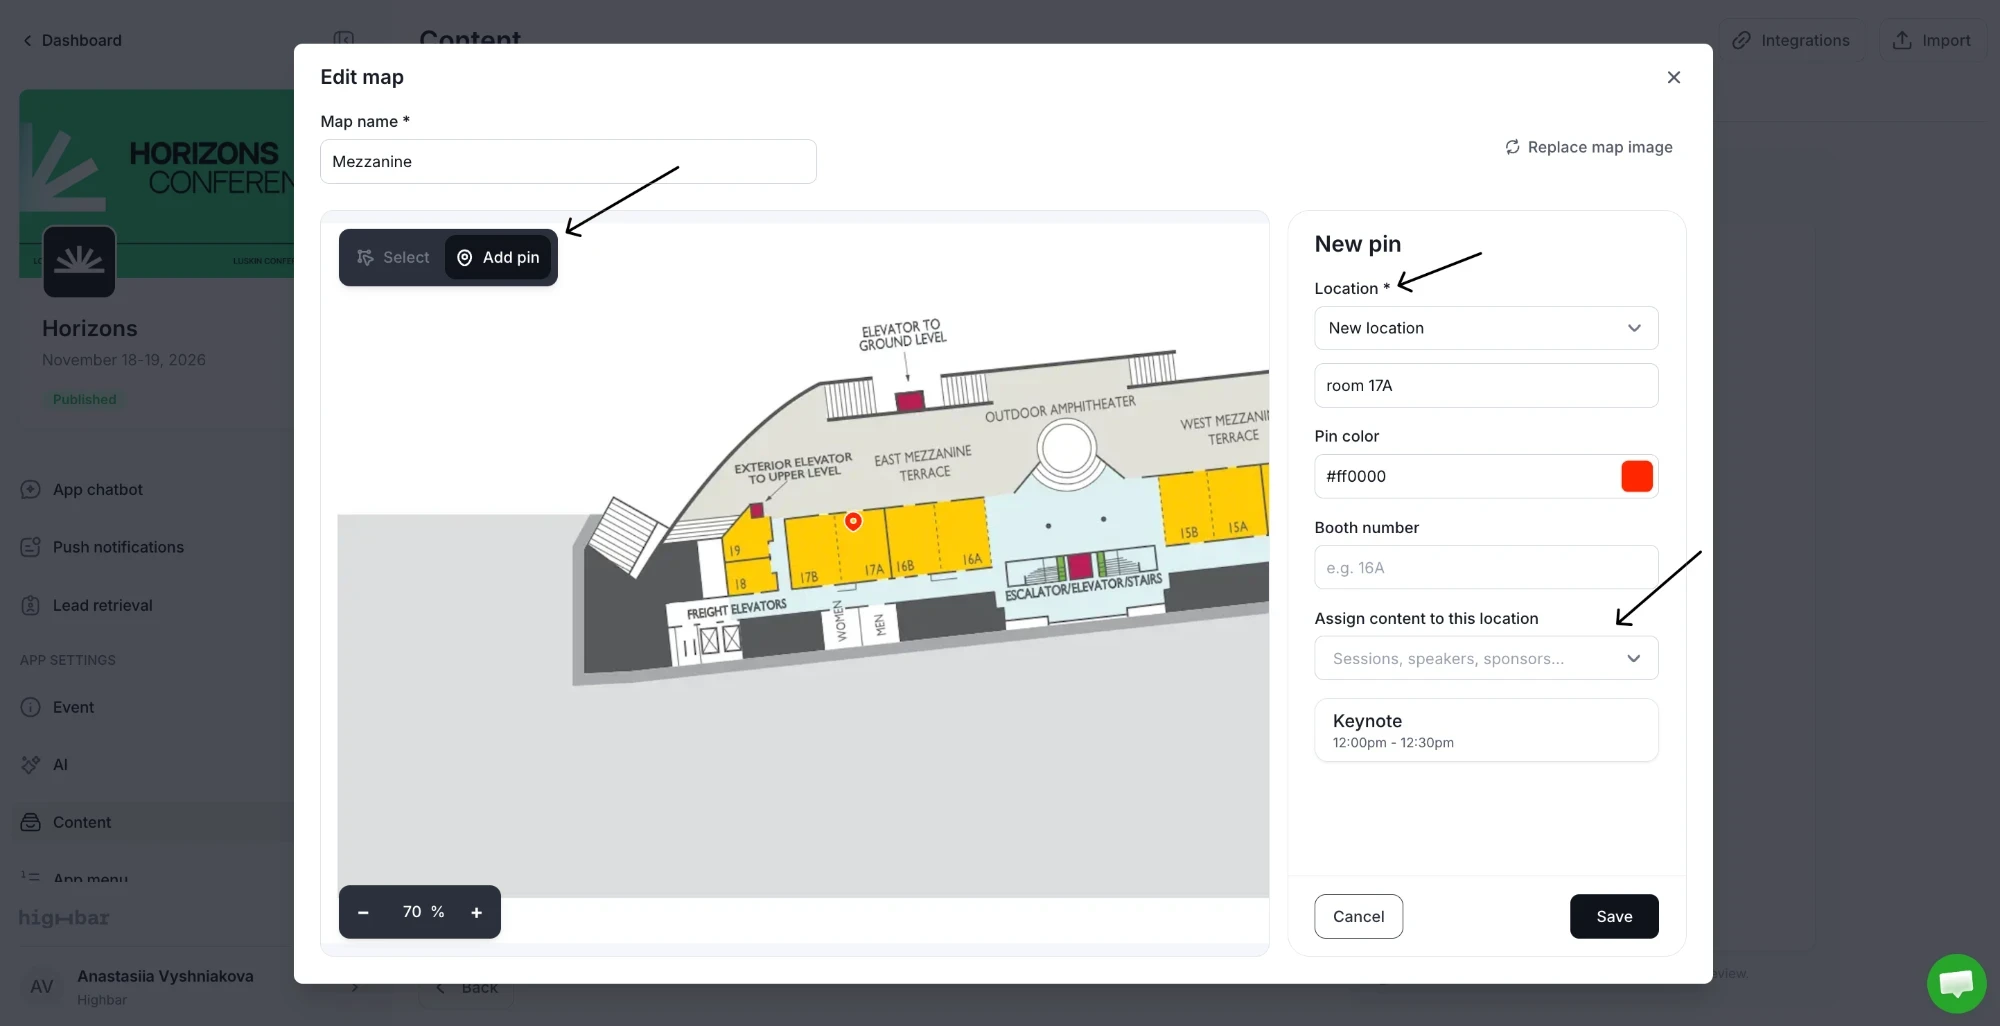
To add a pin, choose Add pin and click the spot on the map. Each pin has a Location name, an optional Booth number and a Pin color, and you can link sessions, speakers and sponsors to it under Assign content to this location.
Sessions, speakers and sponsors also have a Location on Event Map field that points them to a pin.
Map sections don't complete the Content step on their own: you also need at least one session, speaker or sponsor. See Launch your app.