Photo gallery
Share event photos with attendees, grouped into albums, and choose how the gallery looks.
A Photo gallery section shares photos from your event with attendees. Photos are resized for phones automatically.
Add the section from Content with Add section. See Sections and visibility to add, rename, reorder, hide or schedule sections. Each item in this section can also be hidden or scheduled on its own.
Click Add photos and choose Select photos to upload JPG, PNG or WebP files of up to 25 MB each, or drag them onto the page. Choose Create album to group photos by day, session or theme.
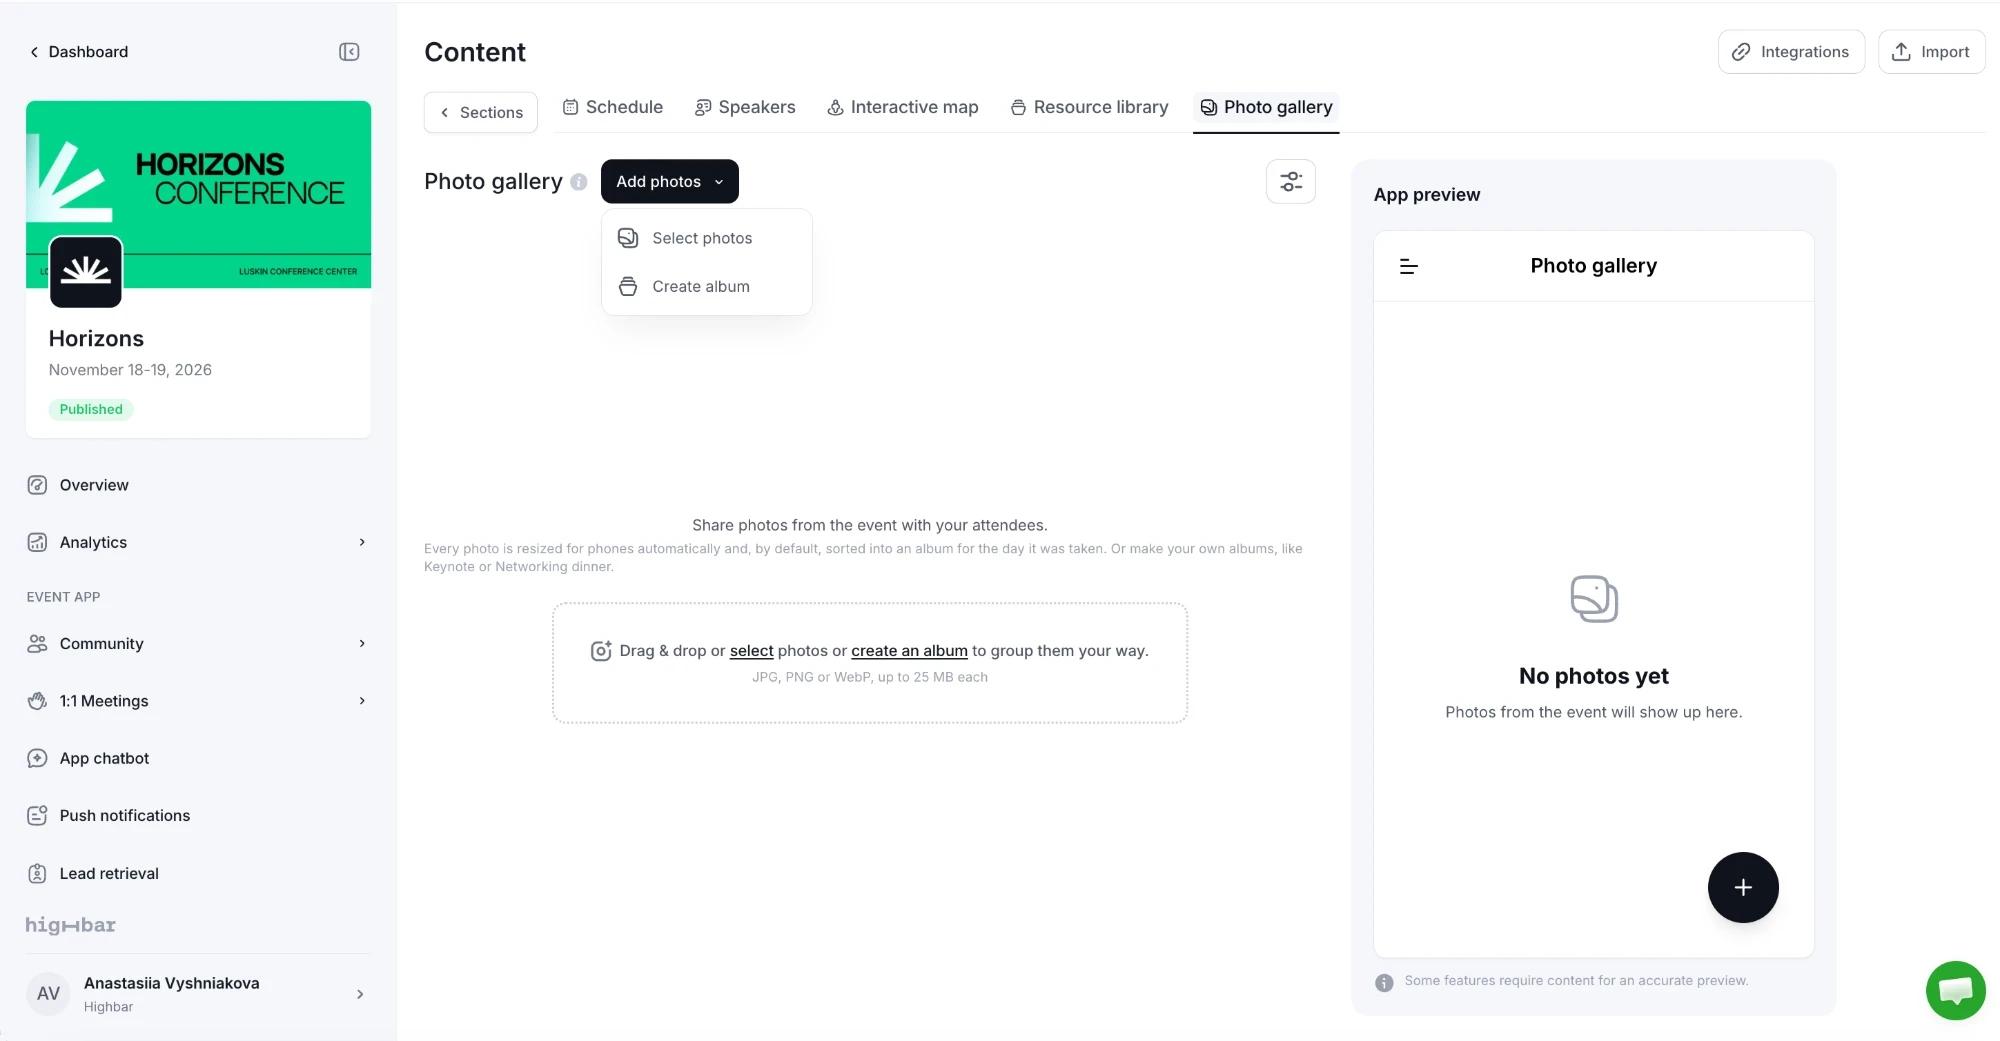
The settings button at the top right opens Photo gallery settings:
- Layout: Tiles, Justified, Bento or List.
- Group new photos by day: files photos uploaded without an album by the day they were taken.
- Allow downloads: lets attendees save full-size photos.
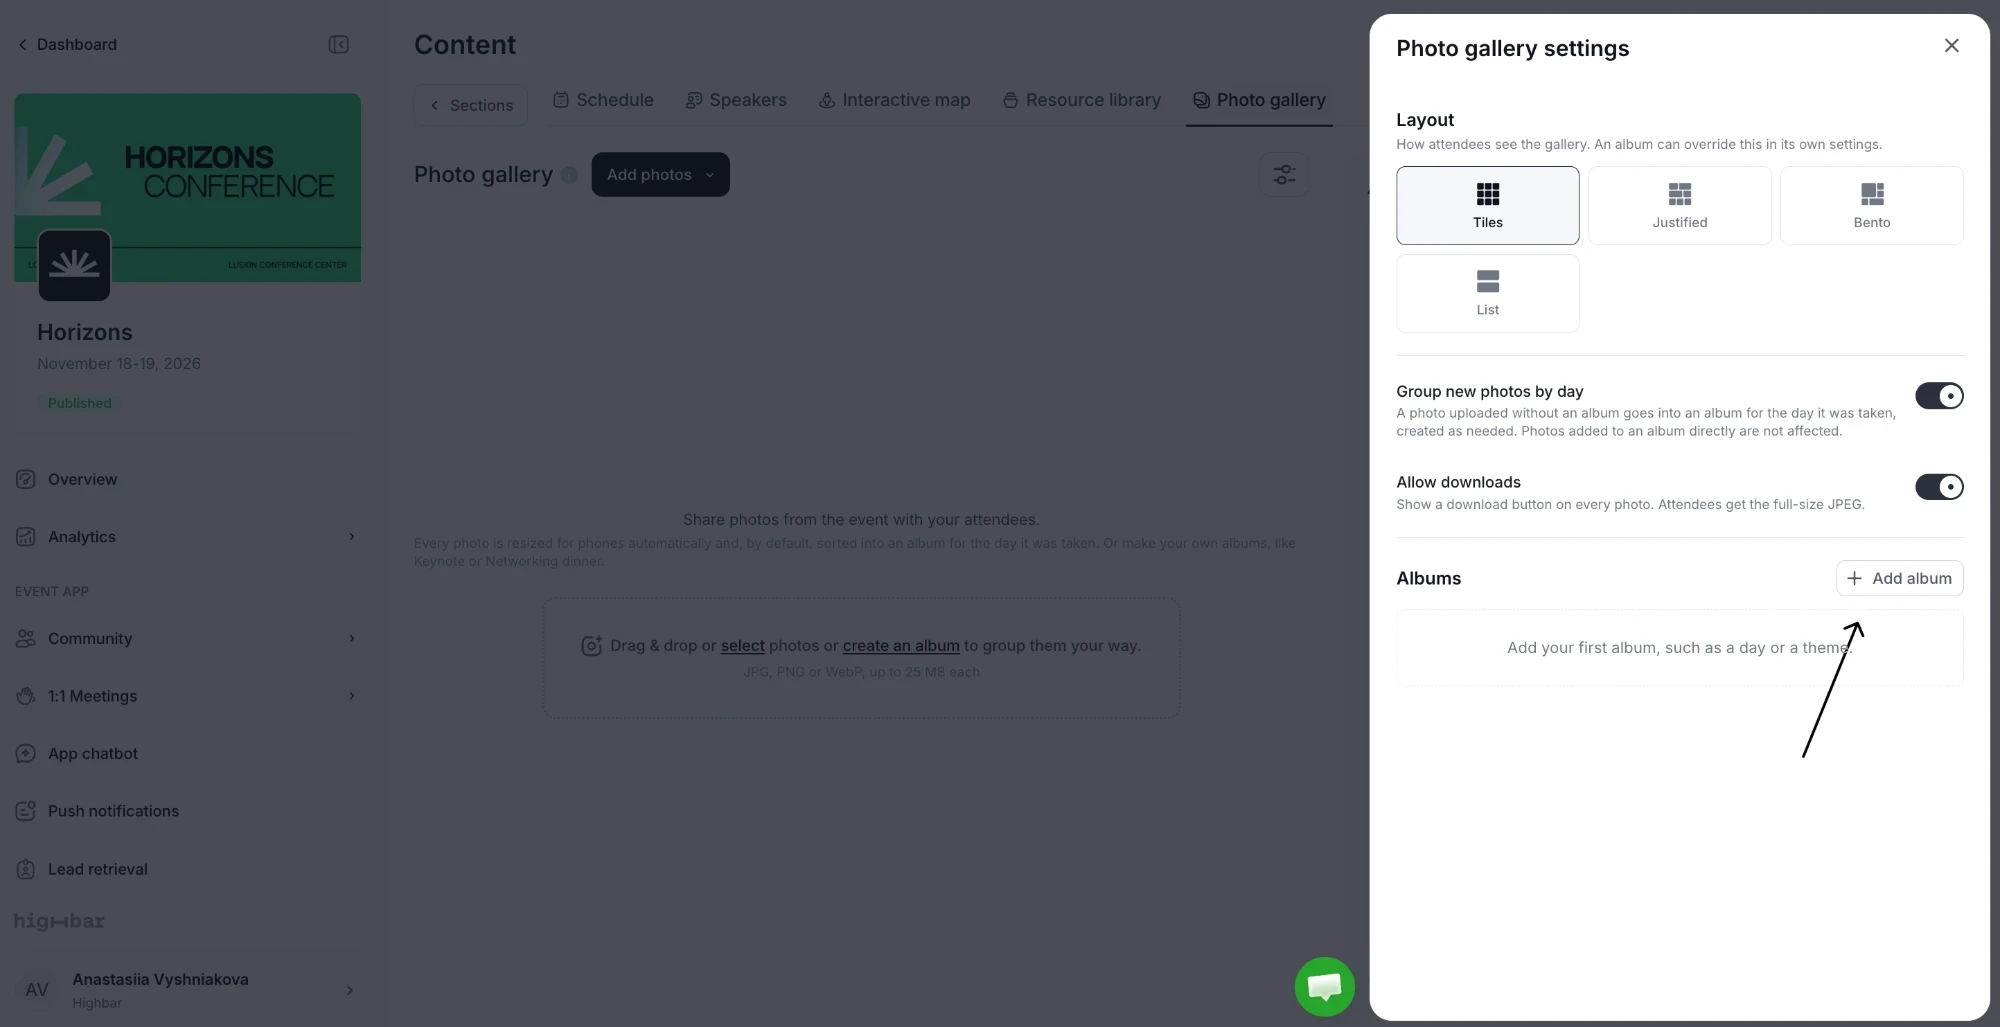
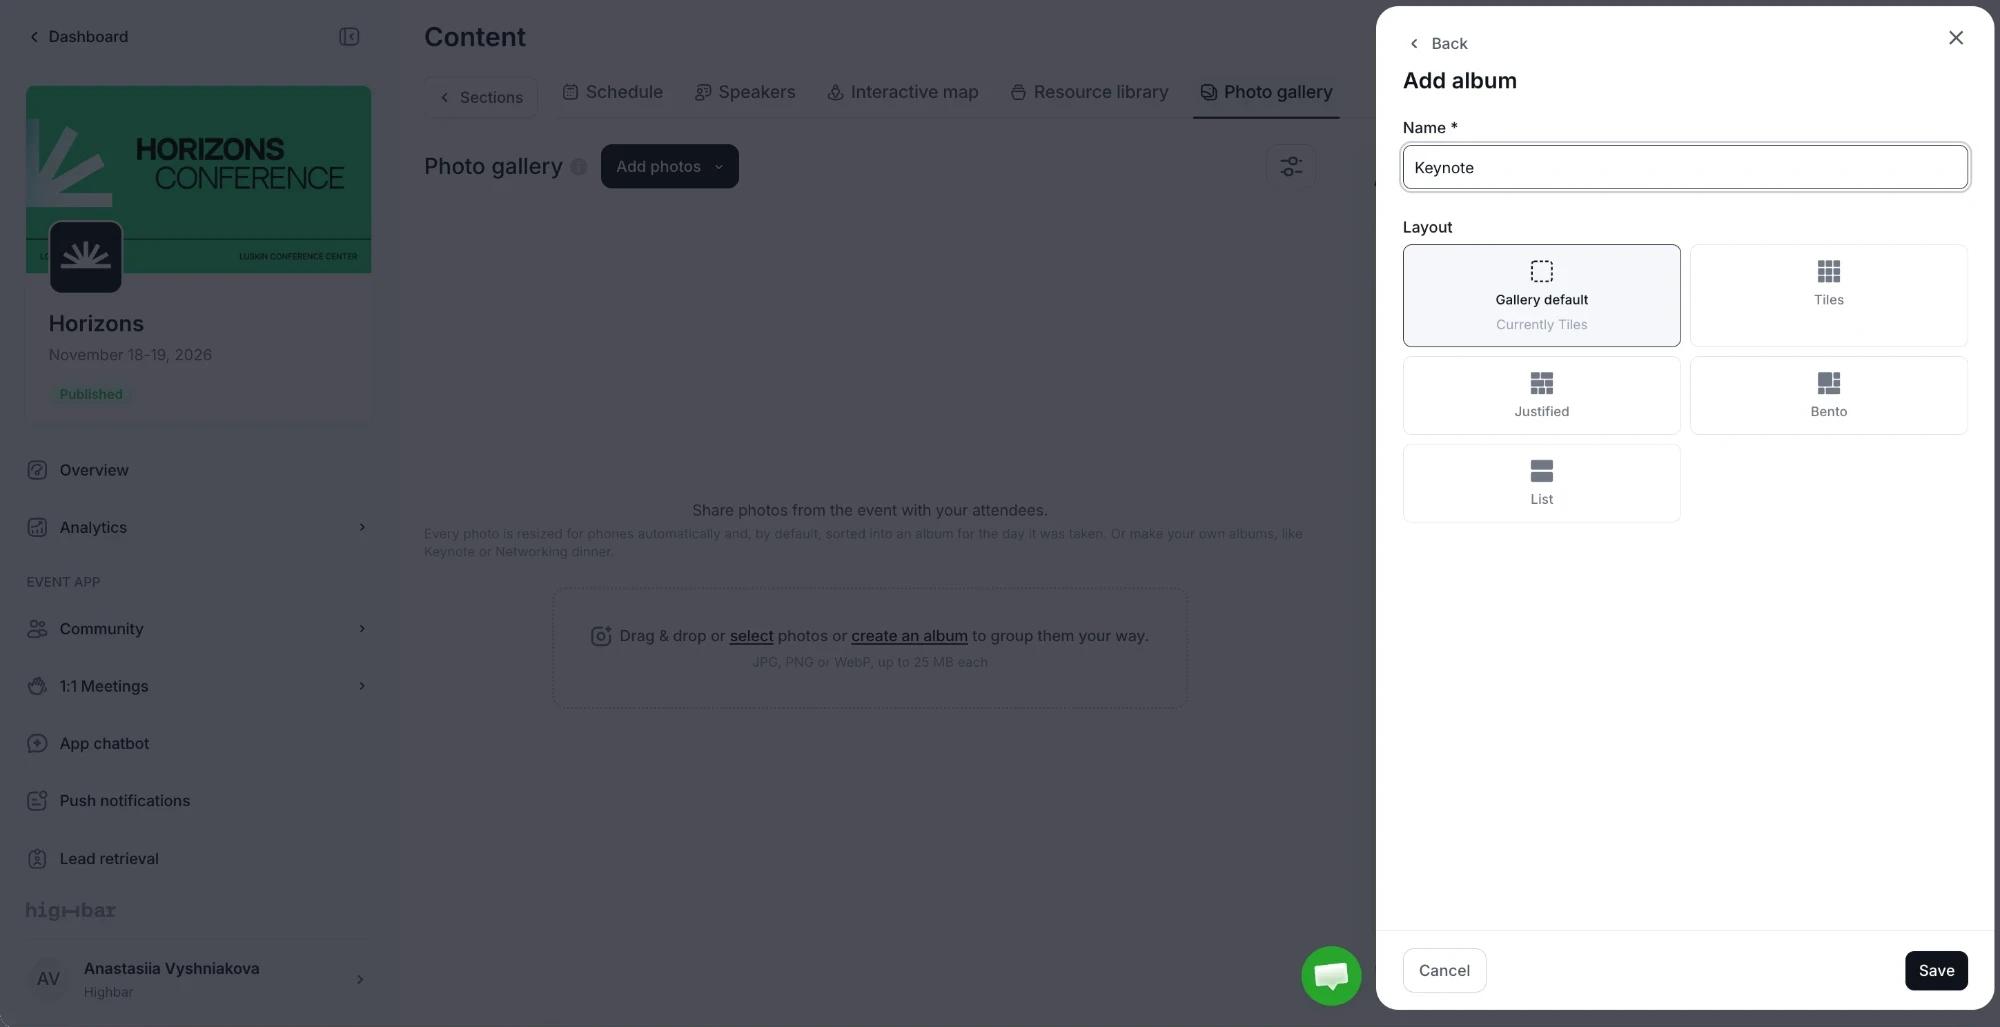
You can also add albums here: click Add album and enter a Name. An album uses the gallery's layout (Gallery default) unless you choose a different one for it.
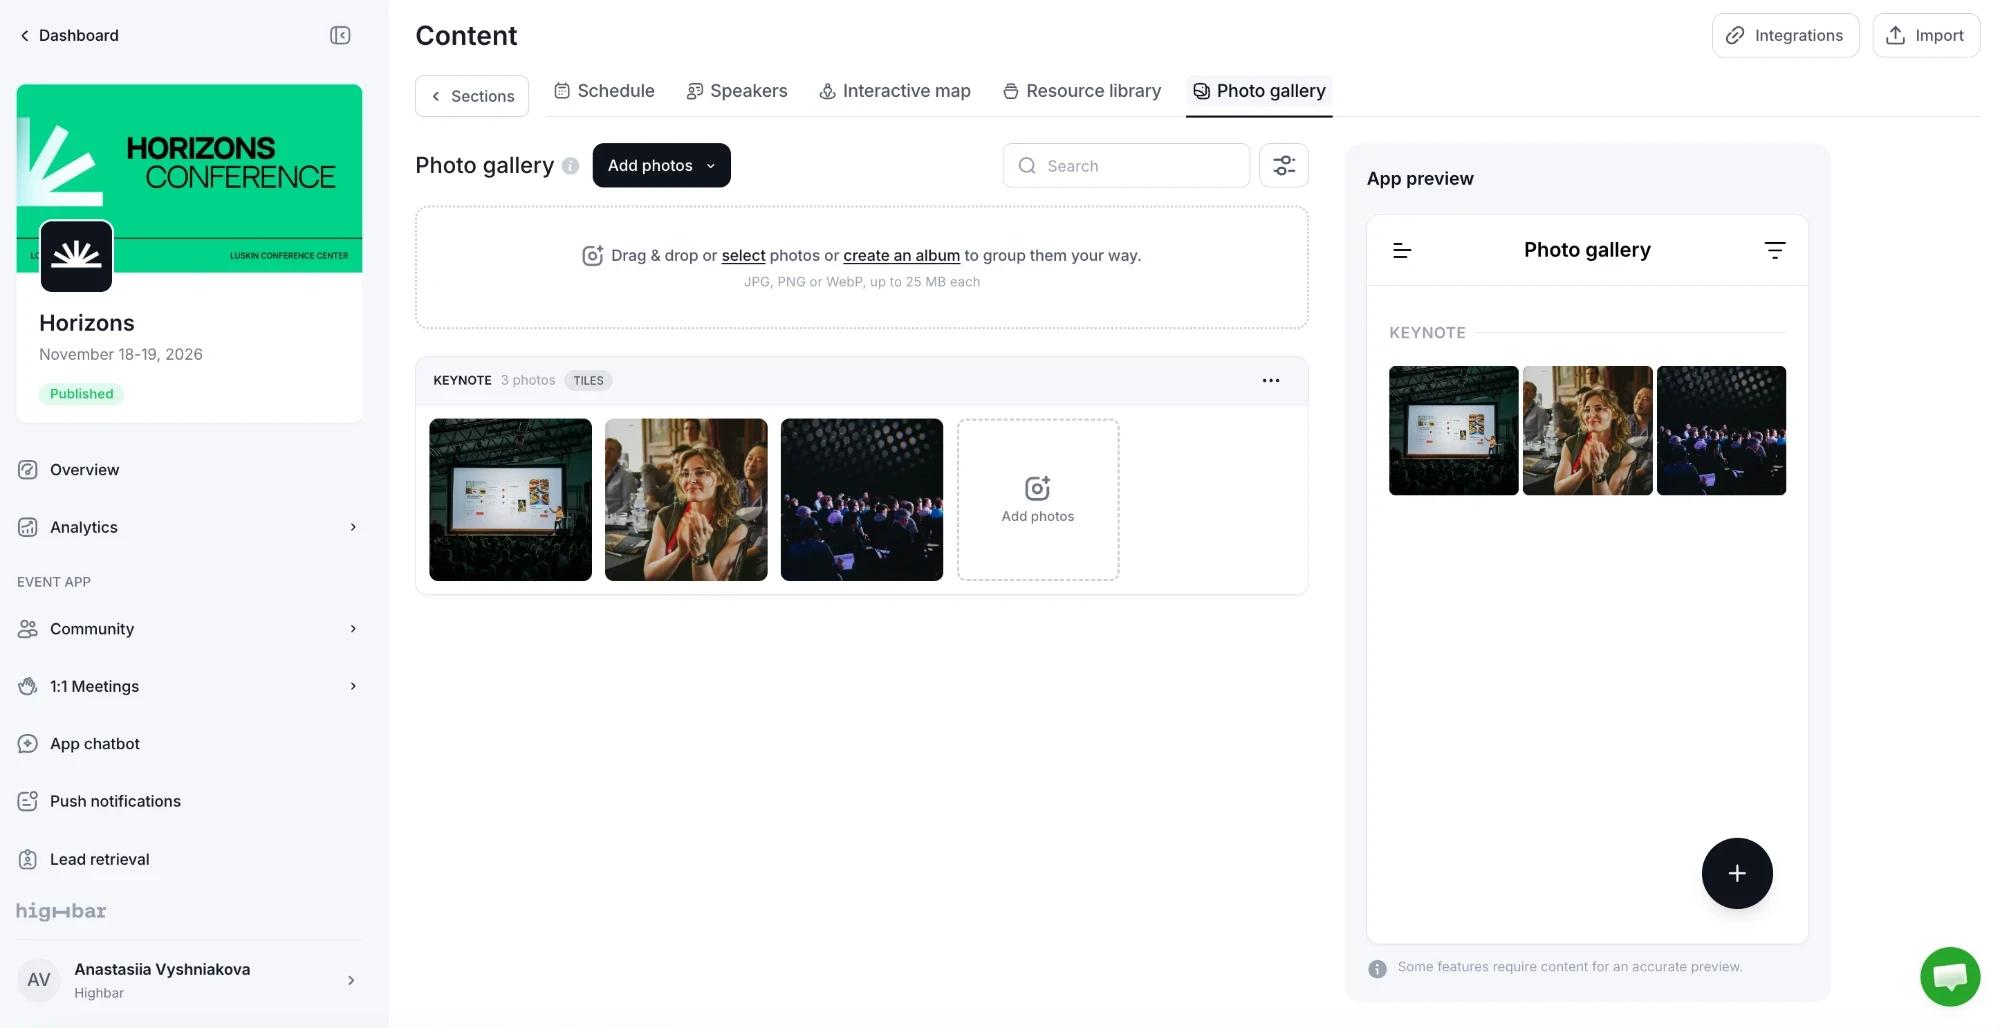
Photos appear under their album's name, in your list and in the app. Each album shows how many photos it holds and its layout, and has its own Add photos tile.
Edit a photo
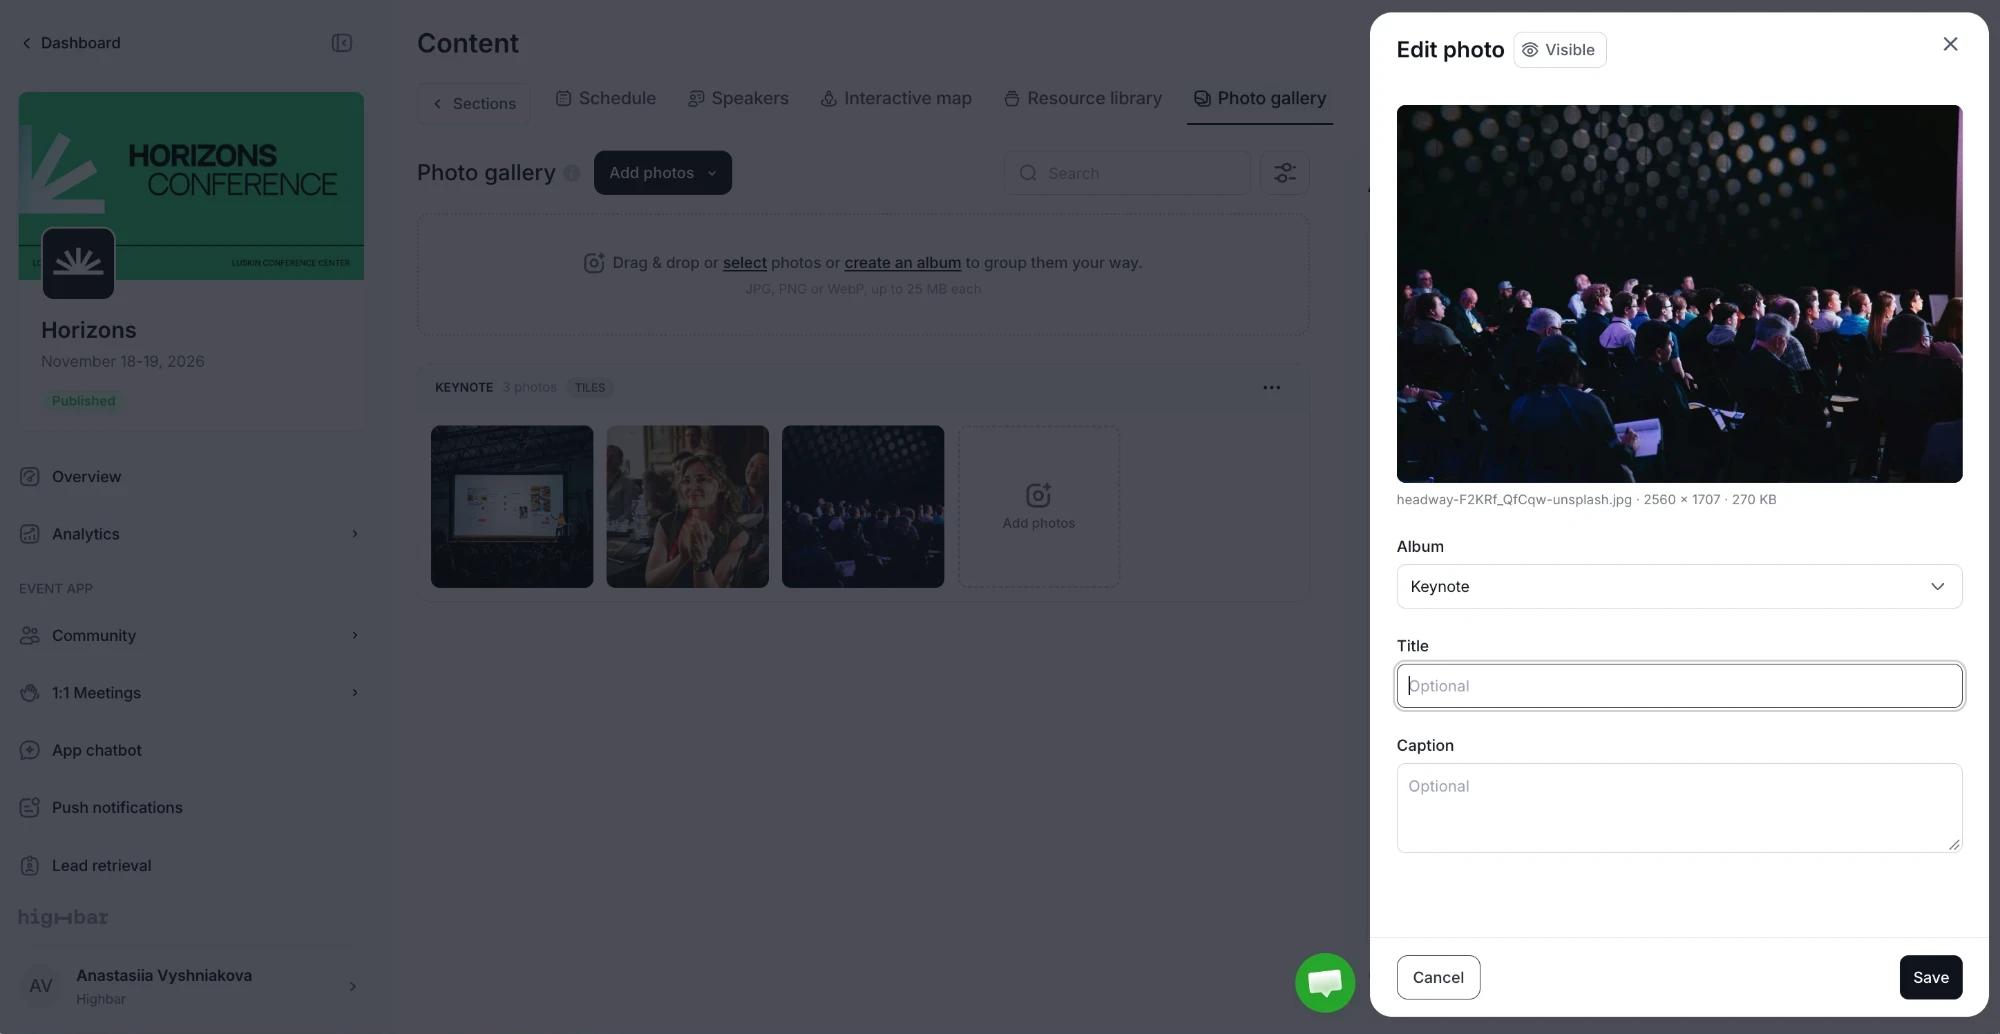
Click a photo to open Edit photo. It shows the file's name, size and dimensions. Move the photo to another Album, or add an optional Title and Caption. The Visible button next to the title hides the photo or schedules when it appears.
Move or delete several photos
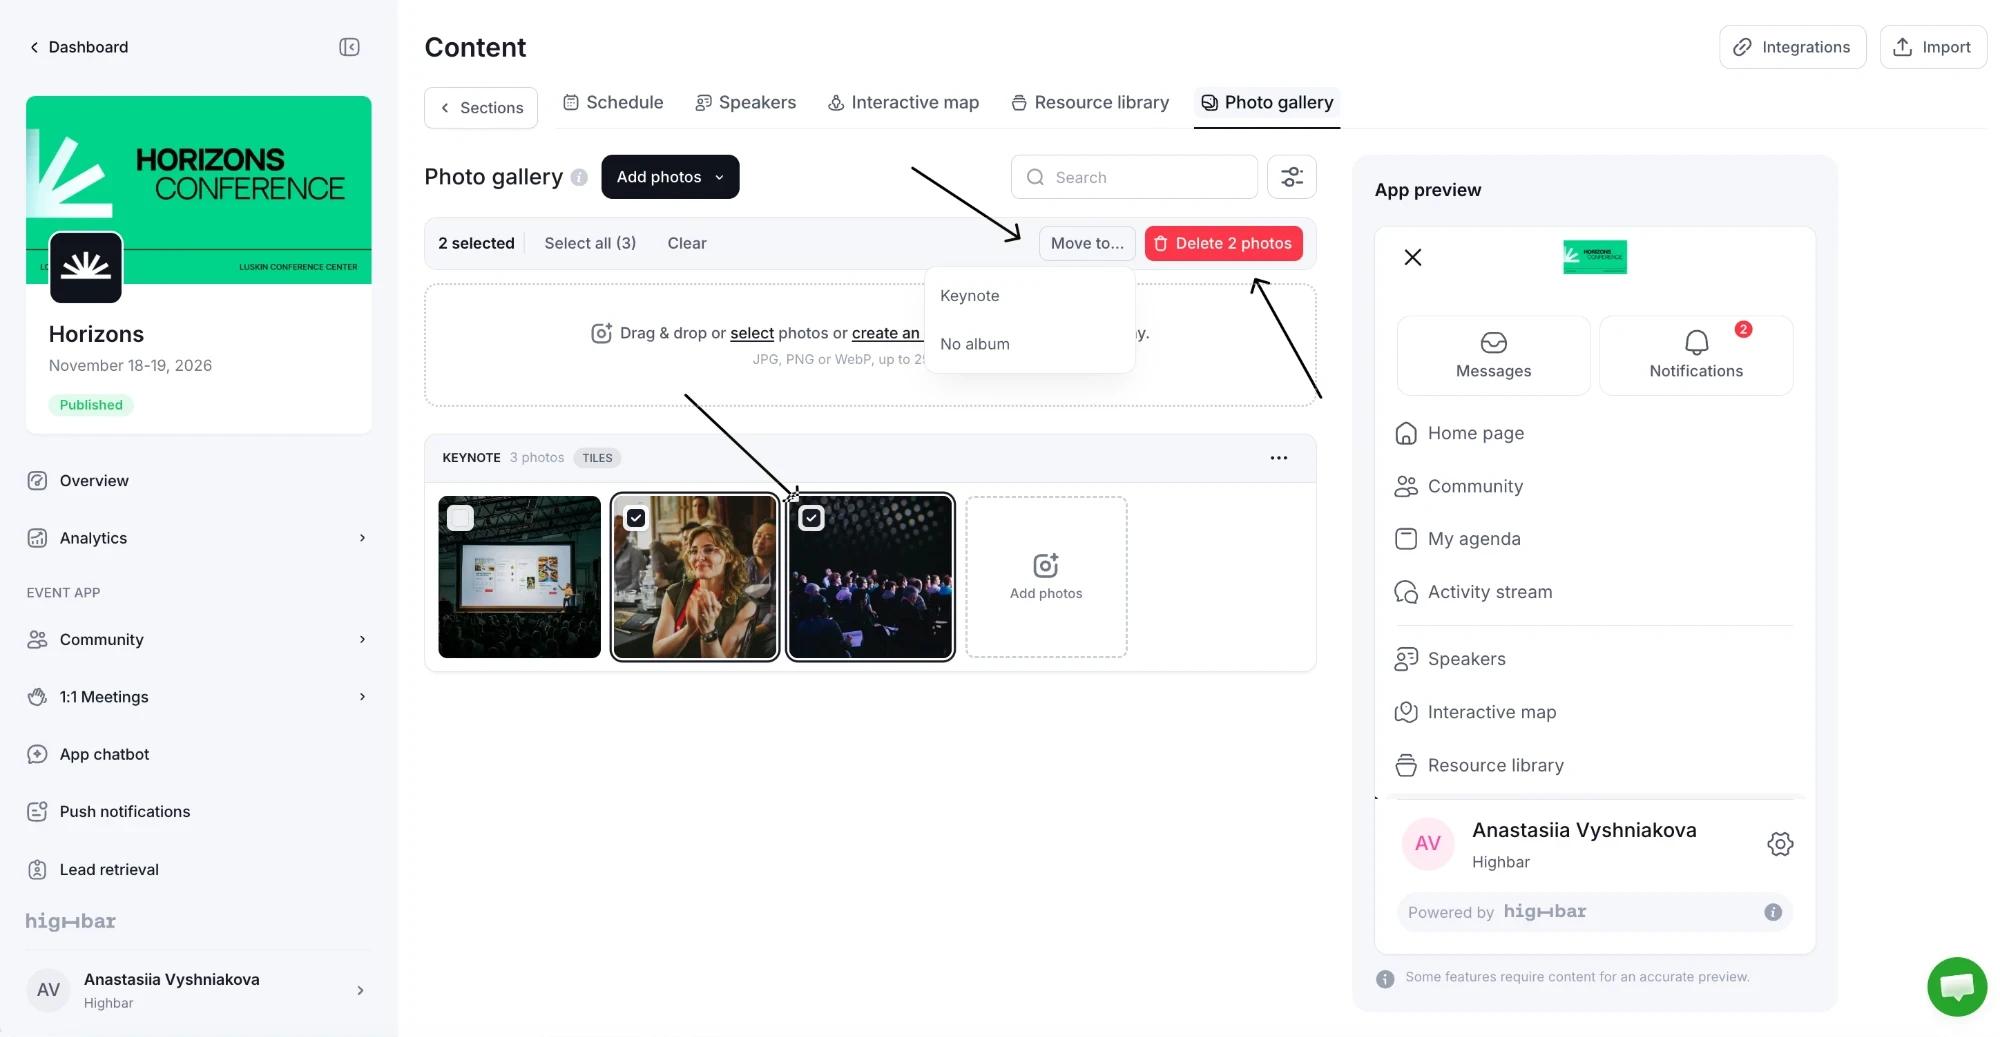
Tick the box on each photo you want, or click Select all. Then click Move to... and choose an album (or No album), or click Delete to remove them. Clear cancels the selection.
The info icon next to Photo gallery opens a summary of how the section works, including iPhone photos, what happens to photos outside any album, deleting albums and how each layout looks.
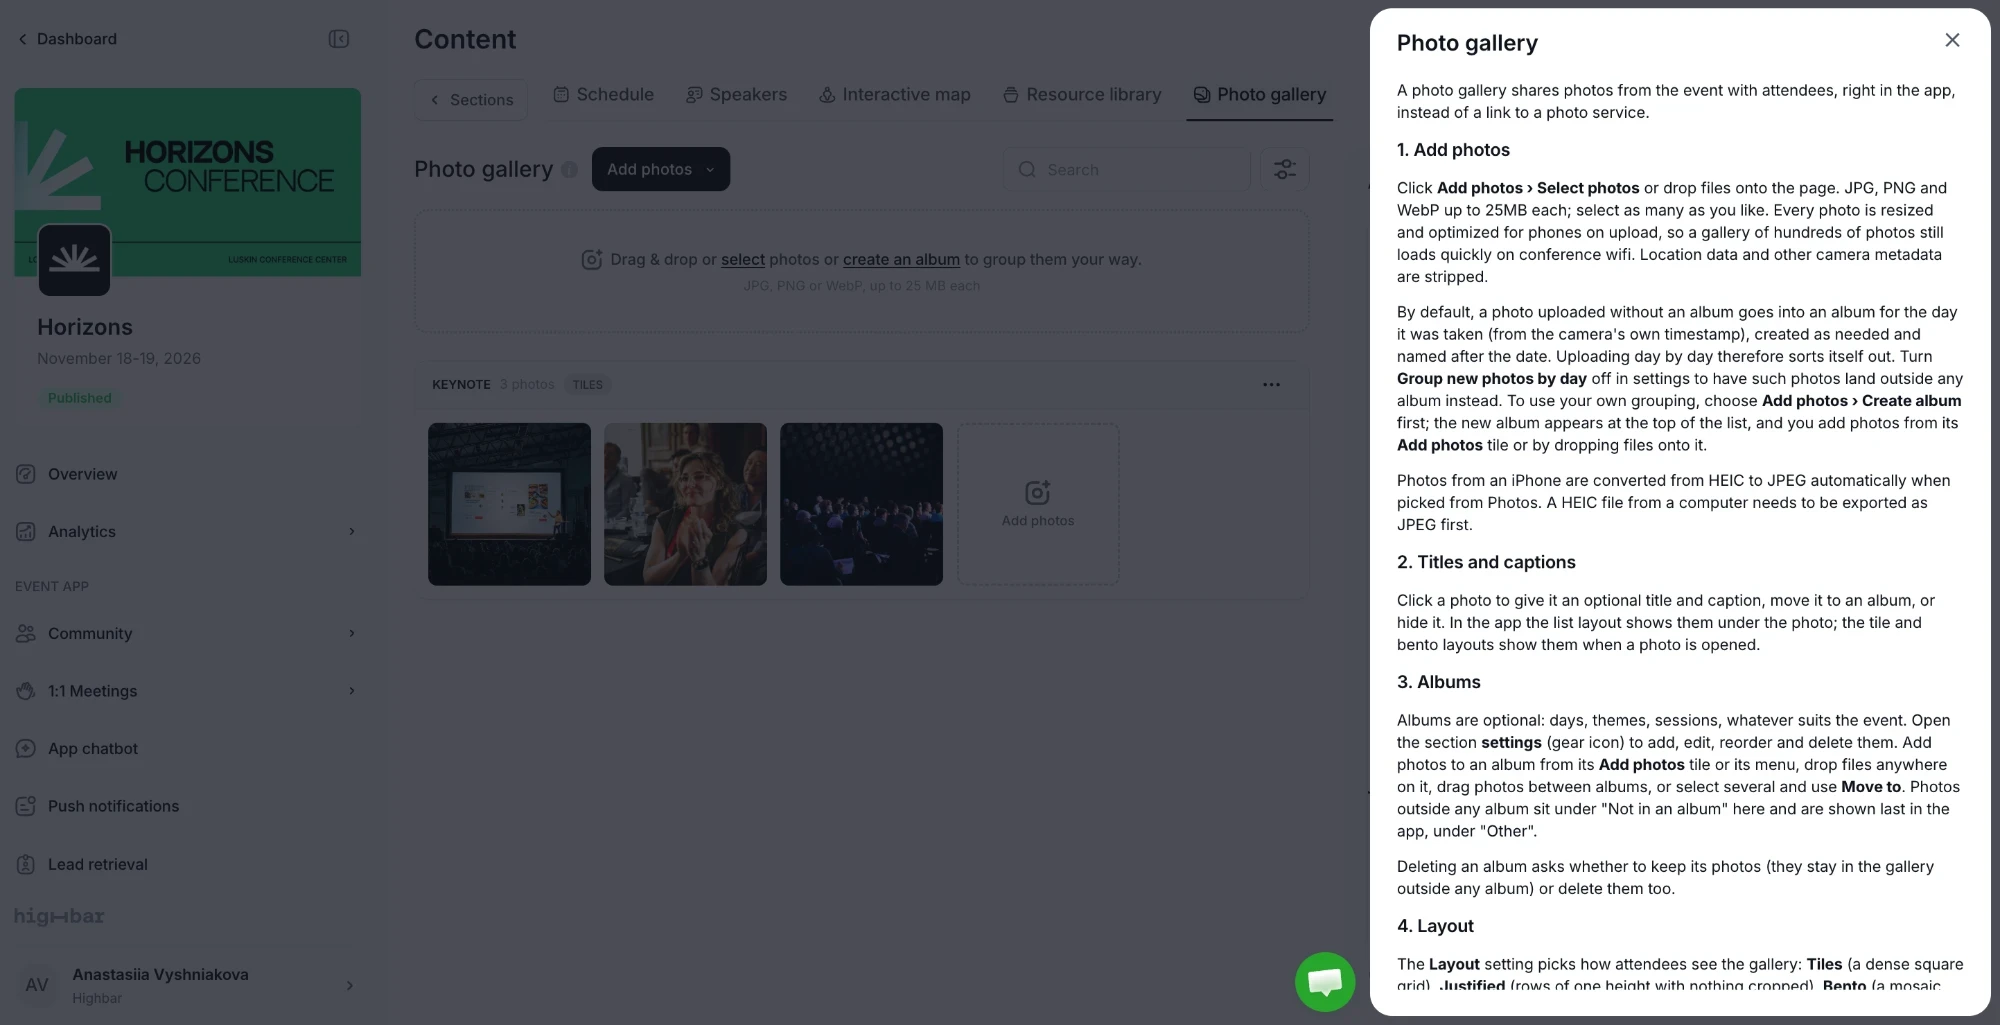
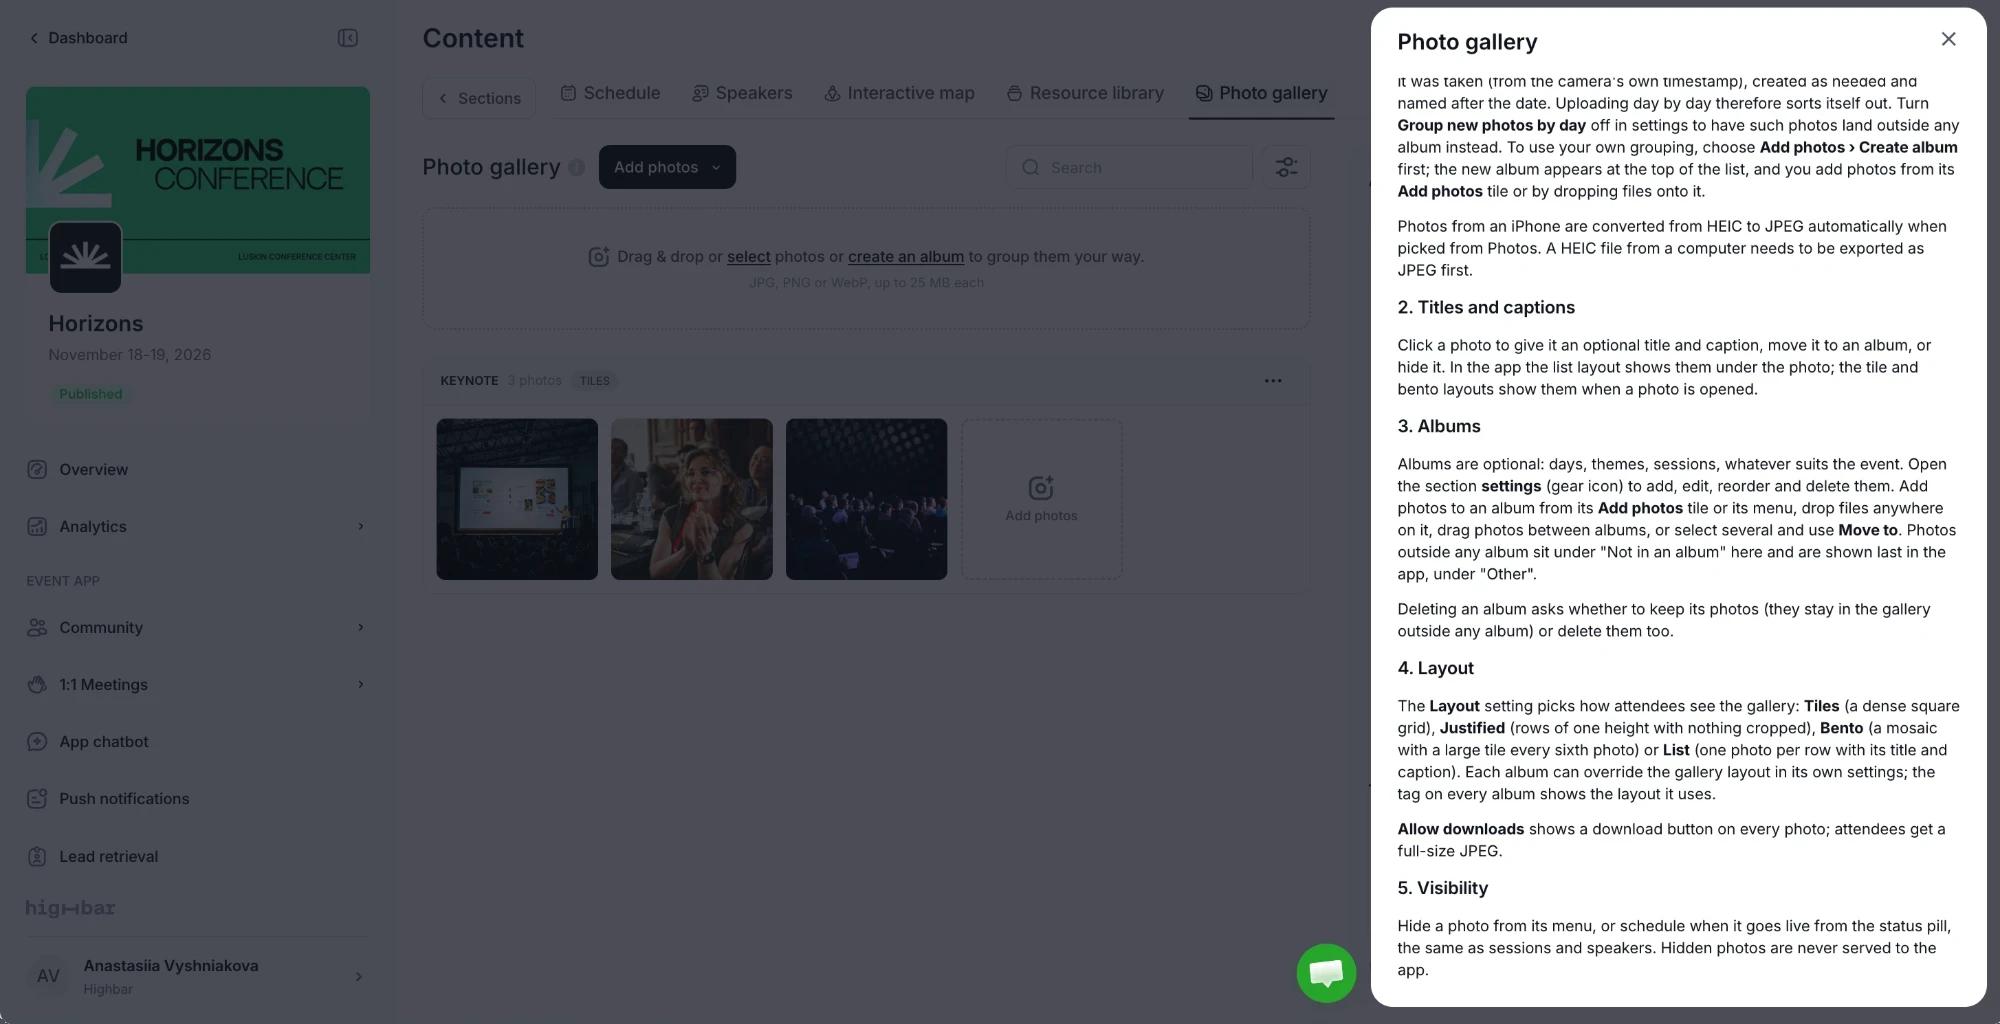
Photo gallery sections don't complete the Content step on their own: you also need at least one session, speaker or sponsor. See Launch your app.