Resource library
Share files, web links and short text pages with attendees, grouped into categories.
A Resource library section holds the files and links attendees keep coming back to: travel guides, sponsor requirements, presentation decks, forms, calendar files and short guidance such as a code of conduct.
Add the section from Content with Add section. See Sections and visibility to add, rename, reorder, hide or schedule sections. Each item in this section can also be hidden or scheduled on its own.
Click Add resource and choose a Type:
- Web link for a page on another website.
- Upload file for PDF, Word, Excel, PowerPoint, CSV, RTF, text, Markdown, ICS, JSON or ZIP files up to 10 MB.
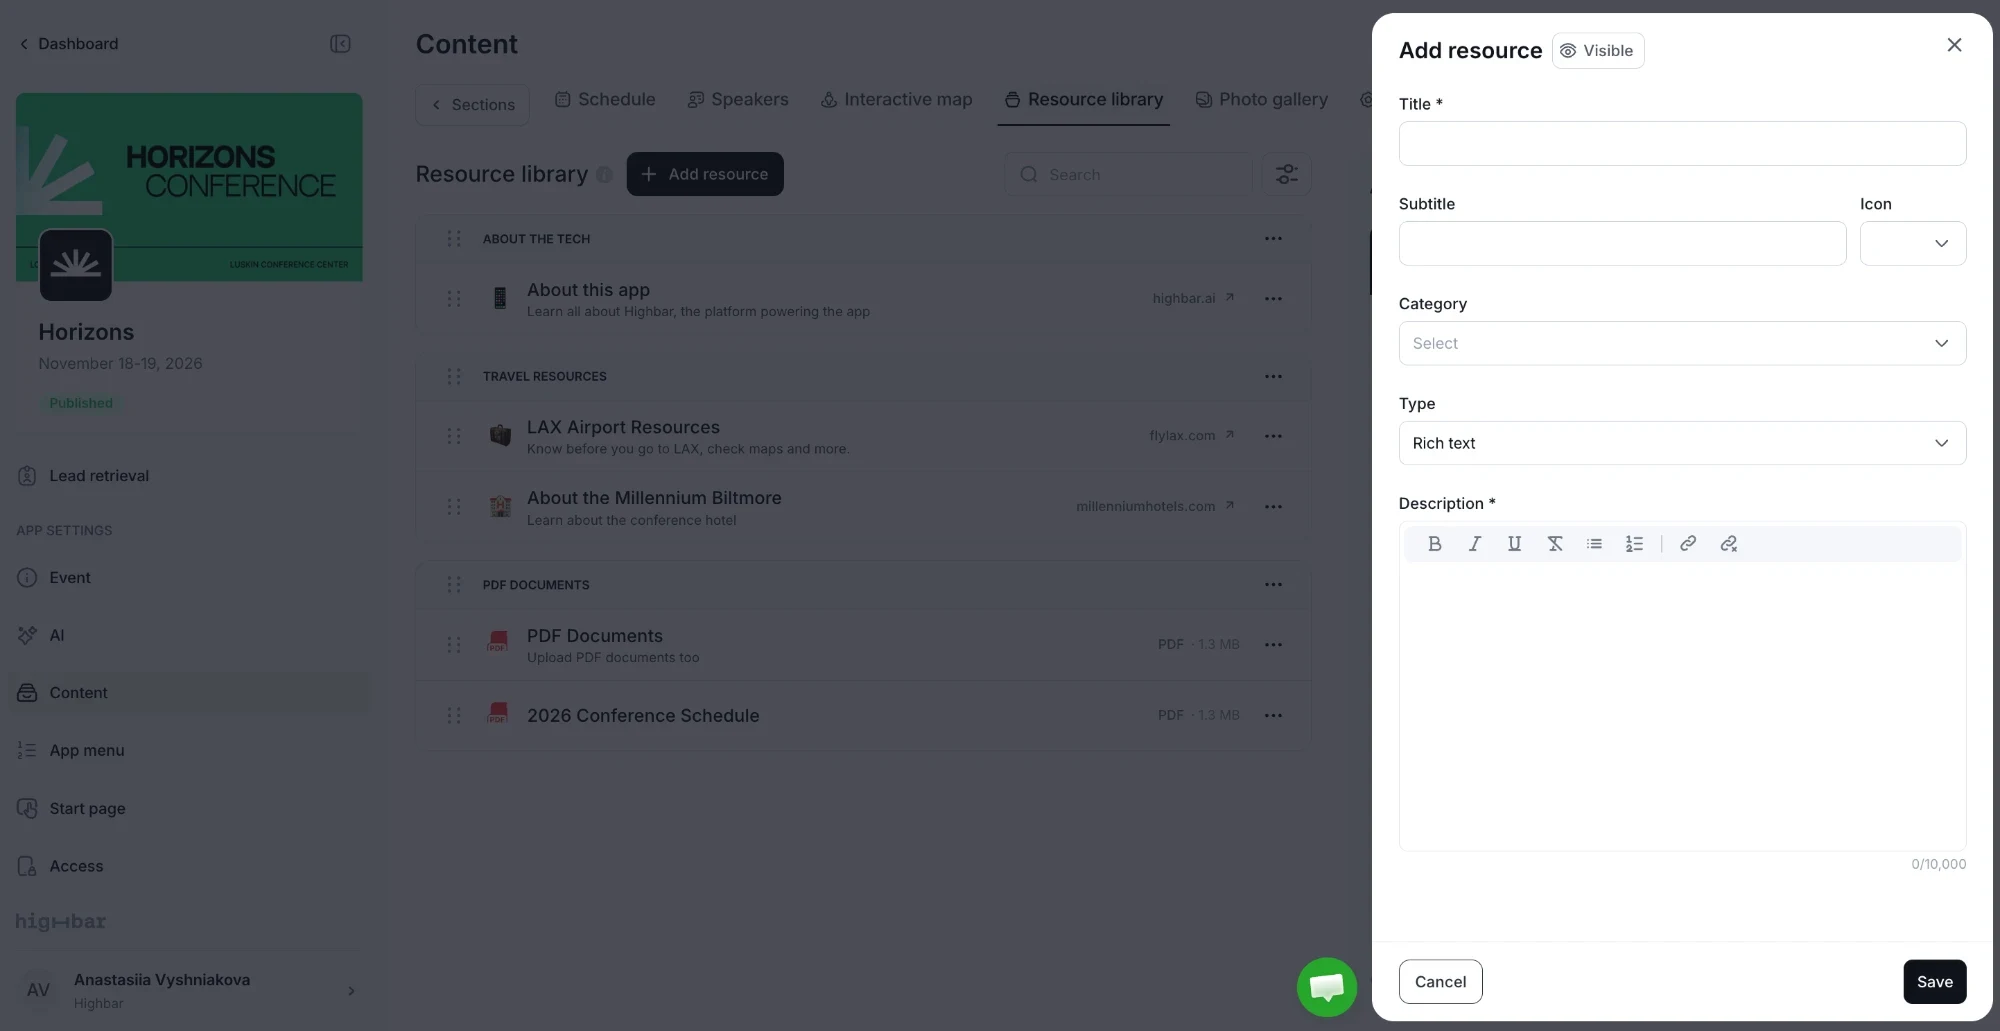
- Rich text to write the content yourself, such as a code of conduct, a recording policy or arrival instructions.
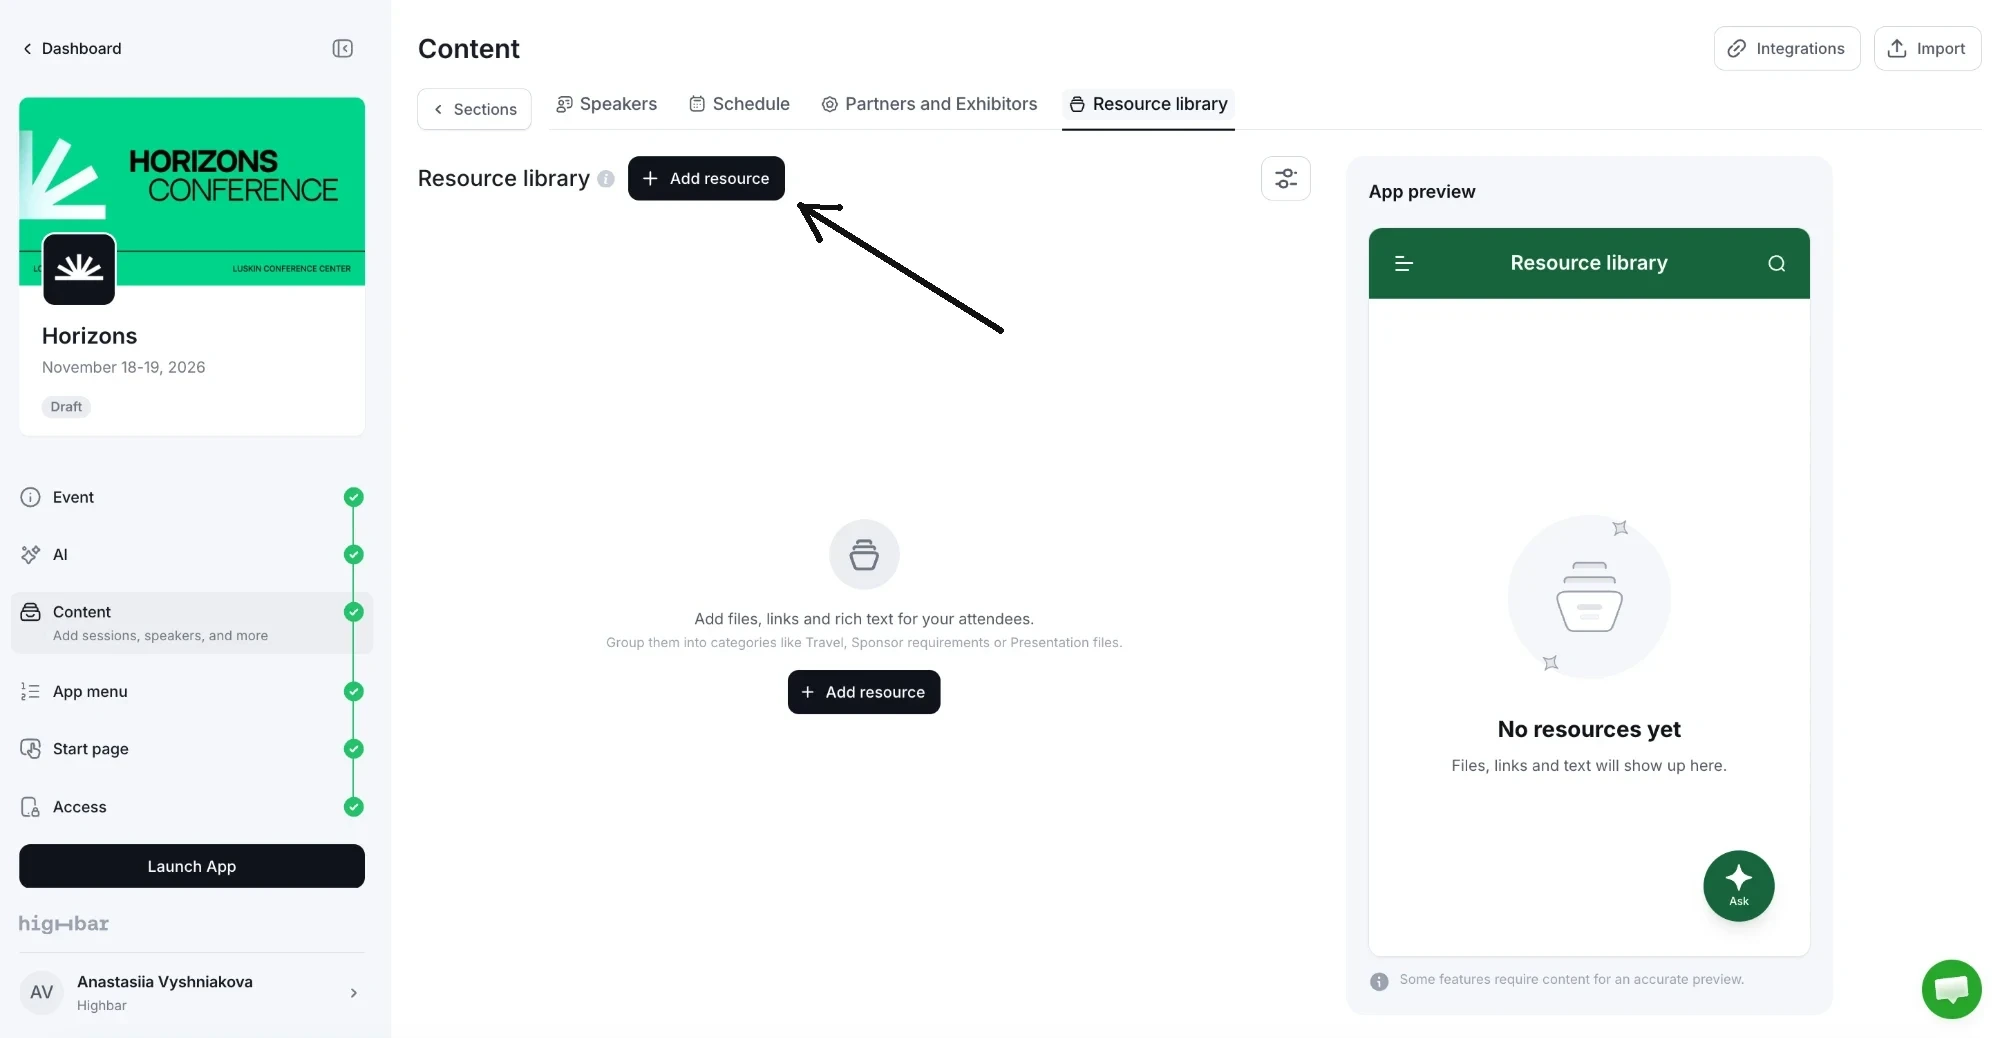
Give the resource a Title, and optionally a Subtitle and an Icon. Under Category, pick one of your categories, or create a new one right there.
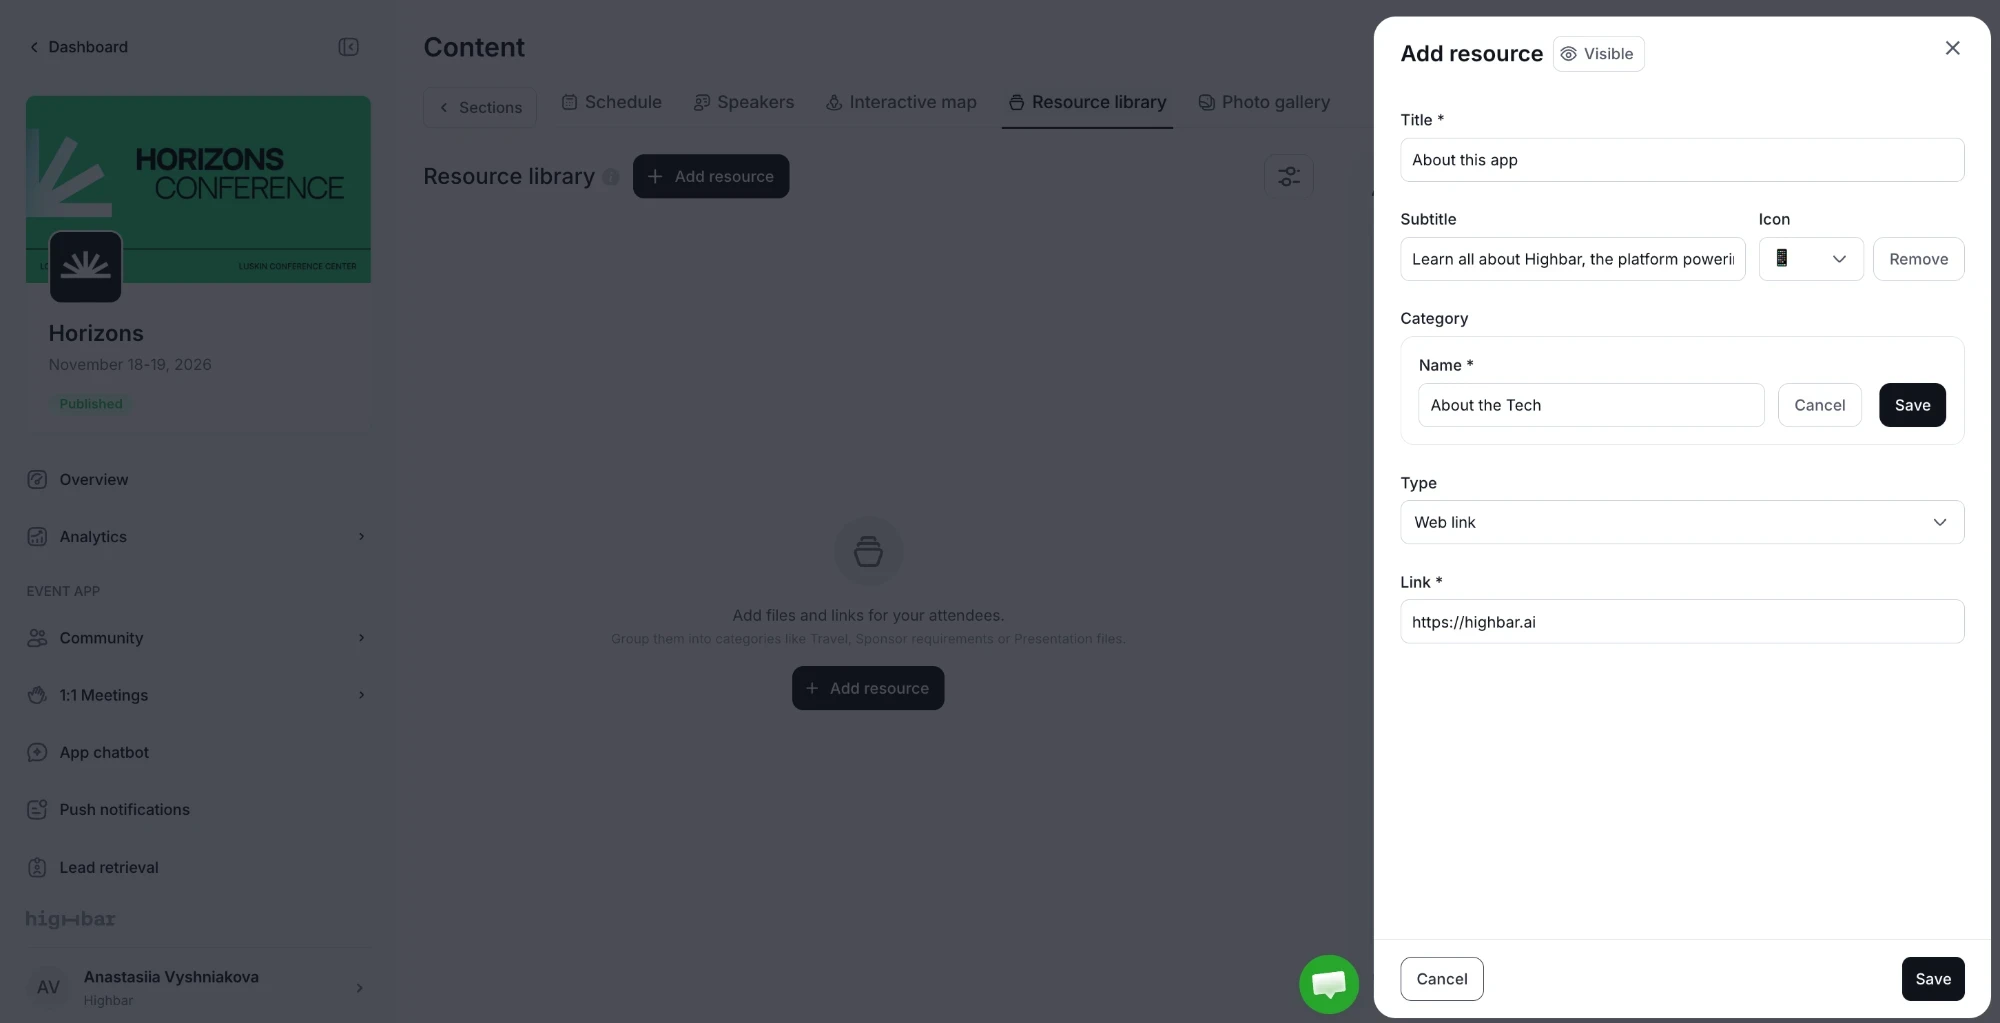
For a file, choose Upload file as the Type and add it under File. The Title starts as the file's name, which you can change.
For your own text, choose Rich text as the Type and write it under Description, up to 10,000 characters. The toolbar adds bold, italic, underline, bulleted and numbered lists, and links. Attendees tap the resource to read it in the app, so there's nothing to open or download.
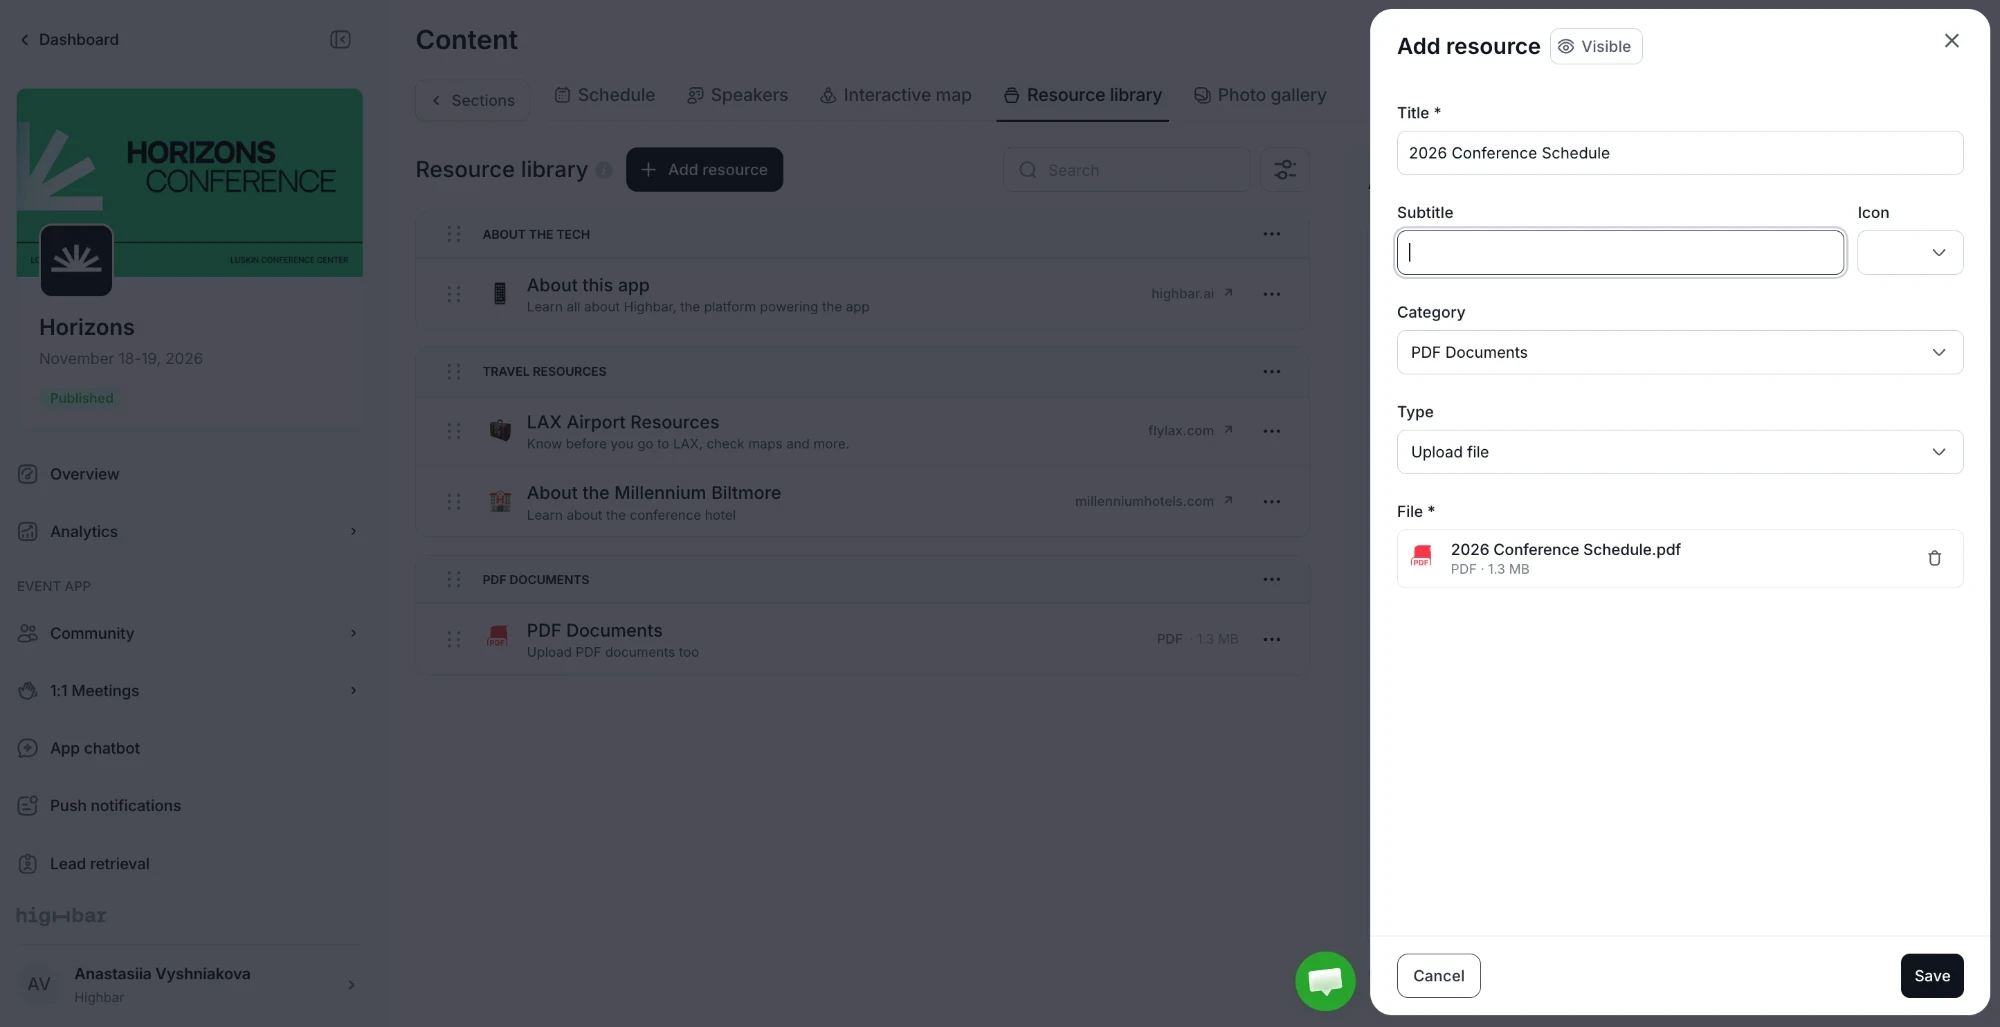
Resources appear under their category's name, in your list and in the app. Web links show the site they point to, uploaded files show their type and size, so attendees can download them, and rich text resources open in the app. Drag categories and resources to change their order.
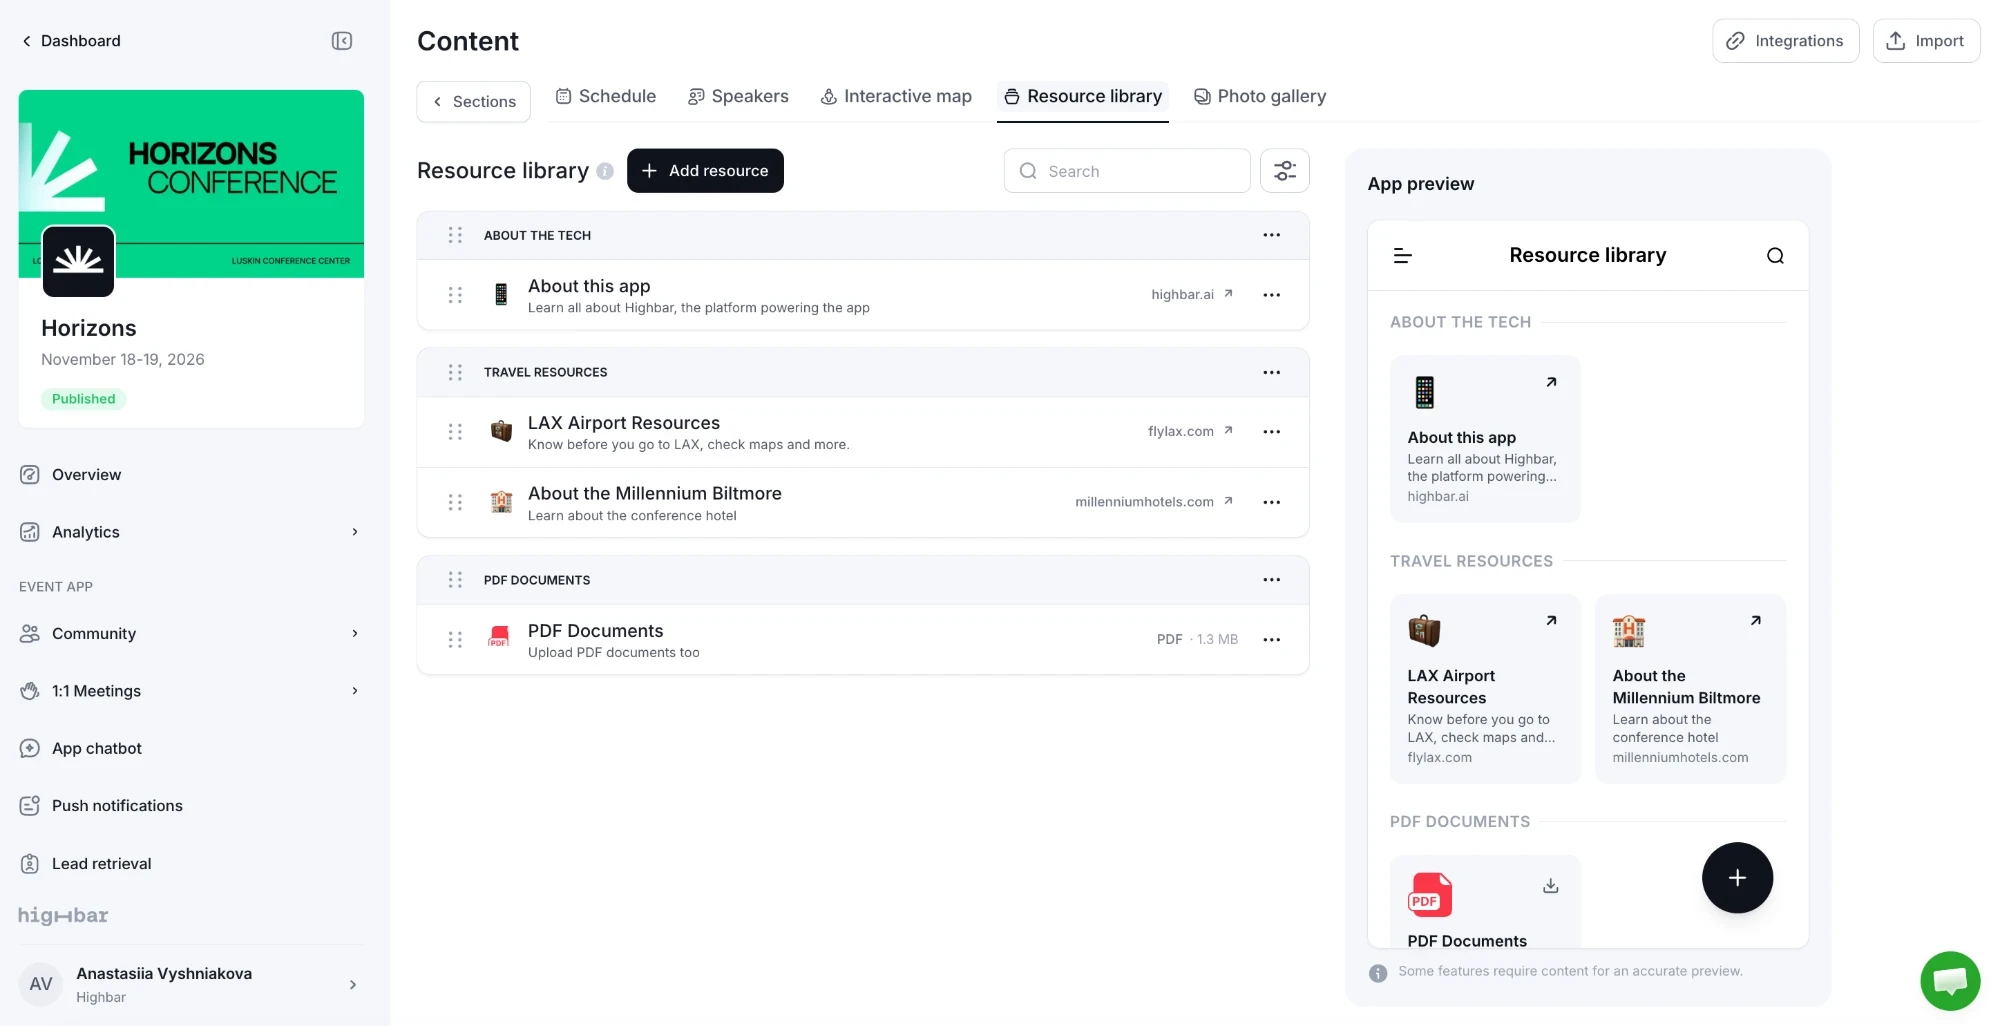
The settings button at the top right opens Resource library settings. Under Layout, choose whether to Show resources as a list or tiles, and whether to Show link previews and Show file details.
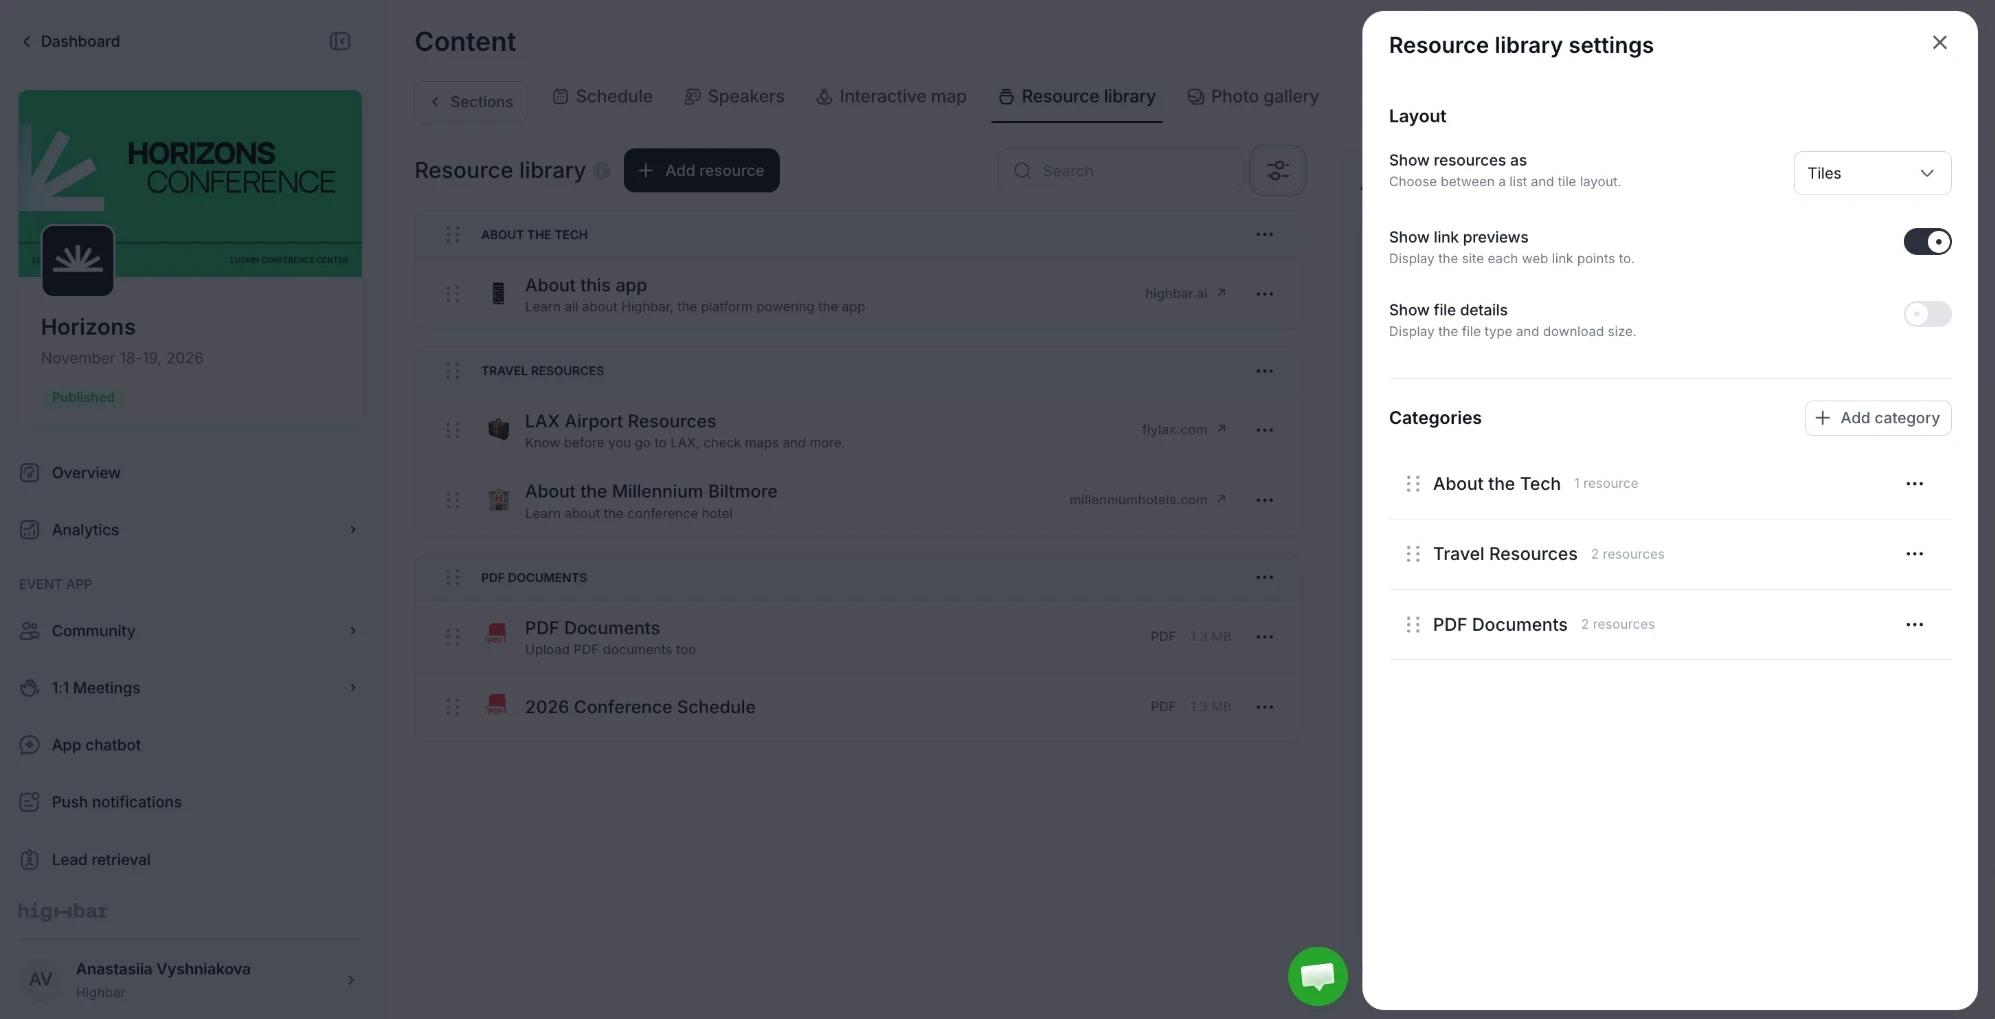
Your categories are listed in the same panel with how many resources each holds. Drag them to change their order, or use a category's menu to rename or delete it.
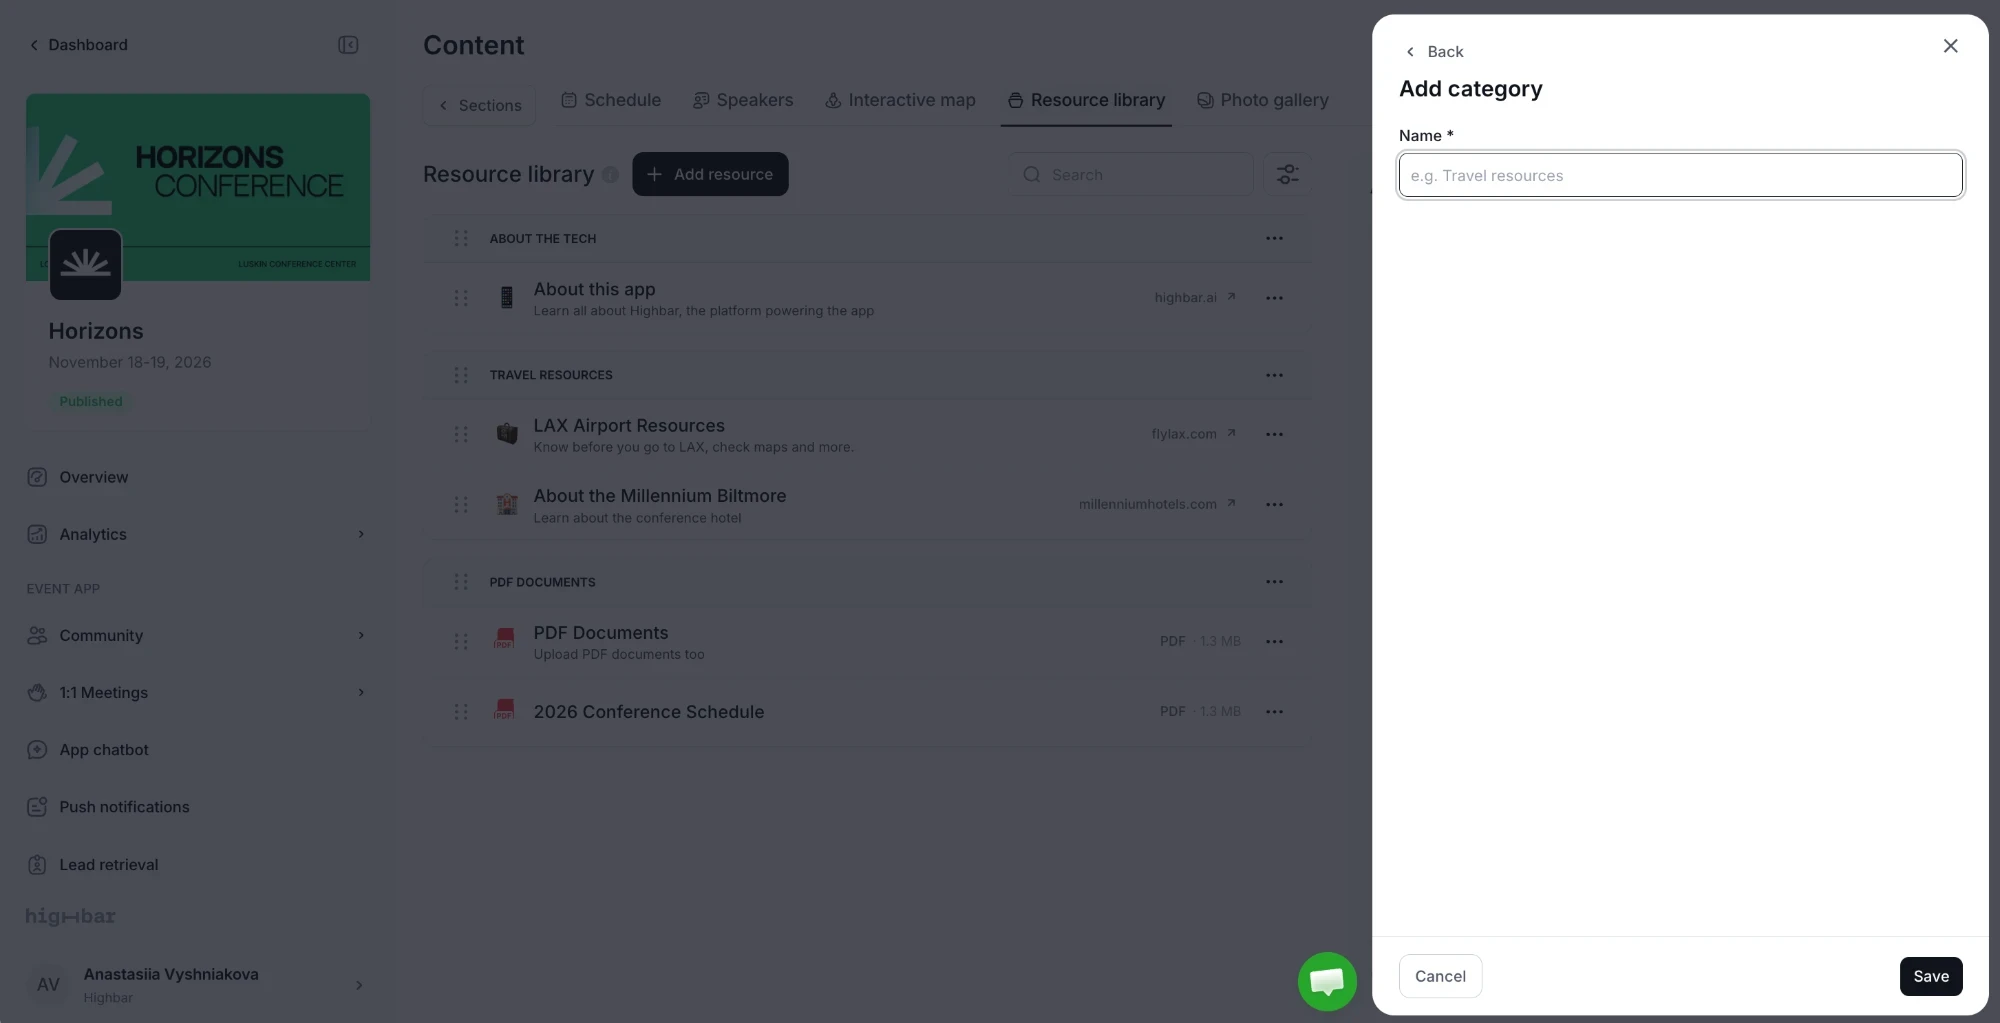
To add a category, click Add category, enter a Name, such as "Travel resources", and click Save.
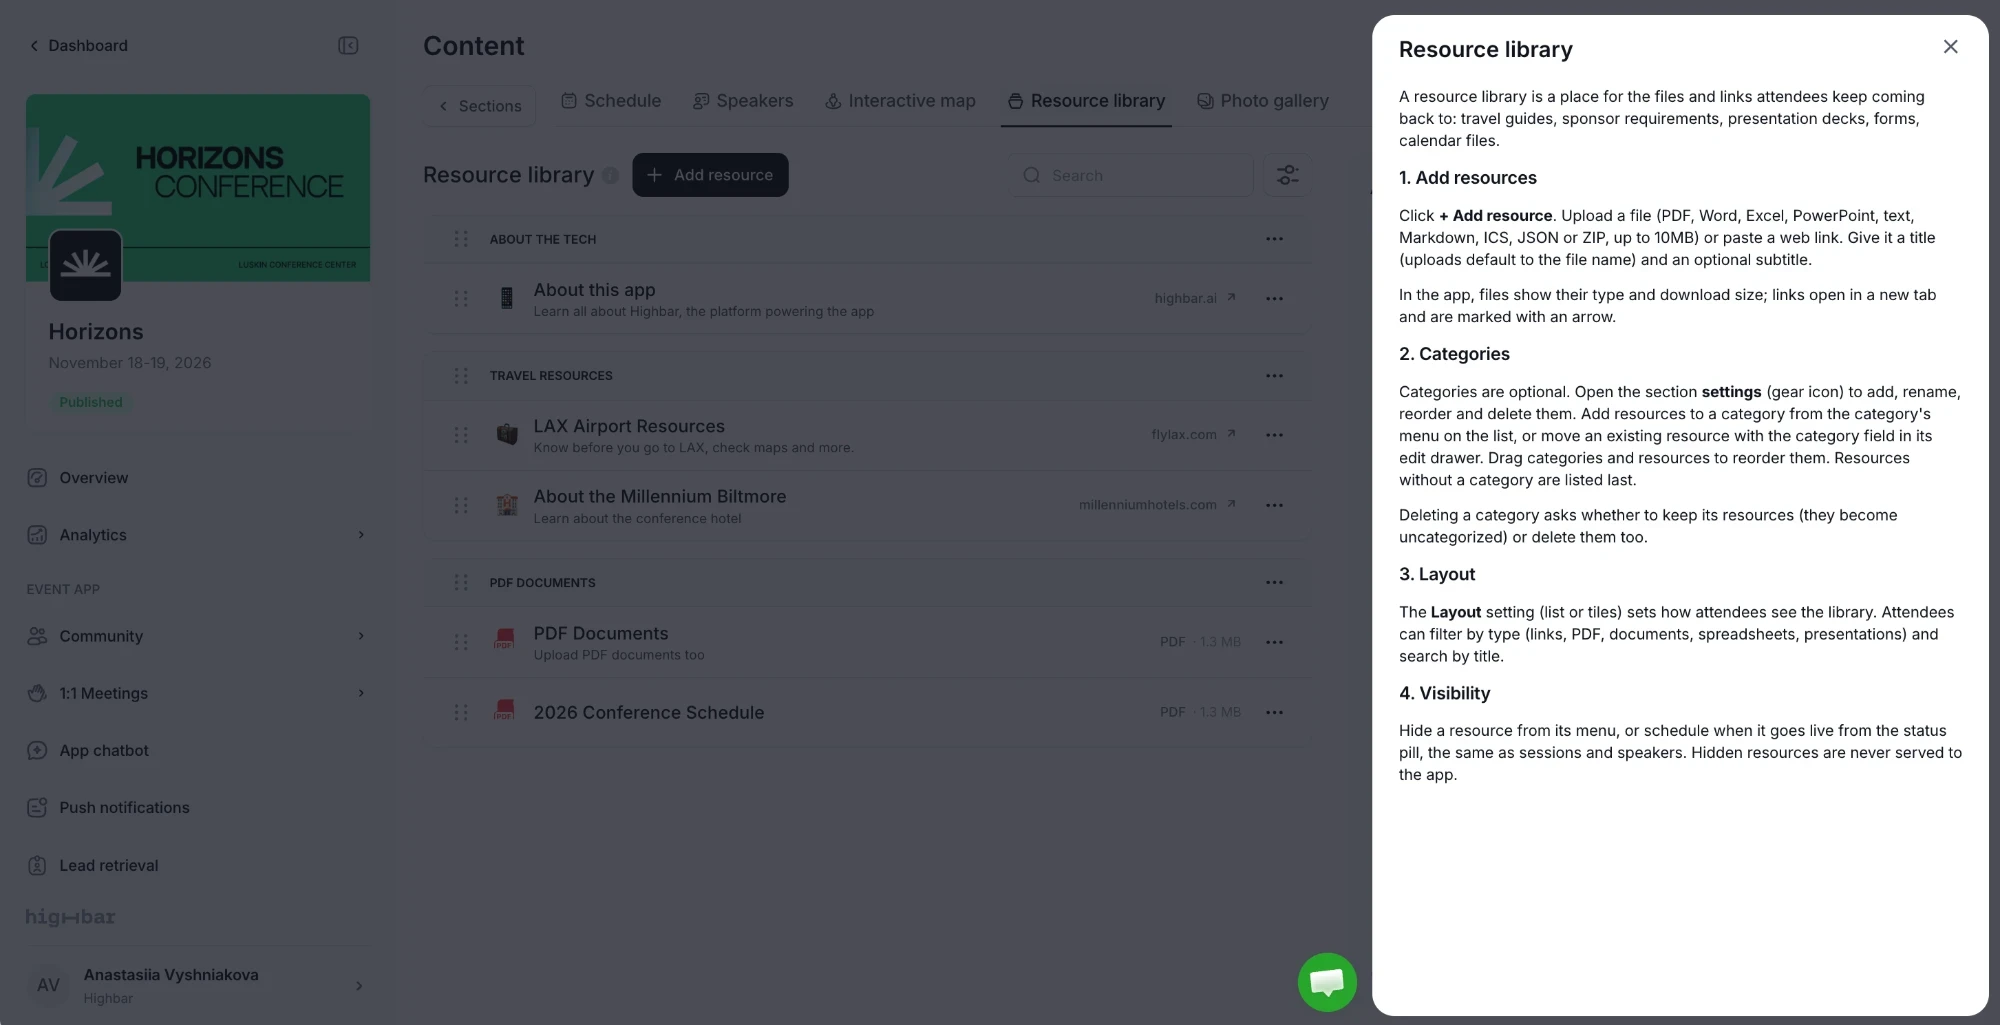
The info icon next to Resource library opens a summary of how the section works, including deleting categories and how attendees filter and search resources.
Resource library sections don't complete the Content step on their own: you also need at least one session, speaker or sponsor. See Launch your app.